Zuk on 38's

Got an vehicle build underway? post up pictures and tell us all how its going!

Builds threads only please.
User avatar
TanZuk
Engaged 4wd low
Engaged 4wd low
Posts: 234
Joined: Thu Jan 05, 2012 11:17 pm
Location: Pompano Beach, Florida US

Re: Zuk on 38's

Post by TanZuk » Fri Jul 20, 2012 12:03 pm

Here are a few things that were made or hooked up to tidy up the engine compartment. Have a long way to go yet.


Image


Image


Image


Image


Image


Image


Image

User avatar
ScottieJ
The Boss
The Boss
Posts: 11614
Joined: Tue Apr 15, 2008 12:13 pm
Location: Chippenham, wiltshire

Re: Zuk on 38's

Post by ScottieJ » Fri Jul 20, 2012 12:13 pm

Awesome work as usual Terry! I was going to ask if you could post the pics of the work needed to fit those gears, they look like they cleaned up quite well.

Looks like a bit of a mission to get a tcase into the snatch!
Zuki Build

Steady as she goes!

User avatar
dan_2k_uk
I spend far too much time on here
Posts: 4924
Joined: Tue May 06, 2008 5:19 pm
Location: Swindon, Wiltshire

Re: Zuk on 38's

Post by dan_2k_uk » Fri Jul 20, 2012 5:27 pm

Looking as good as ever. Love the shiney stuff.

One question. Scottie has the same rocker cover but couldnt remember what it was from.

I wouldnt mind finding one to replace my horrible rusty one.

Dan
Image
Janspeed manifold, LWB Vit vented discs and calipers

Build thread -- Build photos -- HLA-Artwork
Coming soon: YJs, Trussed axles, Full float rear.

User avatar
TanZuk
Engaged 4wd low
Engaged 4wd low
Posts: 234
Joined: Thu Jan 05, 2012 11:17 pm
Location: Pompano Beach, Florida US

Re: Zuk on 38's

Post by TanZuk » Fri Jul 20, 2012 5:59 pm

dan_2k_uk wrote:Looking as good as ever. Love the shiney stuff.

One question. Scottie has the same rocker cover but couldnt remember what it was from.

I wouldnt mind finding one to replace my horrible rusty one.

Dan

Thanks Dan for checking in and the contiued support. :doublethumbs:

The rocker cover is from a 95 Geo / Metro 1.3L motor

If you do find one make sure that you get all the hardware with the cover.

PCV hoses
Spark plug wire holders
Bolts that hold it to the head.

Make sure you get the PVC hooked up so you don't blow any seals out. I have one on my DD and I can send you pics on how to hook it up with a stock motor.

Hope that helps Terry

User avatar
dan_2k_uk
I spend far too much time on here
Posts: 4924
Joined: Tue May 06, 2008 5:19 pm
Location: Swindon, Wiltshire

Re: Zuk on 38's

Post by dan_2k_uk » Fri Jul 20, 2012 6:06 pm

Thanks. :thumbup:

Will keep my eye out for a late suzuki swift then.
Image
Janspeed manifold, LWB Vit vented discs and calipers

Build thread -- Build photos -- HLA-Artwork
Coming soon: YJs, Trussed axles, Full float rear.

User avatar
TanZuk
Engaged 4wd low
Engaged 4wd low
Posts: 234
Joined: Thu Jan 05, 2012 11:17 pm
Location: Pompano Beach, Florida US

Re: Zuk on 38's

Post by TanZuk » Thu Sep 19, 2013 6:48 pm

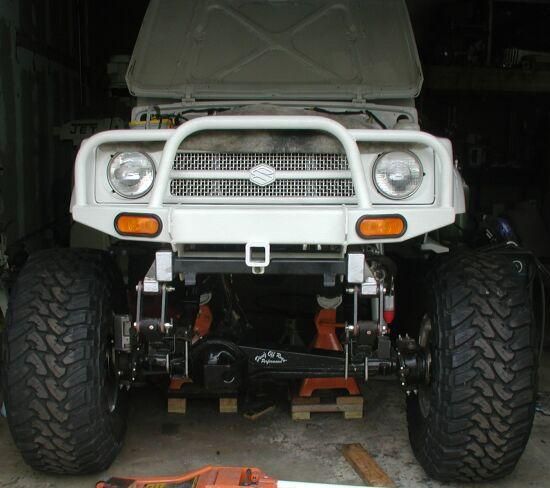
Decided to dust this thread off and bring it back from the dead. Have been making quite a bit of progress since my last posting. Have plenty of pics for everyone to look at.


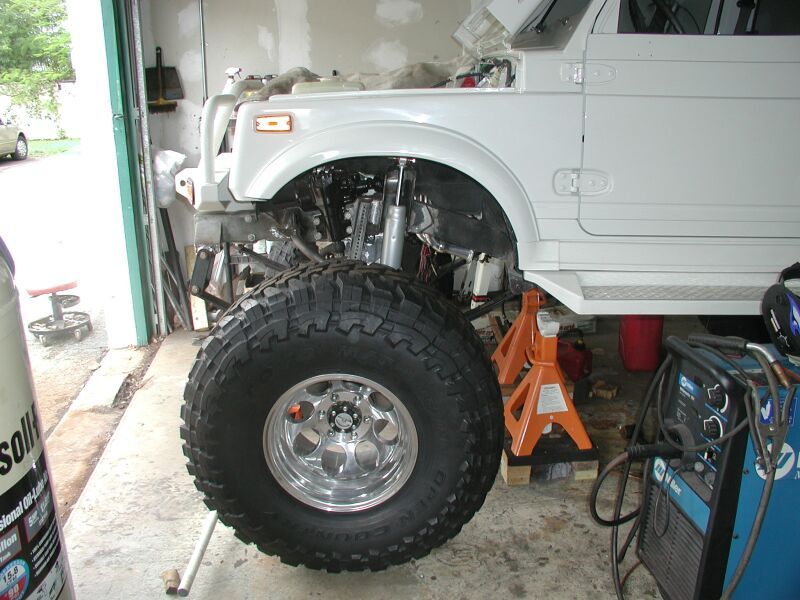
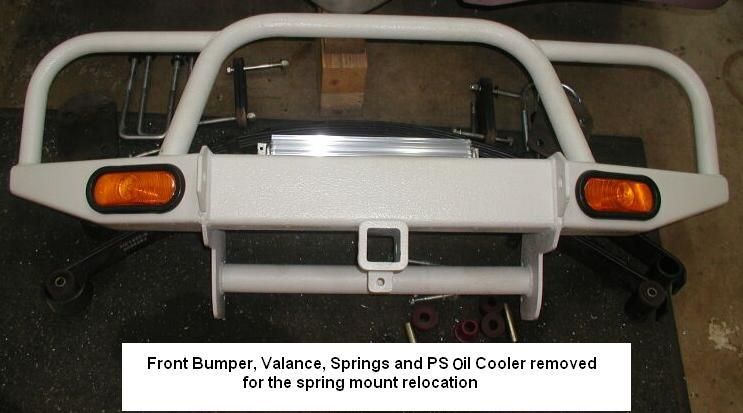
Parts Removed again for some adjustments to the Upper Front Spring Mounts

Image


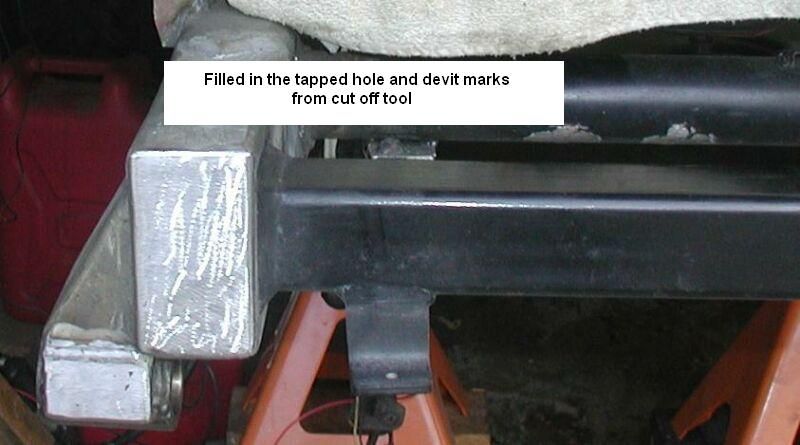
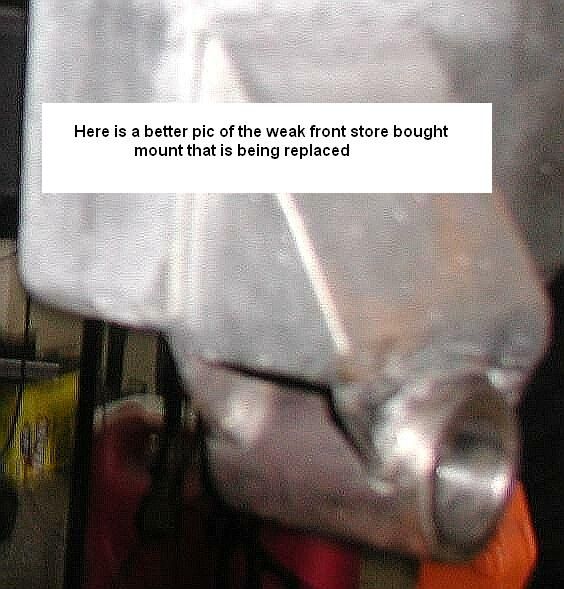
This mount was store bought and was never happy with it because of the thinner material used. New this was going to be cut off later so it was used just to get things started.

Image


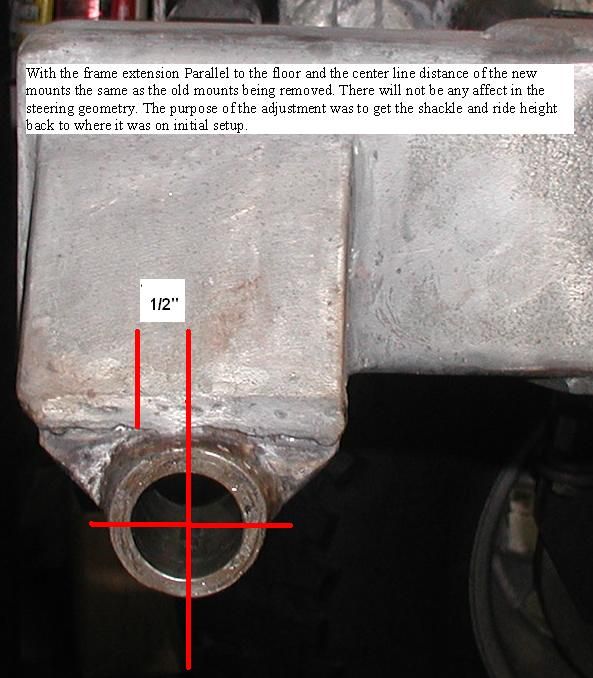
This pic is to show the layout of the original mount the new mount location and the frame extension that was welded on parallel to the ground

The shackle angle had settled in at 36* and about ¾ “ lower then when it was set up with the guesstimated weight that was added when 1st setting it up.

With the addition of a few more items and some added plating this is what lead to the adjustment being done now. I would like to be back at about 25* shackle angle. This will also bring the original height back as well.

Image


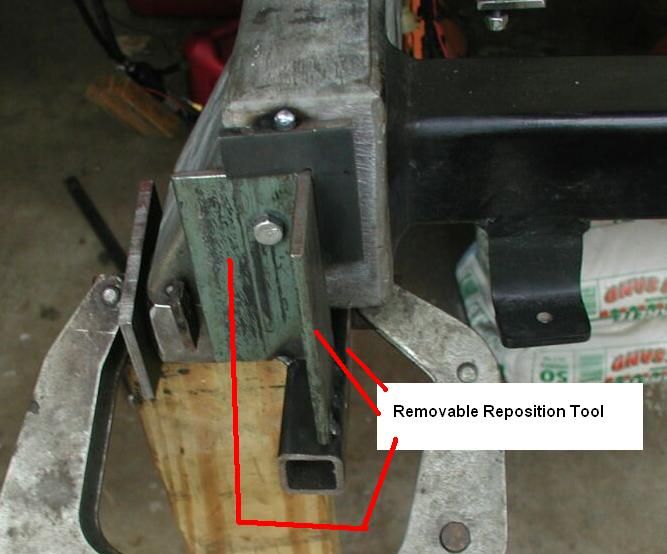
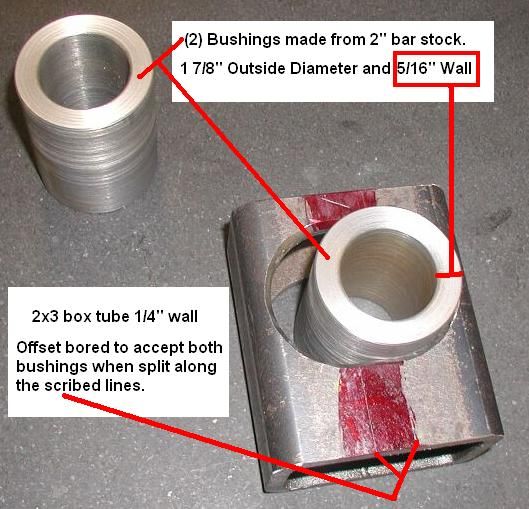
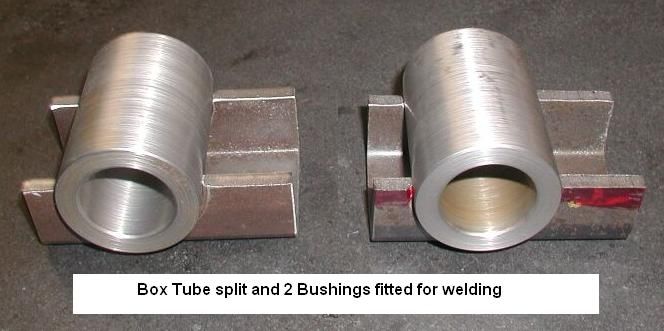
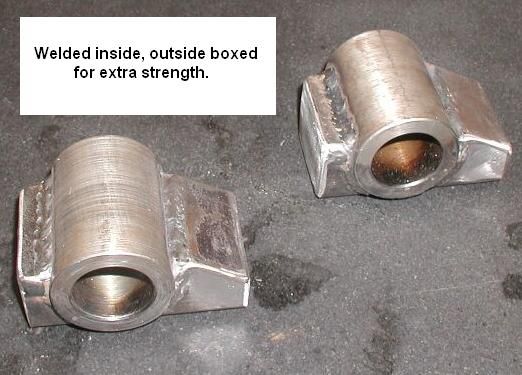
Here are a few pics of the Nw Font Upper Spring Mounts in different stages of being made.

Image

Image

Image


Going to try and get the old mounts cut off tomorrow. Went from way too hot to raining all day. Will need to make some location bumpers to get the mounts back to the proper width and a 43” length eye to eye bar for the length.

User avatar
TanZuk
Engaged 4wd low
Engaged 4wd low
Posts: 234
Joined: Thu Jan 05, 2012 11:17 pm
Location: Pompano Beach, Florida US

Re: Zuk on 38's

Post by TanZuk » Thu Sep 19, 2013 6:48 pm

Back on all 4 again.

Got the old front spring mounts cut off. The new front spring mounts were repositioned ½ “ further up on the frame extension to a mounting dimension of 42 ¾”. This is still shy of the 43” dimension that the YJ uses for their mounting position.

This did not affect my caster angle or any of the other suspension that was setup previously. This has been all double checked now and all is good. The shackle angle is now set to allow for some additional passenger side suspension parts and some spring sag.

The reason again for moving the spring mounts forward was to bring the shackle angle and the height back to where it was originally setup. The first spring mount dimension was just a base line to get the suspension started.


Image


Image


Image


Here is a removable bump stop aligner that was made before removing the old spring mount. This was used to transfer the same mounting position but moving it ½” forward. This tool was also removable since the old mount still needed to be cut off.


Image


Image


Time to finish up the modifications of the transfer case mounts.

User avatar
turbo-tom
I spend far too much time on here
Posts: 4478
Joined: Fri Jun 25, 2010 9:29 pm
Location: West Sussex

Re: Zuk on 38's

Post by turbo-tom » Thu Sep 19, 2013 6:49 pm

wondered when you would make a return back! glad to see progress is still being made!
Tom :)

Ford Fiesta ST :D

User avatar
TanZuk
Engaged 4wd low
Engaged 4wd low
Posts: 234
Joined: Thu Jan 05, 2012 11:17 pm
Location: Pompano Beach, Florida US

Re: Zuk on 38's

Post by TanZuk » Thu Sep 19, 2013 6:49 pm

Got my suspension seats in today.

2 High Back Roadster seats for the front
1 Low Back Roadster seat for the rear.


Here are a couple of pics of the High Back. They are a close match to the new panels that had been remade.


Image


Image

User avatar
TanZuk
Engaged 4wd low
Engaged 4wd low
Posts: 234
Joined: Thu Jan 05, 2012 11:17 pm
Location: Pompano Beach, Florida US

Re: Zuk on 38's

Post by TanZuk » Thu Sep 19, 2013 6:51 pm

turbo-tom wrote:wondered when you would make a return back! glad to see progress is still being made!

Thanks Tom. Still struggling along.

Terry

Post Reply