Re: Dans Zook Build - SEXY REAR SPEAKERS
Posted: Thu Mar 08, 2012 6:43 pm
Got the power steering pump on without modding the rad mount and using a standard belt as I wanted.
Will write this as a sort of write up in-case it wants using in the DIY section.
I don't know if this would clear a standard 1.3 rad bracket as mine is the 1.6 and I've modified the bracket. If it does foul it will certainly only need a little snip of the bracket rather than cutting the chassis mount which is better IMO.
Rather than using the official mount points (Red) I used one of them and one of the ones above (Green)
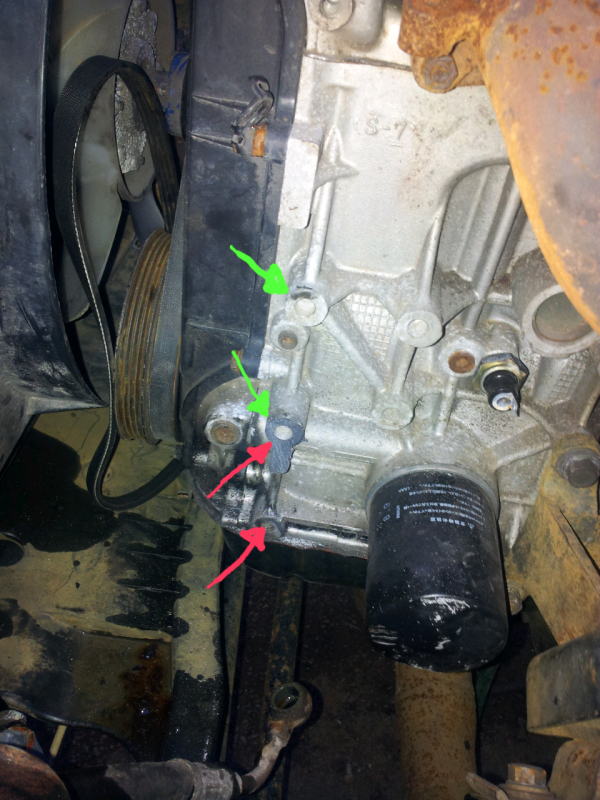
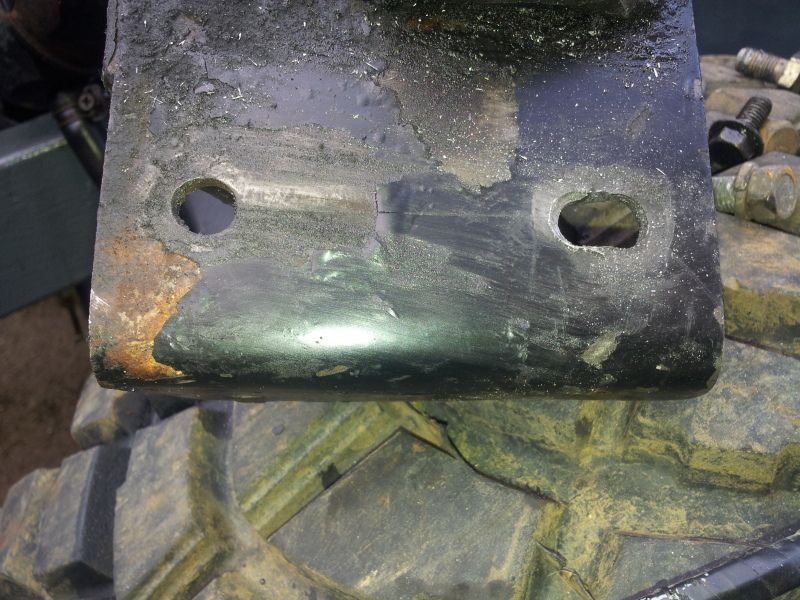
I shaved a bit off the bottom "key shaped" hole with a grinder (could easily be done with a file and some time) then filed it so both the top and "key shaped" holes were perfectly in the same plane. (I used a flat sheet on the other 3 bolt holes which are level to get this bang on level as it totally effects the angle the pump will mount at!)
Shaved off bit for reference +1.6mm for thickness of cutting disc
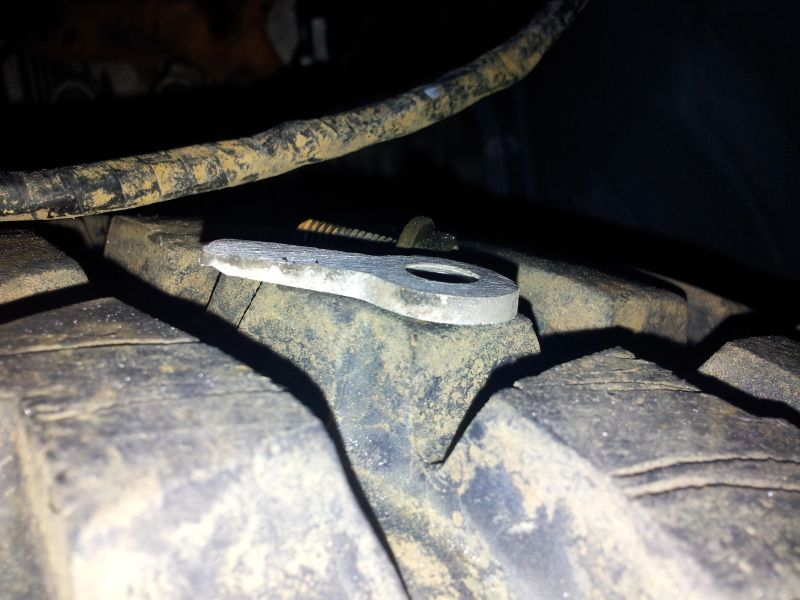
Finished Flat
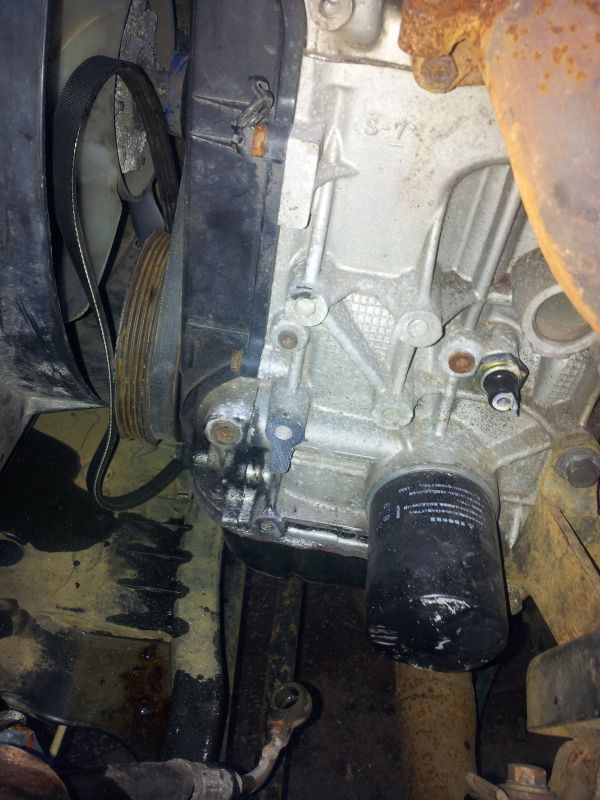
Then modified the bracket holes a touch to suit the new spacing by drilling another hole and filing between the 2.
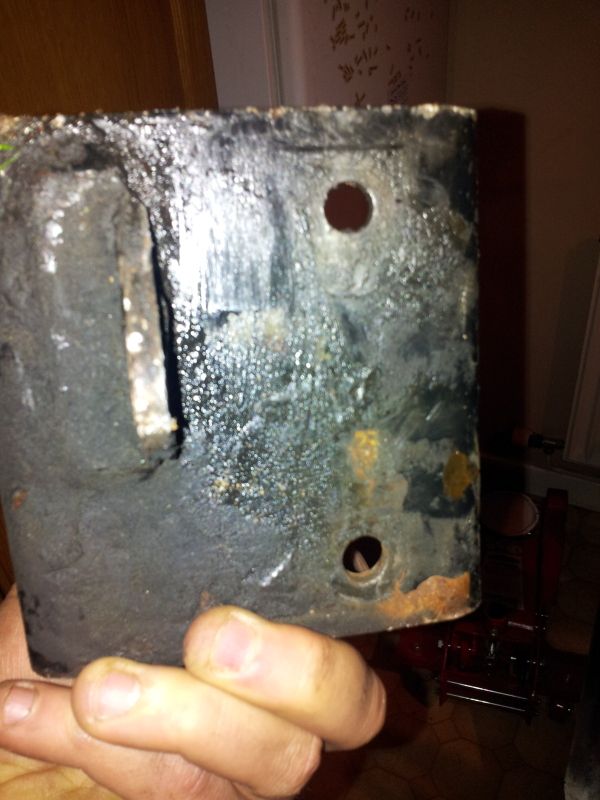
Then extended the groove that the adjuster nut runs in along to the extra hole that is already there using a hacksaw and round file to allow more movement.
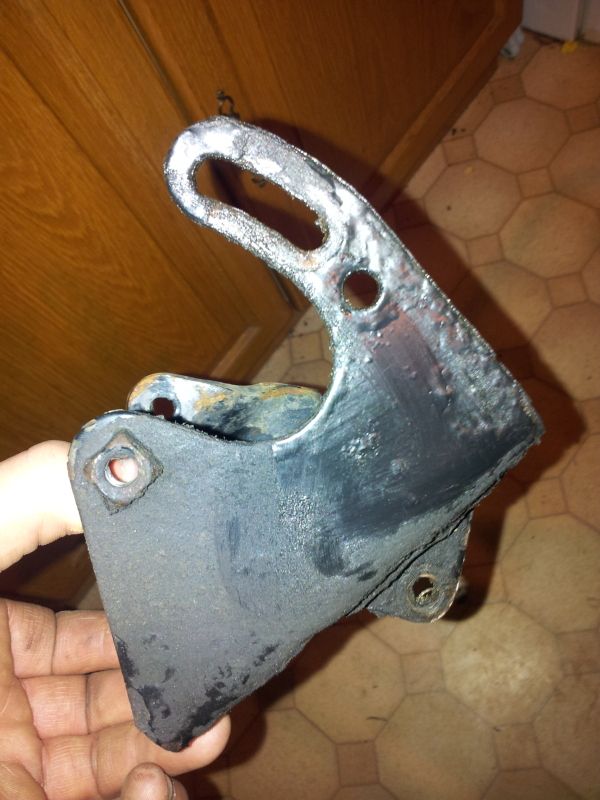
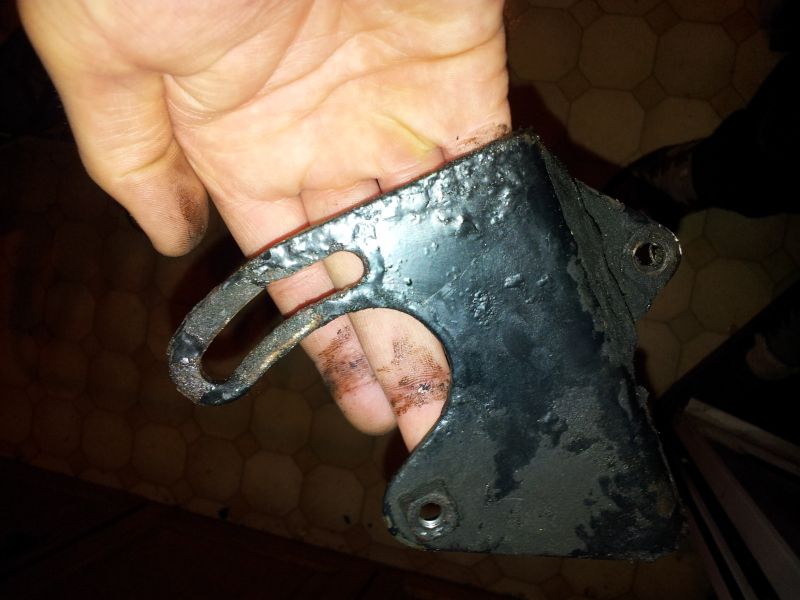
Cut the redundant tab off the back as it will obscure one of the timing belt cover nuts if needed in the future.
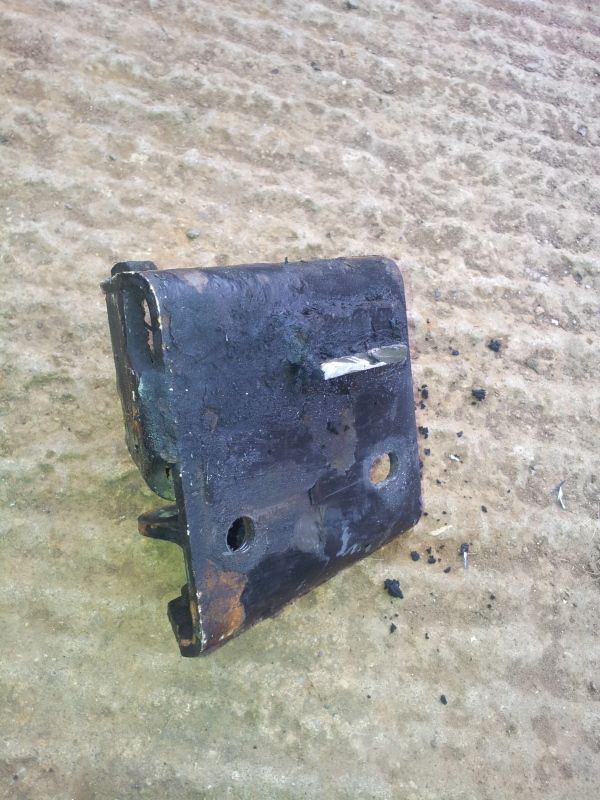
Then fitted to the truck
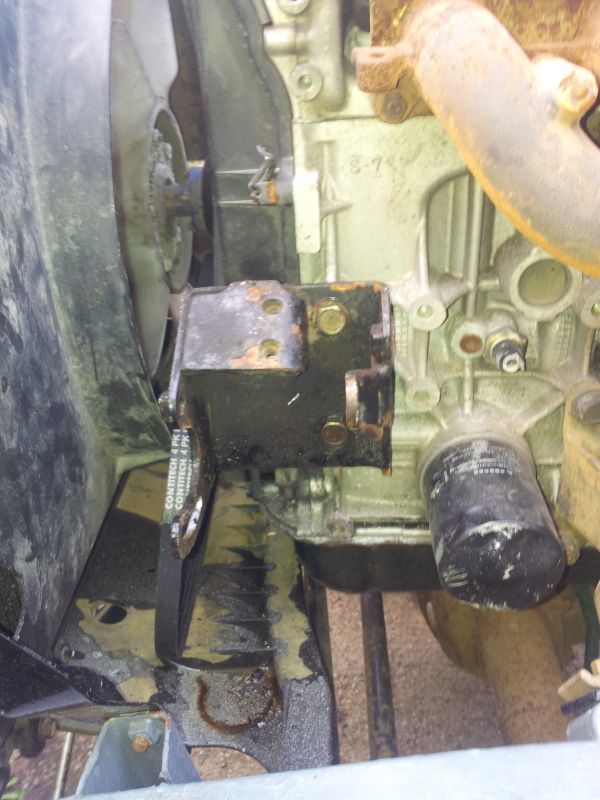
Finally fit the pump and if all is done correctly it should line up perfectly. (This belt is actually slightly shorter than standard (813mm) at 800mm but you could probably get away with anything up to 840mm.
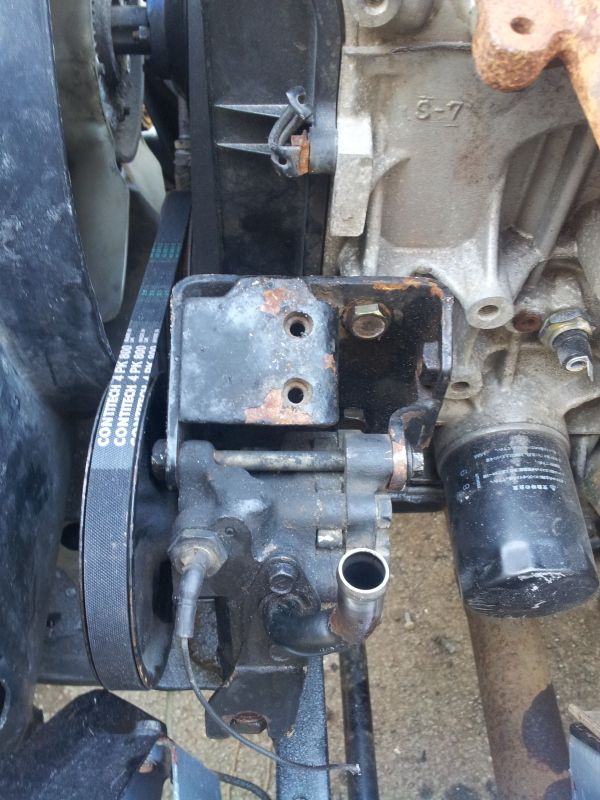
It seems rock solid just mounted with 2 bolts (with big heads) but if it gives problems in the future there is a handy bolt hole in the side of it (you can see the square nut in the last photo) where a bit of angle iron can be bolted and then fixed to the spare bolt hole on the block to the right of the top bolt.
I know Tom wanted to see this hence the extra effort on the write up.
Dan
Will write this as a sort of write up in-case it wants using in the DIY section.
I don't know if this would clear a standard 1.3 rad bracket as mine is the 1.6 and I've modified the bracket. If it does foul it will certainly only need a little snip of the bracket rather than cutting the chassis mount which is better IMO.
Rather than using the official mount points (Red) I used one of them and one of the ones above (Green)

I shaved a bit off the bottom "key shaped" hole with a grinder (could easily be done with a file and some time) then filed it so both the top and "key shaped" holes were perfectly in the same plane. (I used a flat sheet on the other 3 bolt holes which are level to get this bang on level as it totally effects the angle the pump will mount at!)
Shaved off bit for reference +1.6mm for thickness of cutting disc

Finished Flat

Then modified the bracket holes a touch to suit the new spacing by drilling another hole and filing between the 2.


Then extended the groove that the adjuster nut runs in along to the extra hole that is already there using a hacksaw and round file to allow more movement.


Cut the redundant tab off the back as it will obscure one of the timing belt cover nuts if needed in the future.

Then fitted to the truck

Finally fit the pump and if all is done correctly it should line up perfectly. (This belt is actually slightly shorter than standard (813mm) at 800mm but you could probably get away with anything up to 840mm.

It seems rock solid just mounted with 2 bolts (with big heads) but if it gives problems in the future there is a handy bolt hole in the side of it (you can see the square nut in the last photo) where a bit of angle iron can be bolted and then fixed to the spare bolt hole on the block to the right of the top bolt.
I know Tom wanted to see this hence the extra effort on the write up.
Dan