Page 4 of 7
Re: Jay18's Grand Vitara 2.0 16v LWB
Posted: Mon May 12, 2014 10:02 am
by Jamie_stafford
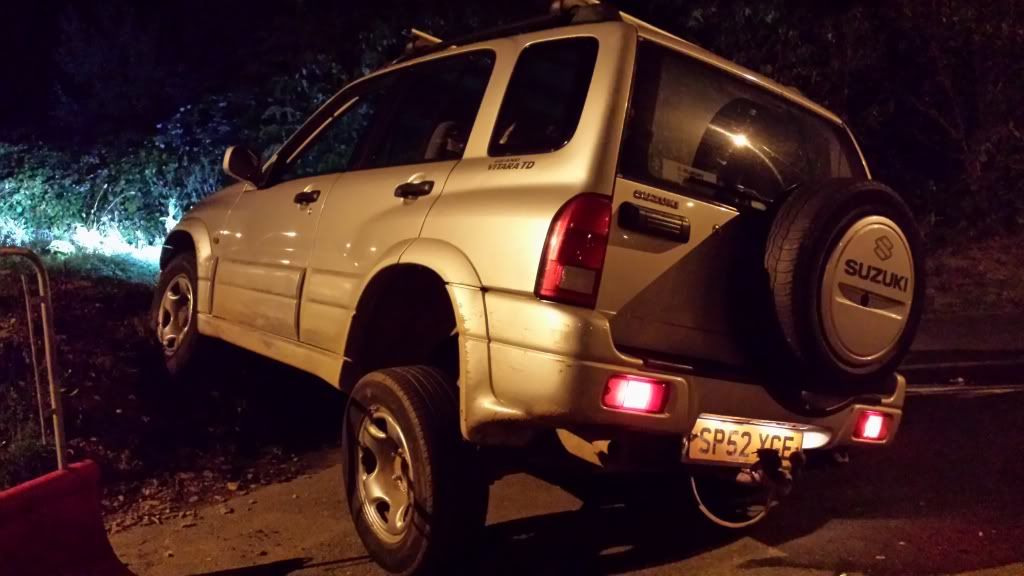
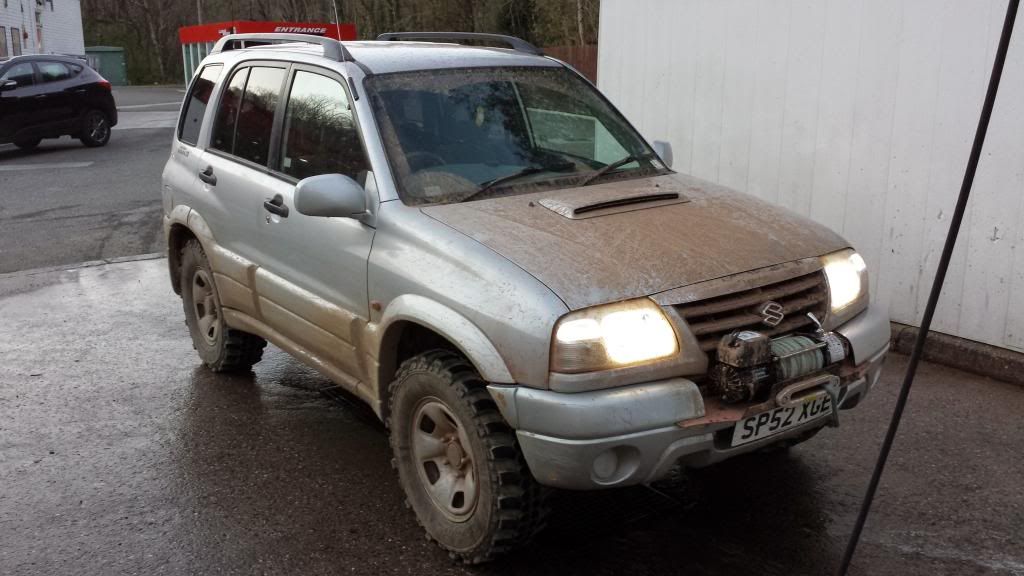
I'm more than happy to share some pics lol here's mine,
This is it when I fitted some spring spacers I made and longer shocks

And after a day doing some green lanes

Re: Jay18's Grand Vitara 2.0 16v LWB
Posted: Mon May 12, 2014 11:53 am
by Jay18
Looks good! I'm keeping mine looking standard ish, I tow a little caravan with mine so need to keep the hieght low as the towball is too high as it is haha
I have some quotes for spraying my bumpers and trim, first quote was £500, then a quote from a friends of a friend for £250 which I thought was a good quote, I messaged a breaker on fleabay for a full set of silver bumpers and trims, they said £360, and on Saturday I noticed a scuff on the trim which was fresh, so I've decided I'm not spending £250 on all nicely sprayed bumpers and trim for some idiot to smack their door against them in a carpark it reverse I to my bumper and damage it again
So rattle cans it is! Anyone got any tips? I'm thinking of sanding the bumpers smooth as they've got bubbles from a previous owner badly respraying them, then a couple of coats of grey primer, then a few coats of silver?
Any pointers are really apreciated...
Re: Jay18's Grand Vitara 2.0 16v LWB
Posted: Mon May 12, 2014 8:25 pm
by kiwizook
yea, sounds like you got the gist of it, I do recommend popping the trims off, so you can spray the top of the join area as well, this will reduce your chance of the paint lifting and flaking at the edges
Re: Jay18's Grand Vitara 2.0 16v LWB
Posted: Mon May 12, 2014 10:08 pm
by donkeychomp
I assume the bumpers are plastic...in that case use the finest wet and dry on it or you'll scratch the plastic quite badly. Use 1200 grit. One coat of primer should suffice, paint it twice then lacquer the hell out of it!
Re: Jay18's Grand Vitara 2.0 16v LWB
Posted: Mon May 12, 2014 10:28 pm
by Jay18
Thanks guys! I plan on removing them to spray them in the shed, so will be sure to get the edges done too, yes they are all plastic, but the bubbles are pretty bad, but they should come out with a wet sand, again, thanks for the advice!
Re: Jay18's Grand Vitara 2.0 16v LWB
Posted: Tue May 13, 2014 8:58 pm
by Jay18
got the wind deflectors finally after wait over two weeks, turned out they came all the way from austrailia

bought some stickers for sticker bombing so i can stickerbomg my xbox faceplate to see what that looks like, but still not sure about doing the dash panels with it :/ but they do look a pain to do in vinyl wrap, may just spray them metallic green if its not too hard to do, we will see...

- IMG_2413.JPG (1.84 MiB) Viewed 8507 times

- IMG_2415.JPG (1.51 MiB) Viewed 8507 times
Re: Jay18's Grand Vitara 2.0 16v LWB
Posted: Sat May 31, 2014 1:03 am
by Jay18
Bit of an update, and some better pics of the GV as it is now...

- image.jpg (1.79 MiB) Viewed 8464 times

- image.jpg (1.01 MiB) Viewed 8464 times
Re: Jay18's Grand Vitara 2.0 16v LWB
Posted: Mon Jul 21, 2014 7:30 pm
by Jay18
Small update..
Removed the grand vitara stickers off the rear quarters and the odd rhino badge which I'm going to stick to the back of the caravan
Oh and gave it a good clean..

- image.jpg (380.41 KiB) Viewed 8410 times
Re: Jay18's Grand Vitara 2.0 16v LWB
Posted: Wed Aug 13, 2014 5:27 pm
by Jay18
Got myself some touch up paint and some "blob remover" for repairing the stone chips, just waiting on a abrasive pen and then I can get the chips gone, next purchase is a bonnet stone guard, also got a dent in the rear quarter right next to the tail light so just need to get a punch and a hammer on that and repair the little rust mark on there and that should keep away any rust holes...

- image.jpg (1.55 MiB) Viewed 8368 times
Got some deep scratches above the drivers door handle I want to repair but not sure how to yet..
Had cruise control fitted last week and will post pics of it when I get a minute...
Re: Jay18's Grand Vitara 2.0 16v LWB
Posted: Sat Aug 16, 2014 3:28 pm
by Jay18