Page 26 of 36
Re: Tramps Truck,
Posted: Sun Feb 14, 2016 10:15 pm
by Tramp
Thanks Ant, not much really to update, but I swapped the connectors over from my old lights to my new lights, I had to do a bit of chemistry before I could solder them as the cores were all corroded with black oxide. I made up a mixture of vinegar and salt and put the bared ends of the wires in it, the oxide reacted and removed itself from the cores (sometimes rubbing with rags) I then naturalised it with bicarbonate of soda solution and suddenly the bad cores were good for soldering and I got some pretty good joints

I trial fitted my lights but struggled getting one of my earth screws out, I started drilling it but it must be hardened or something because I managed to wreck two bits on it, I'll have to try and get in with my grinder to take the head off,
I also mourned the screws (that hold the rear light in place) backwards, I've never liked the self tapper that holds them in (and it doesn't help that my bumper tabs had all worn) so I fitted a stainless steel m4 nut and bolt through the tabs so the threads poke back through the holes of the light fitting. It all seemed to be going great then I realised I couldn't get a socket on the nut as the fittings have depressions around the screw holes, the nut would fit but the socket wouldn't! To counter this I put a 1/4 drive deep socket in my drill and set it running whilst I took a flap wheel in an angle grinder to the end, it ground down nicely and sort of true, and fits snugly on the lense nuts, tada, an easy job taking ages! And still not finished! But on the bright side the mounting screws won't ever rust which was a pet hate!
Re: Tramps Truck,
Posted: Mon Feb 15, 2016 9:14 am
by Martin86
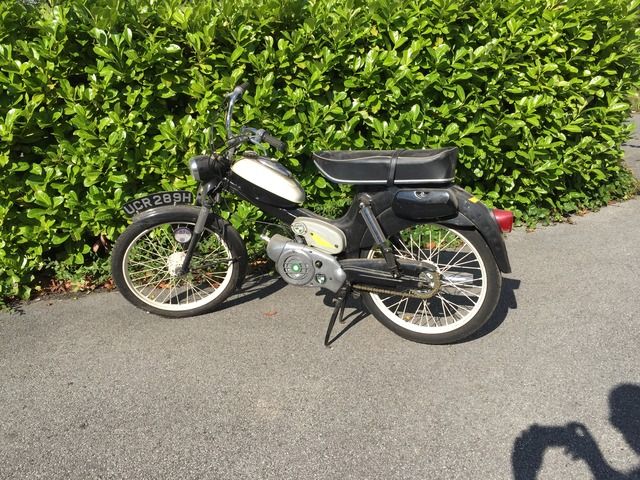
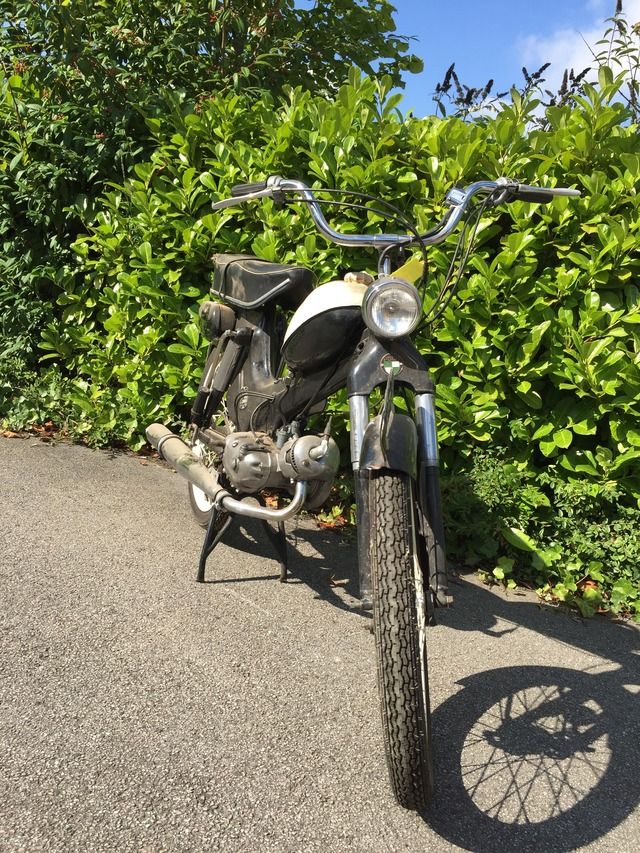
Is that a MS50D Lurking ?

Re: Tramps Truck,
Posted: Fri Feb 19, 2016 11:14 pm
by Tramp
Re: Tramps Truck,
Posted: Sat Feb 20, 2016 8:29 am
by Martin86
If you need some spares for the Puch, my friend David Evans keeps alot of parts.
Martin.
Re: Tramps Truck,
Posted: Mon Feb 29, 2016 7:29 pm
by Anton
Must remember that trick for sorting out bad wiring!
Re: Tramps Truck,
Posted: Fri Mar 04, 2016 8:39 pm
by Tramp
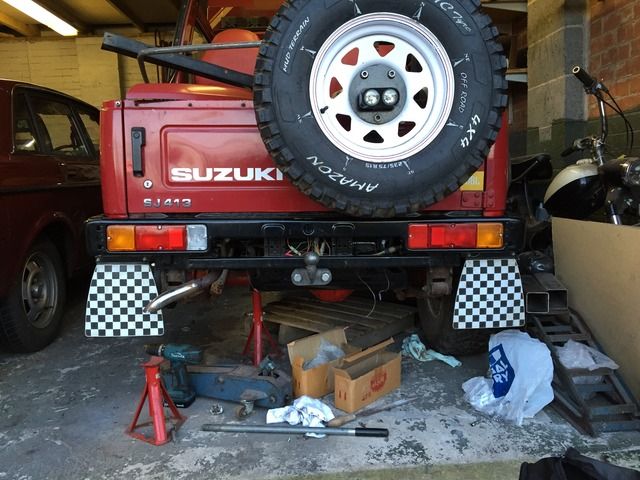
So, I got an hour in the garage today, and I used my time to make something that ive been thinking about for a while,
Something that has been annoying me is my rear number plate, because of where my towbar is my number plate is about 20mm forward of its normal position, this is fine, but it means that the number plate is secured at the bottom & it means that it can flex (not that it does much, but it doesn't feel right only fitting the screws in the bottom) I also don't like its position because the number plate lights are partially obscured. So I made this, it locates on the original screw holes, tilts the number plate and supports it
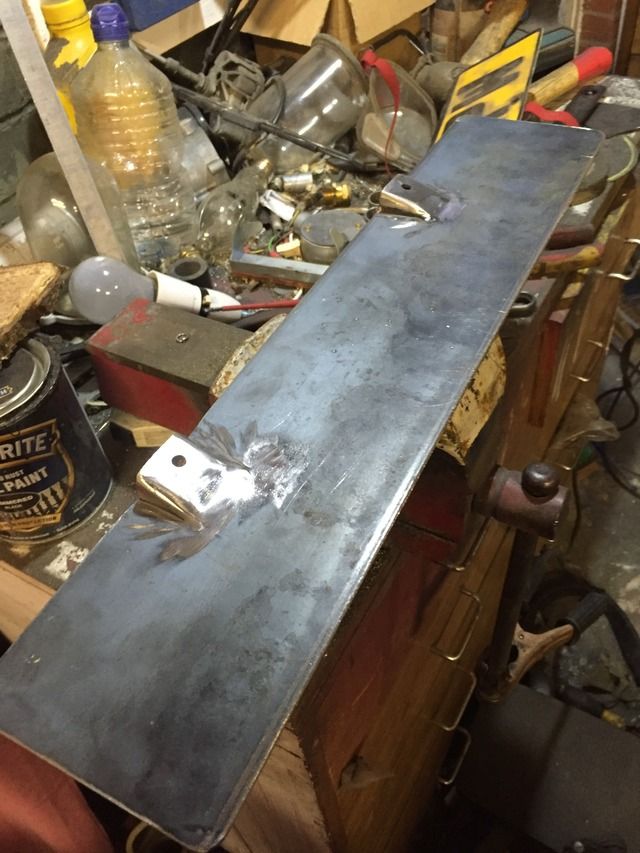
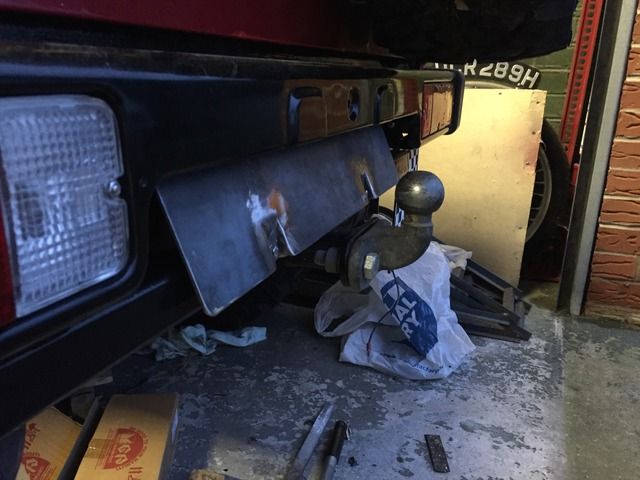
It just needs a lick of paint now,
Re: Tramps Truck,
Posted: Sun Mar 06, 2016 8:41 pm
by ianedwards
Re: Tramps Truck,
Posted: Sun Mar 06, 2016 10:27 pm
by Tramp
Thanks, I've got a quick update but it hardly seems worth posting, But what the hell I might as well document these things might I? I usually like to post at least one picture, but really I'm repeating an old job, My rear axle brake lines. I was watching a tv show and they were using a brake flaring tool, the flares they made were nice small rounded ends, wheras when I made my lines up my flaring tool made ends shaped more like musical cymbals. At first I thought it was maybe the way my flaring tool worked but the more I thought about it the more I doubted it, So I watched a YouTube video of someone using it. My flaring tool is a power hand flaring tool (which I would recommend) but unfortunately I had used the forming tool the wrong way around, using the finishing flare first, and the primary flare second - d'oh! So my new brake lines needed replacing. Yesterday I made up a new section from the t piece to the passenger side cylinder, I still need to bleed it (as I had no fluid left)
I also spent some time on my old sound system, my sub box had to be shortened as it was too big, but also had to be trimmed to make it fit better so I ended up spending a lot of time sorting that out, all though I still didn't finish it, as I still need to re-secure the trimming on it,
Anyway, hopefully sometime soon I'll be ripping up the road.
What's still left to do,
Replace the drivers side rear axle brake line
Check the drivers seat (it doesn't slide very well)
Buy a new soft top (can wait)
Wire up spotlights (can wait)
Fit sill trim fixings
Service engine
Fit new half shaft studs drivers side rear
Paint complete underside
Fix indicator/hazard fault (not working)
Re: Tramps Truck,
Posted: Mon Mar 07, 2016 7:44 am
by Jordi
Getting there Luke.
Then once this is all done you'll start thinking about more mods. (Honestly, you will, before you know it you'll have serveral thousand £££s worth of parts in the dining room (and garage, kitchen, understairs cupboard))
Re: Tramps Truck,
Posted: Sat Mar 12, 2016 11:09 pm
by Tramp
No updates really, I fitted my number plate mount and bled the passengers side rear brake, next time I play I'll turn it a round and I'll replace the drivers side rear brake line,
I also thought I'd share this pin badge I picked up from eBay,
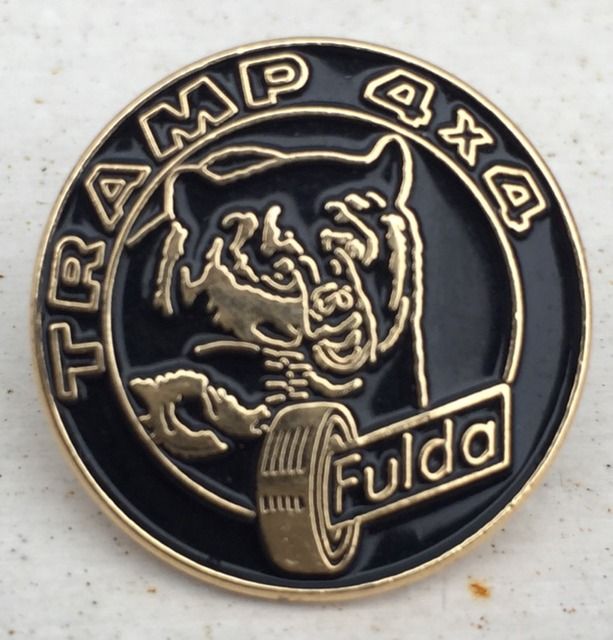
Awesome isn't it?