Page 27 of 36
Re: Tramps Truck,
Posted: Sun Mar 13, 2016 1:33 am
by SlimGrim
Haha that's cool!
Re: Tramps Truck,
Posted: Sun Mar 13, 2016 3:53 pm
by Anton
Love it - it's going on the SJ?
Re: Tramps Truck,
Posted: Sun Mar 13, 2016 9:39 pm
by Jordi
At this rate you'll be making the Muddy Good Weekend in May.
Re: Tramps Truck,
Posted: Mon Mar 21, 2016 11:37 pm
by Tramp
So look what happened today? I got an hour or so so I changed the zook around so I can do the drivers side rear brake hose
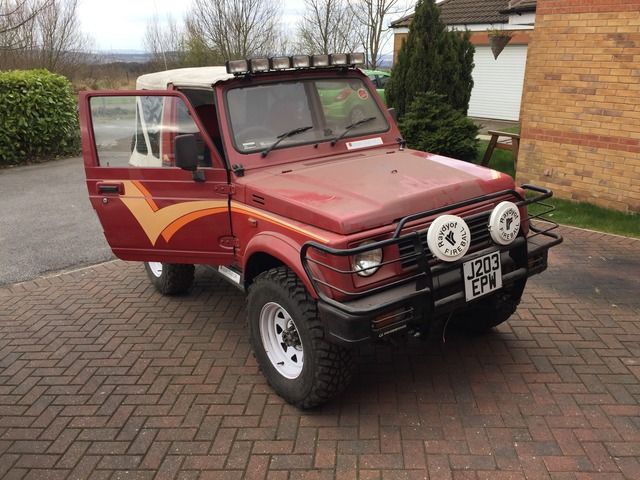
'The kraken awakes'
I then delved into my hazard/indicator not working issue, I quickly narrowed it down to the hazard warning switch repeated operation had it working in a fashion, but no where near reliable enough to send it for an MOT so I pulled it out and started the strip,
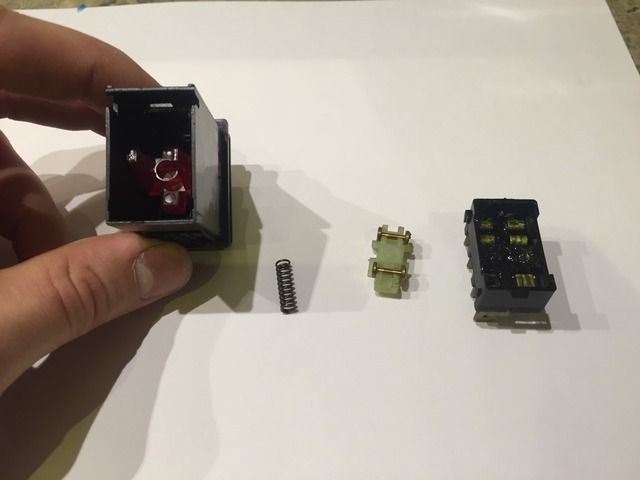
Full of old dried up grease, I cleaned it out and put some Vaseline in to repleace the tar I removed (Vaseline because it's non conductive)
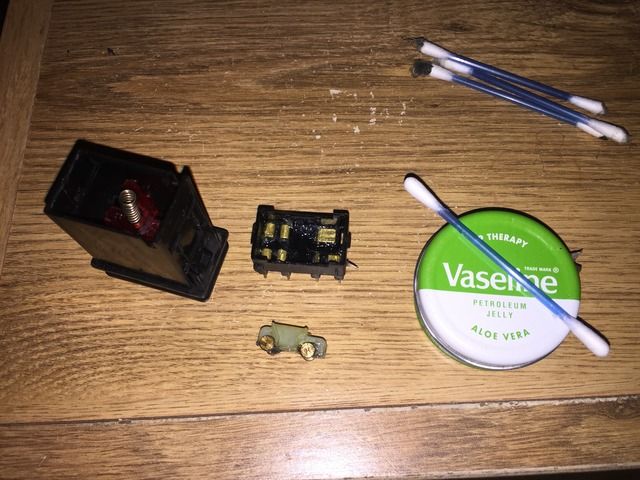
I was feeling rather smug as it all went back together, I refitted the switch and...... It didn't work, I thought I'd try swapping the direction of the carriage (as it has long nose on one side) I reassembled it and it only latches in one direction now,

i think I may have lost a spring in the disassembly process,
So does anyone have a spare hazard warning switch?
Re: Tramps Truck,
Posted: Tue Mar 22, 2016 8:34 am
by SlimGrim
Is it me or does the carriage look like a car :') anyway hope it all works out! Can't wait to see it on the road
Re: Tramps Truck,
Posted: Wed Mar 23, 2016 10:48 pm
by dan_2k_uk
Mine was the same. I filled it with electrical maintenance spray and rolled the dice. Must have worked for the MOT man as it passed.
Re: Tramps Truck,
Posted: Mon Apr 04, 2016 3:01 pm
by Tramp
Well Andy sent me a replacement switch, and we have success! Hazards and indicators both work,
So today, I got a couple of hours (same as always!) I replaced the drivers side wheel drum brake studs for new, it was easier than I thought, as I was anticipating pulling the half shaft again, but luckily I could do it all in situ,
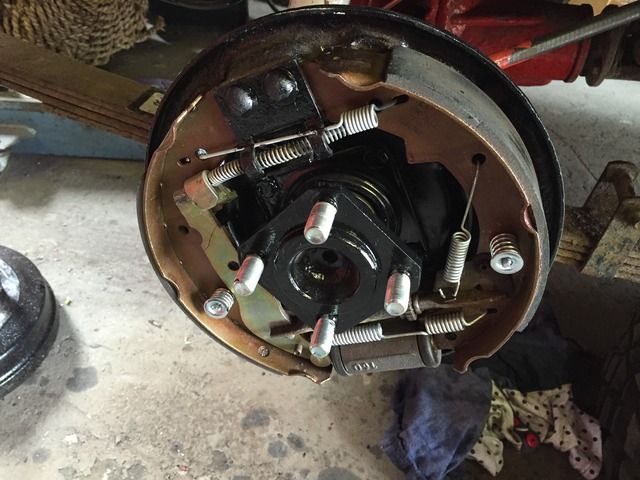
I also replaced my drivers side rear copper brake hose, another job I wasn't looking forward to but was surprisingly easy.
Re: Tramps Truck,
Posted: Mon Apr 04, 2016 4:26 pm
by Jordi
Shiny!
It's coming along well bud.
Re: Tramps Truck,
Posted: Wed Apr 06, 2016 10:22 pm
by Tramp
Thanks, yeah!!! Not much left to do now,
I fitted my wheel on the back today so that's good now. I also had a look at my drivers seat, it really struggled to push backwards on its runners, I noticed that when the bolts were a tightened the rear of the runners were a little splayed indicating the runners were too far apart on the seat base, I removed the runners, opened up the bolt holes and reattached them, it was better but not perfect, so I got them off again
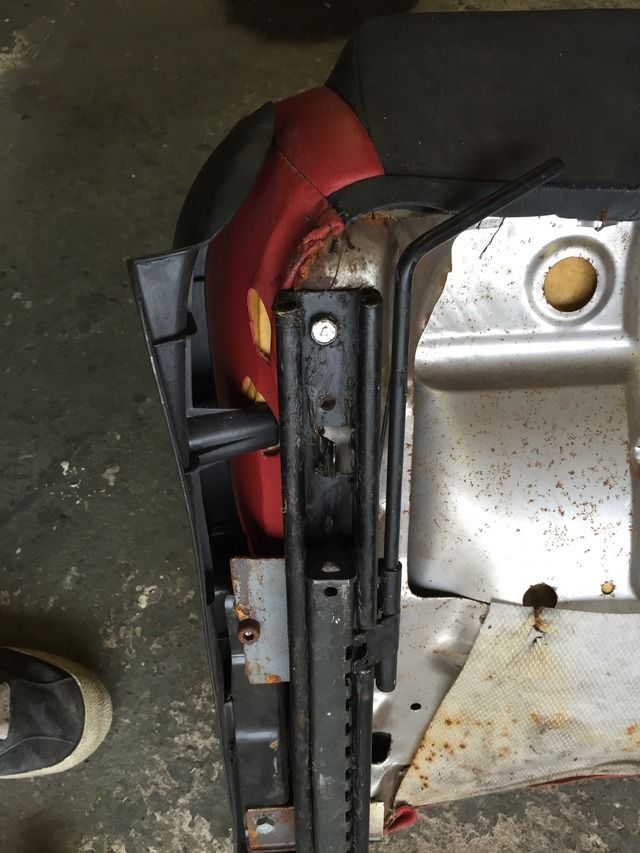
I noticed one of the plastic slides was damaged
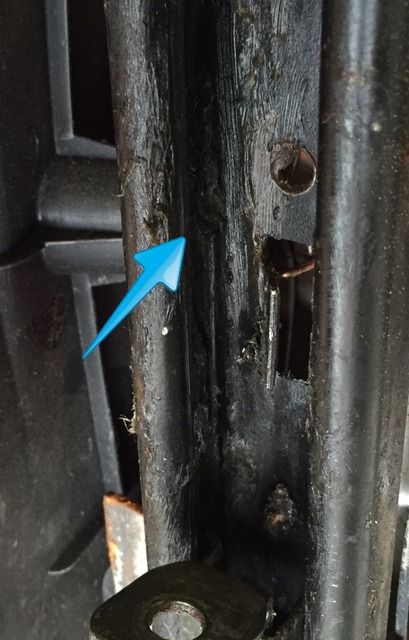
Although you can't see it very well, has anyone got any spare seat runners (of this style) going spare?
Re: Tramps Truck,
Posted: Thu Apr 07, 2016 7:00 pm
by Tramp
So today this happened
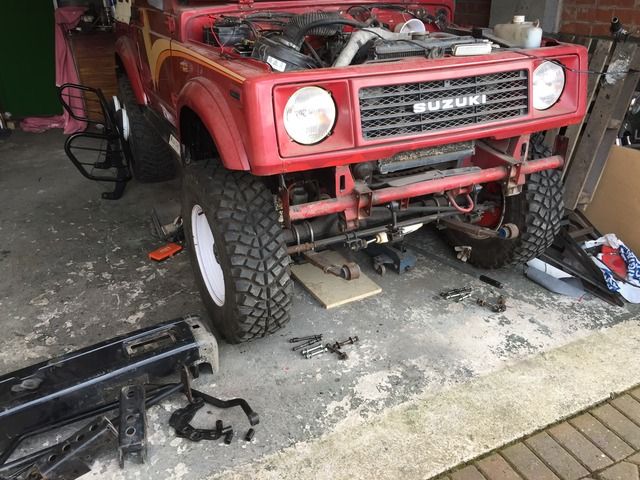
I wanted to add some braces to the chassis where the calmini kit fastens to it, I intended to do this with some suitably sized bits of tube, a by product of this means I have plenty of bits to go to the powdercoaters,
This much stuff

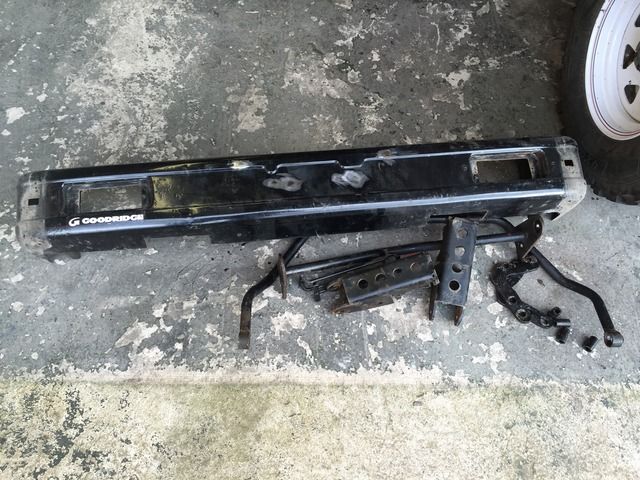
The bumper had a couple of holes in which I filled with weld and ground back, hopefully it will be all smooth and virtually invisible after its paint,
I had to remove the bushes from my anti roll bar which was a pain
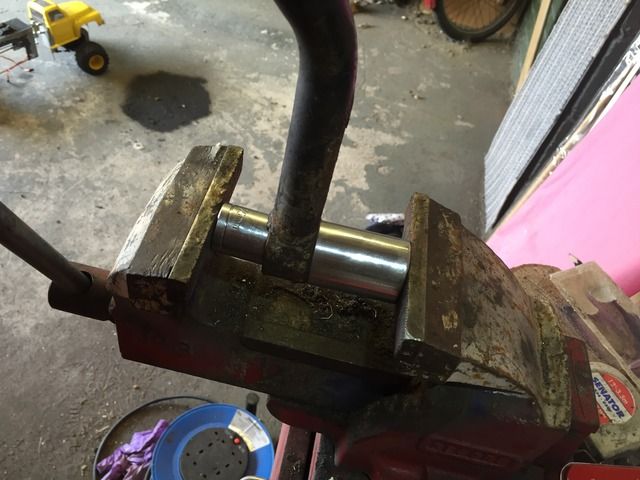
I guess I'll be looking for some new bushings for them then!
I was also a little worried about the ahackle,
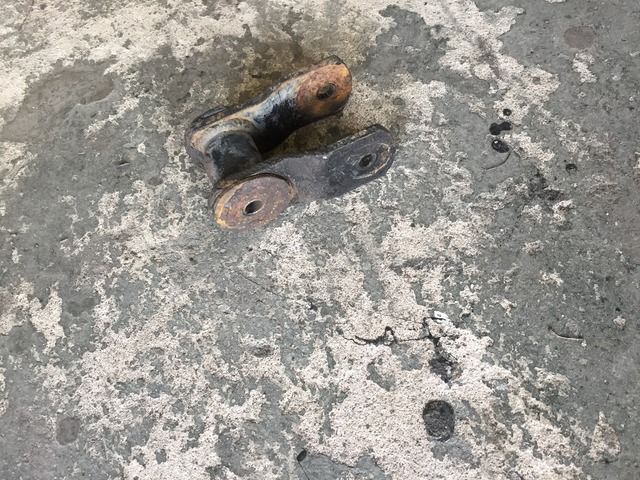
It has more bushes in and I don't really want to replace them, I'll have to see if I can blast it with the bushes in situ and paint it so I don't have to replace them, this is a shame because if I sent it away with the other bits I would probably be able to get them galvanised too,