Page 7 of 36
Re: Tramps Truck,
Posted: Sat Jun 22, 2013 9:49 pm
by Tramp
I can get the nut off but can't get the arm off the splines, if its not going to fail its test through it im happy to leave it and keep topping it up! I know I've been putting the welding off for ages now, i just need to get my ass in gear. I'd like to put my original t box back in it and fit the bull bar (some how) but its the welding that is holding me back more than anything.
i should add with regards to the drop pitman, I did try a small sprocket puller which broke and a huge sprocket puller which kept coming off. My next thought was a ball joint splitter type tool
Re: Tramps Truck,
Posted: Sat Jun 22, 2013 9:52 pm
by Jordi
Whats to weld?
Why you swapping the t/box?
Re: Tramps Truck,
Posted: Sat Jun 22, 2013 9:57 pm
by Tramp
Sills, arches and around the filler in the floor, I wanted to swap because the rocklobster is too low for me on the road, I've been intending to swapping it back for ages but I want to do the seals and out board bearings in my old box before I swap it back in,
Re: Tramps Truck,
Posted: Sat Jun 22, 2013 10:03 pm
by Jordi
I'd need to see how bad the rot is first to know if i'm good enough to do it.
Are you patching the sill? Putting new ones in? Or box section?
Re: Tramps Truck,
Posted: Sat Jul 13, 2013 7:49 pm
by Tramp
Well I had an hour today so I thought I'd do a little job....

- 410 bulbar mounts
- image.jpg (2.01 MiB) Viewed 6224 times
I painted these a few days ago

- My SJ without the bumper or brackets
- image.jpg (2.48 MiB) Viewed 6224 times
Then removed the bumper so I could get into the mounts

- With them fitted
- image.jpg (2.33 MiB) Viewed 6224 times

- image.jpg (2.62 MiB) Viewed 6224 times
I fitted the spacers and the bracket ready for me to get the wrap around bull bar painted I also need to make up x4 3.5cm spacers to fit as these brackets are now on the 'wrong' side of the chassis
I also noticed these

- image.jpg (2.25 MiB) Viewed 6224 times
Which I had forgot about!
Re: Tramps Truck,
Posted: Sun Jul 14, 2013 10:46 am
by andyrew
Looking good dude. Post up some pictures of the rust. You might get someone who can offer some help.
Re: Tramps Truck,
Posted: Thu Oct 31, 2013 9:37 pm
by Tramp
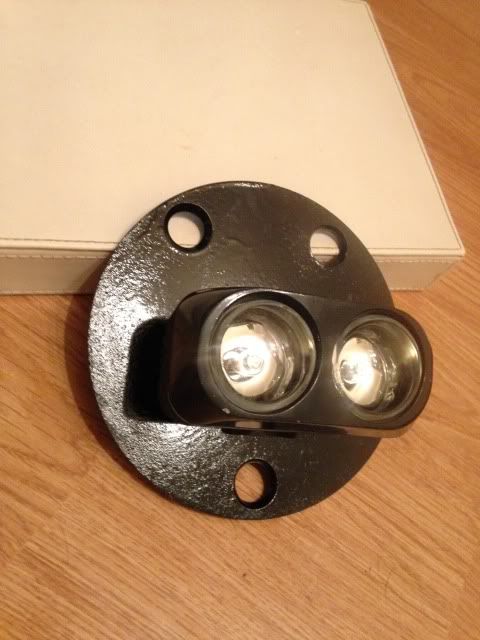
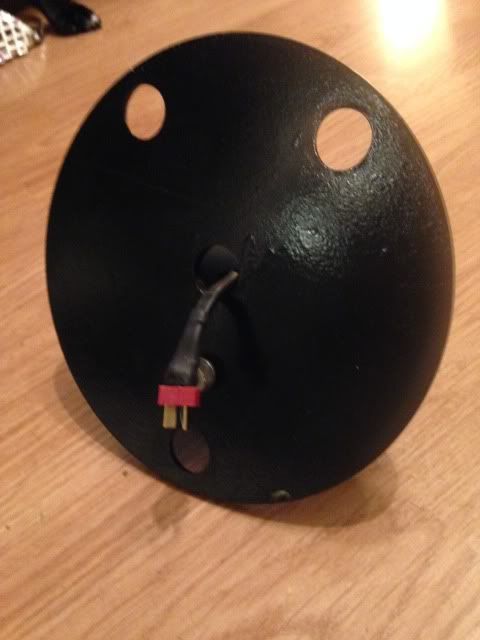
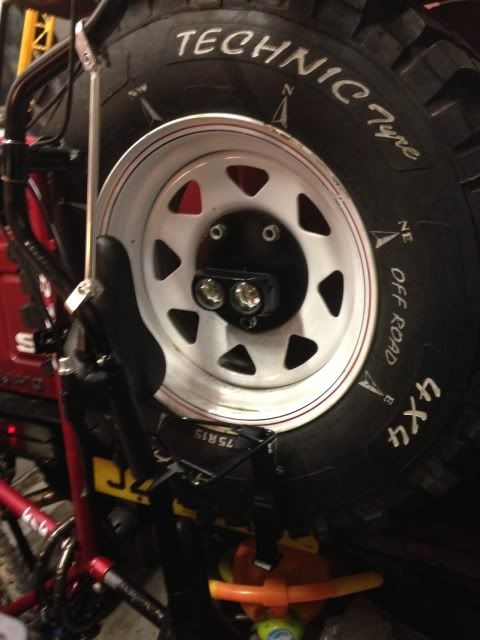
Go me - I actually did something else on my Suzuki this month/year, I re-painted my rear spot light holder. When I first fitted it I had it powder coated which was great but when I tightened the retaining nuts it chipped and flaked the paint off, after that the water got in and rusted the paint from the plate, I blasted the old powder coating off and gave it a once over with hammerite spray paint, no primer required,


I've also ordered some h3 SMD LED replacement lamps which I'll be fitting in due course!
Re: Tramps Truck,
Posted: Thu Oct 31, 2013 9:44 pm
by Jordi
Any of the pre MOT work done?
Re: Tramps Truck,
Posted: Thu Oct 31, 2013 10:59 pm
by Hodgie812
Just looking at your build, love the truck. I'm new to zuk's and have a vitara, so i'm not too clued up on sj's etc. If you haven't got round to sorting the leaking steering box yet, I remember an an old trick that worked with the land rover boxes, was to pour some brake fluid in with the oil. It will swell the seals and stop the leak for a while. Might be worth a try? Do not do this if you have power steering as it will wreck the seals in the pump and cost a fortune to put right.
Anyway good luck with it all.
Jamie.
Re: Tramps Truck,
Posted: Thu Oct 31, 2013 11:52 pm
by Tramp
Thanks for the advice, I'm pretty sure it's the labyrinth seal that's gone on the output as plenty of heat was applied when the pitman arm was changed to the drop type for the lift! I think I'm going to put some landrover one shot swivel housing grease in as it's a little more fluid than straight grease,
Here's a pic of it fitted!

It just needs everything else doing now!


