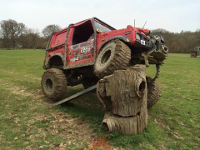
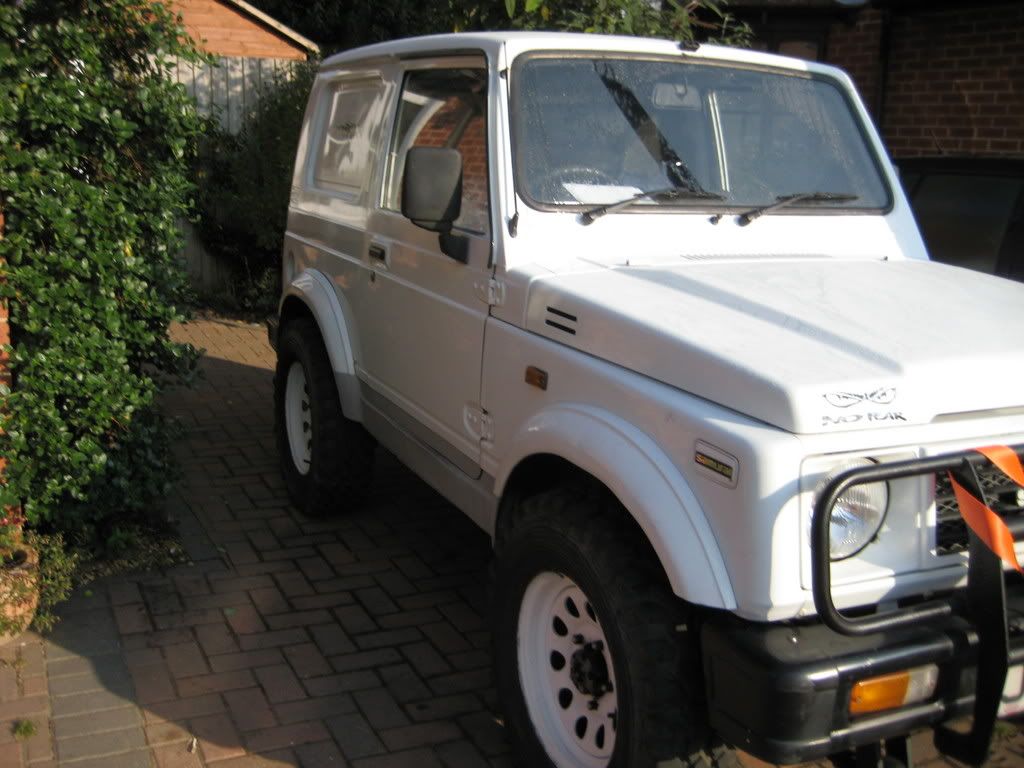
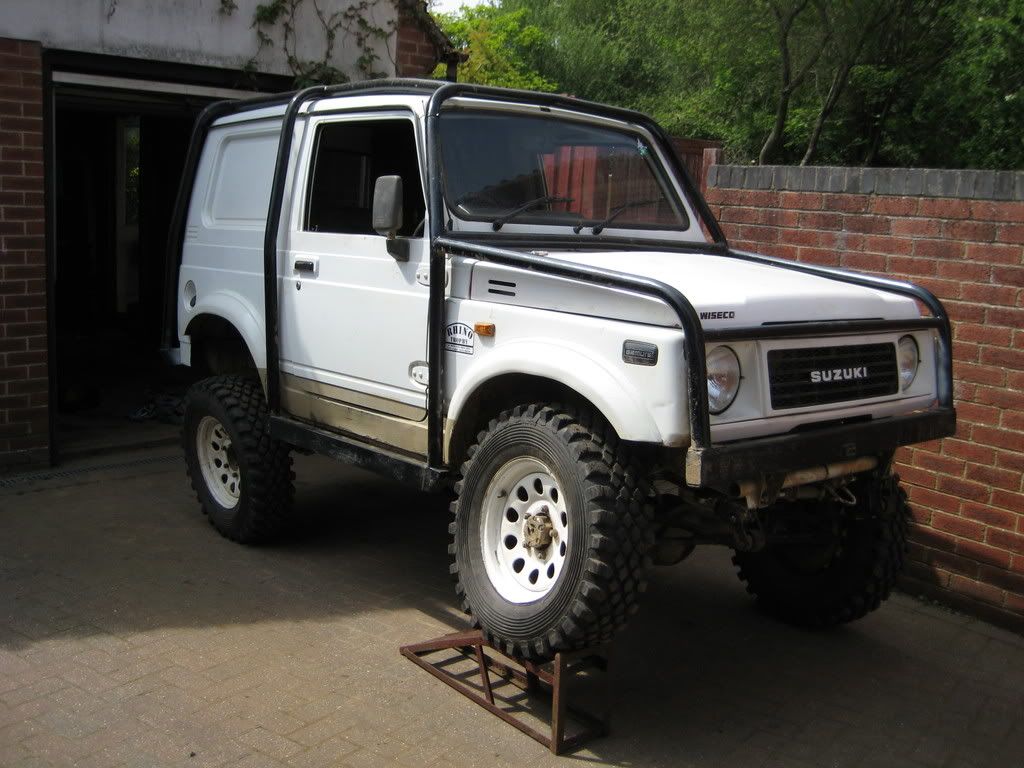
sorry its been a while since i have done an update, i ahve been busy at work these last couple of mounths, for those who havent seen my suzuki heres the link to the pictures of it after it had been shot blasted and some of the repair work.
http://forum.difflock.com/viewtopic.php ... highlight=" onclick="window.open(this.href);return false;
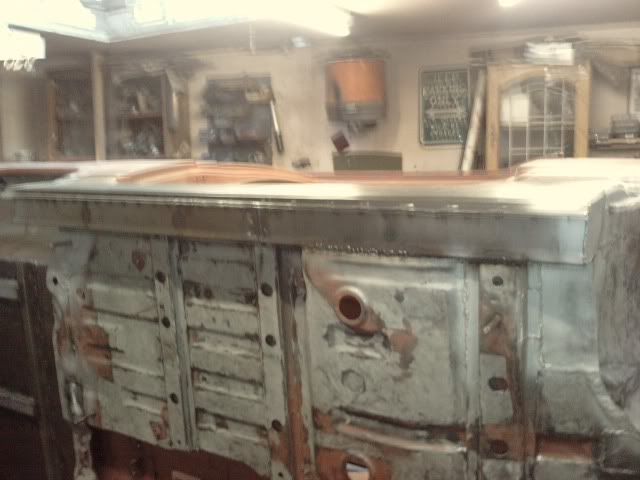
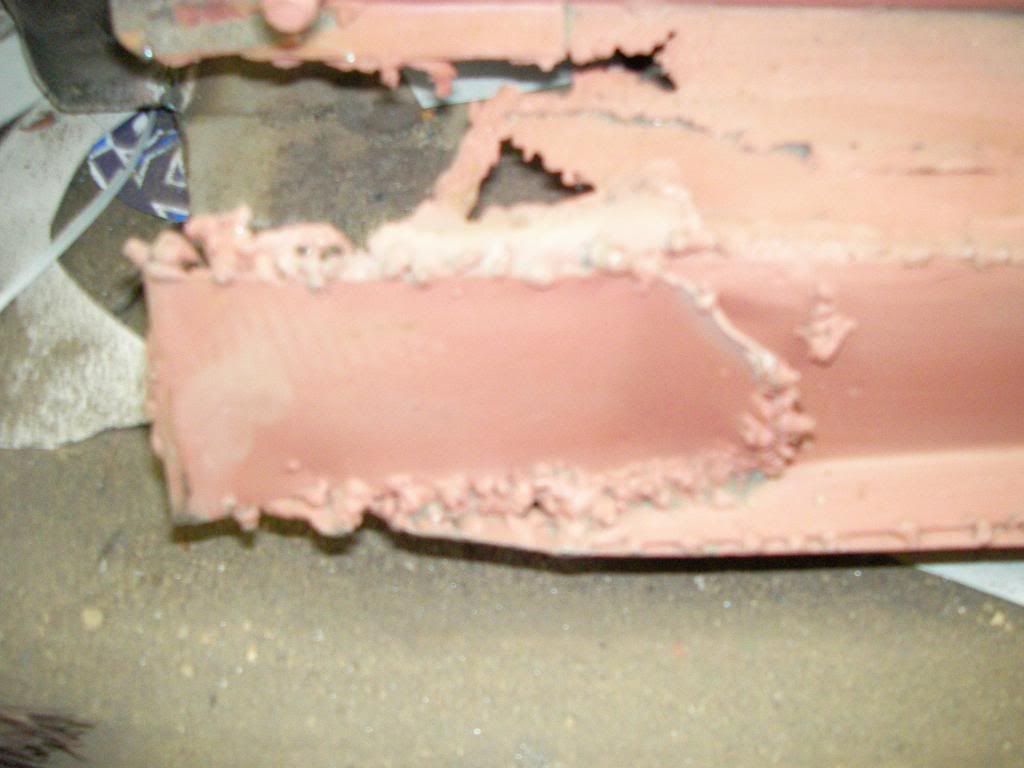
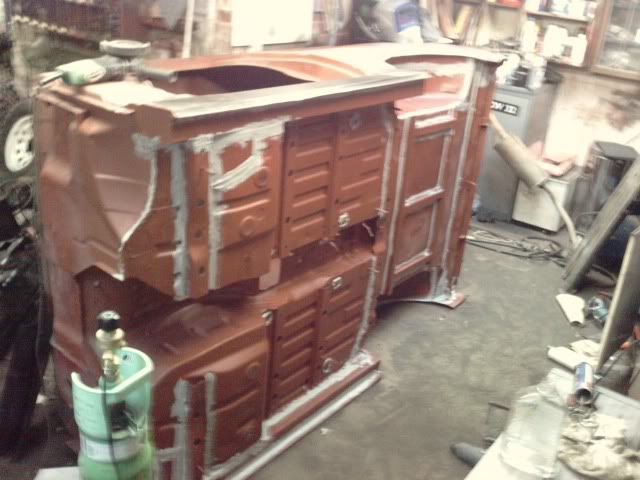
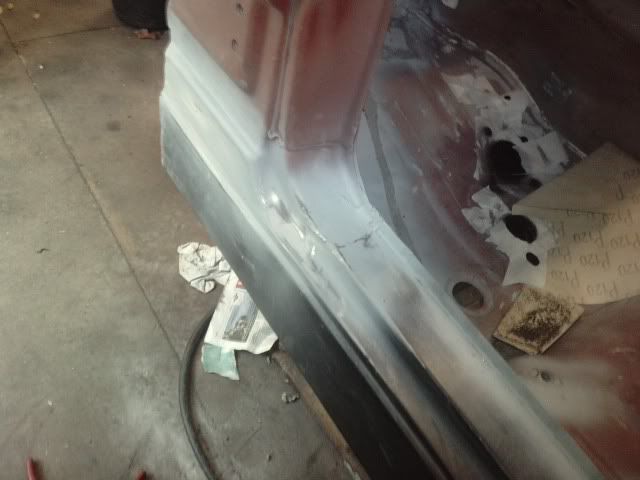
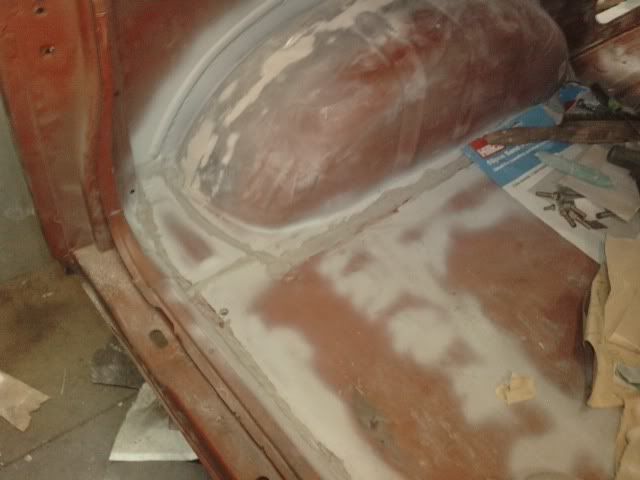
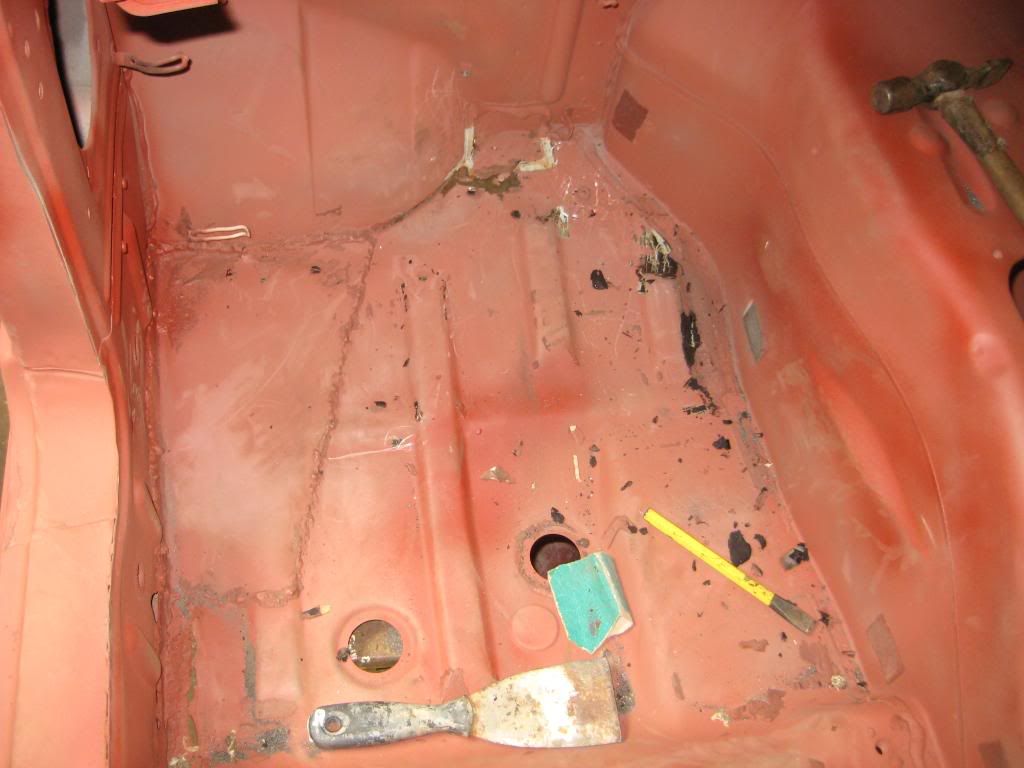
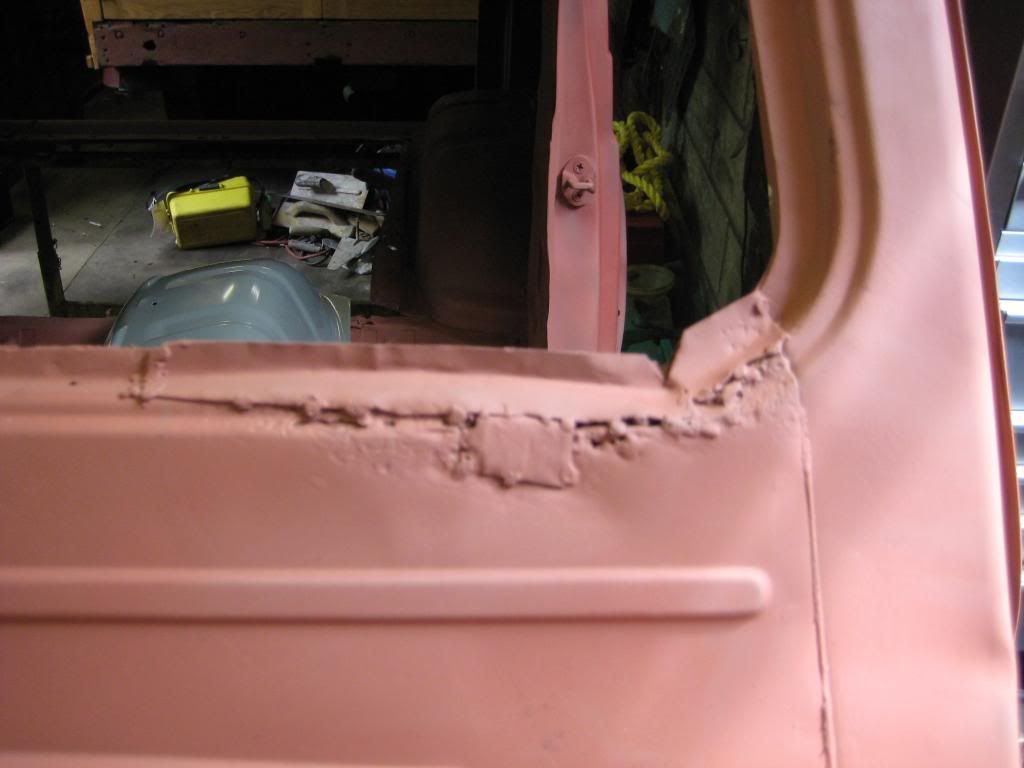
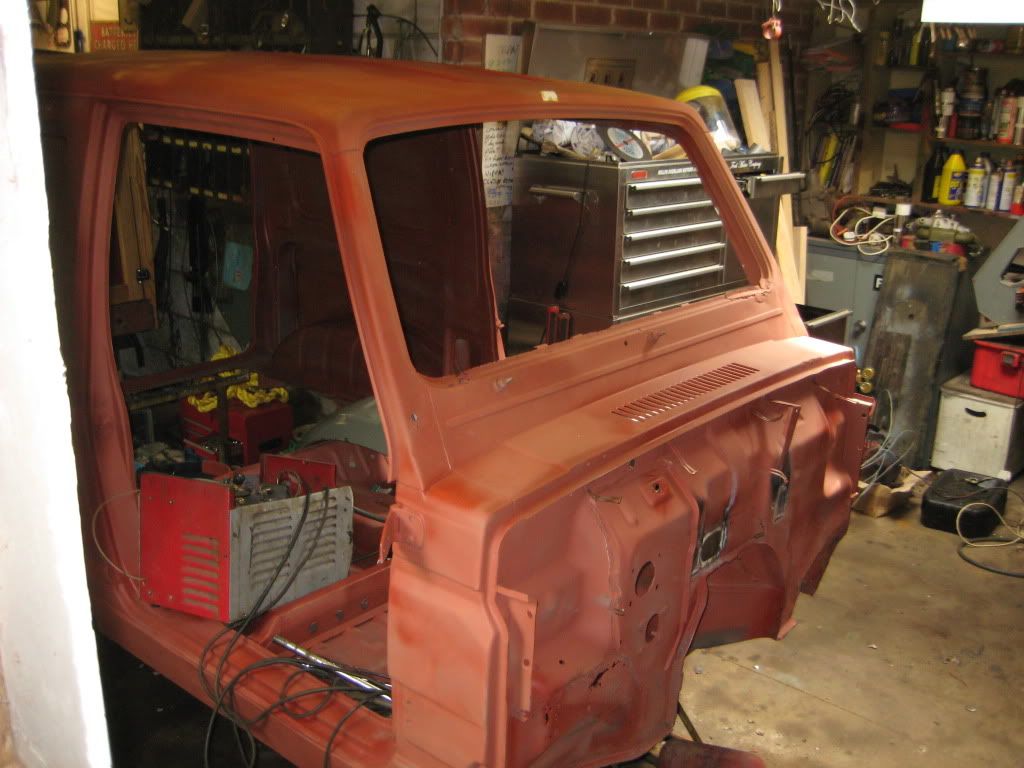
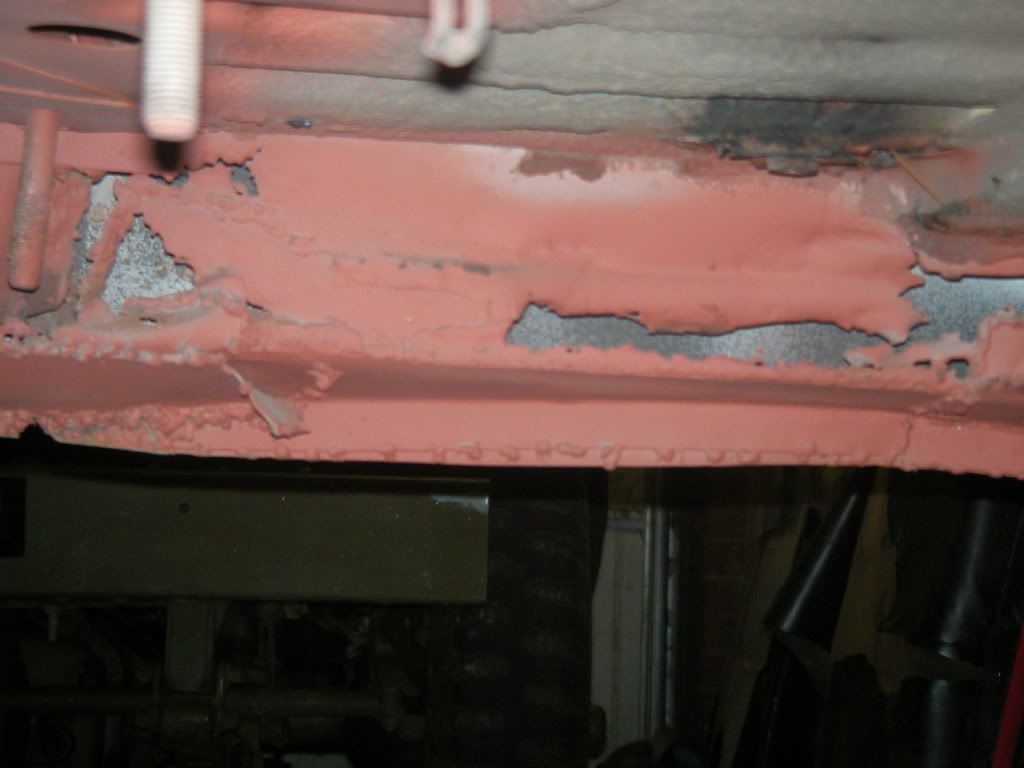
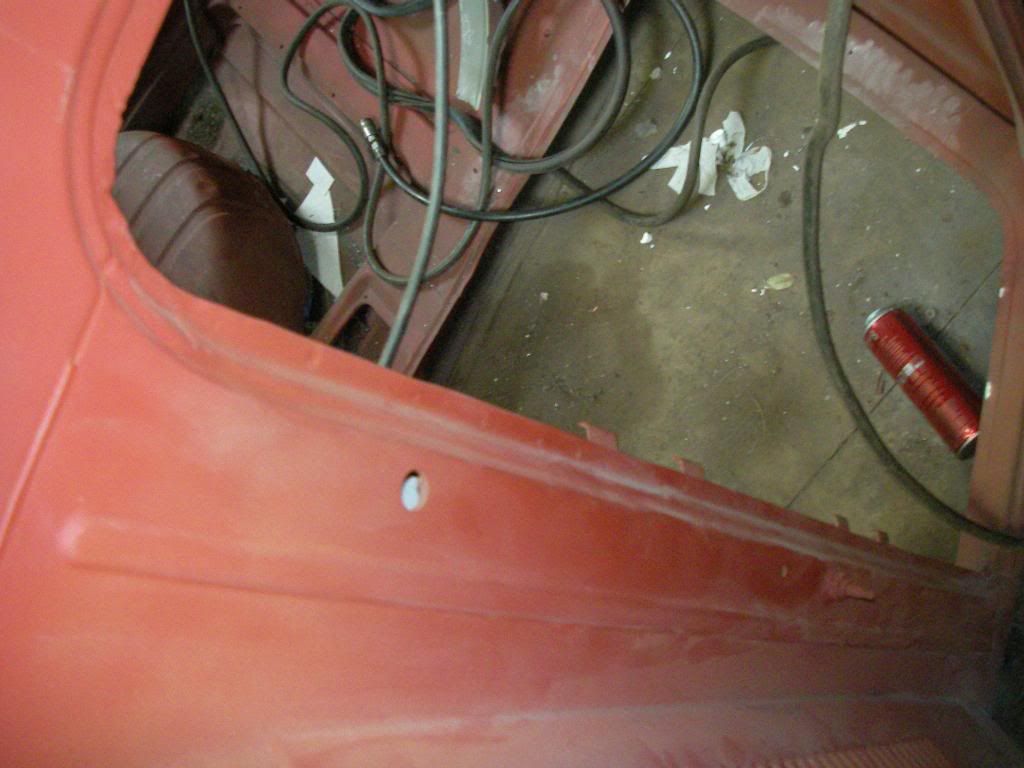
i am currently doing the sills and the inner sills and the floors, i have cut out the rot and as you can see there isnt much left!
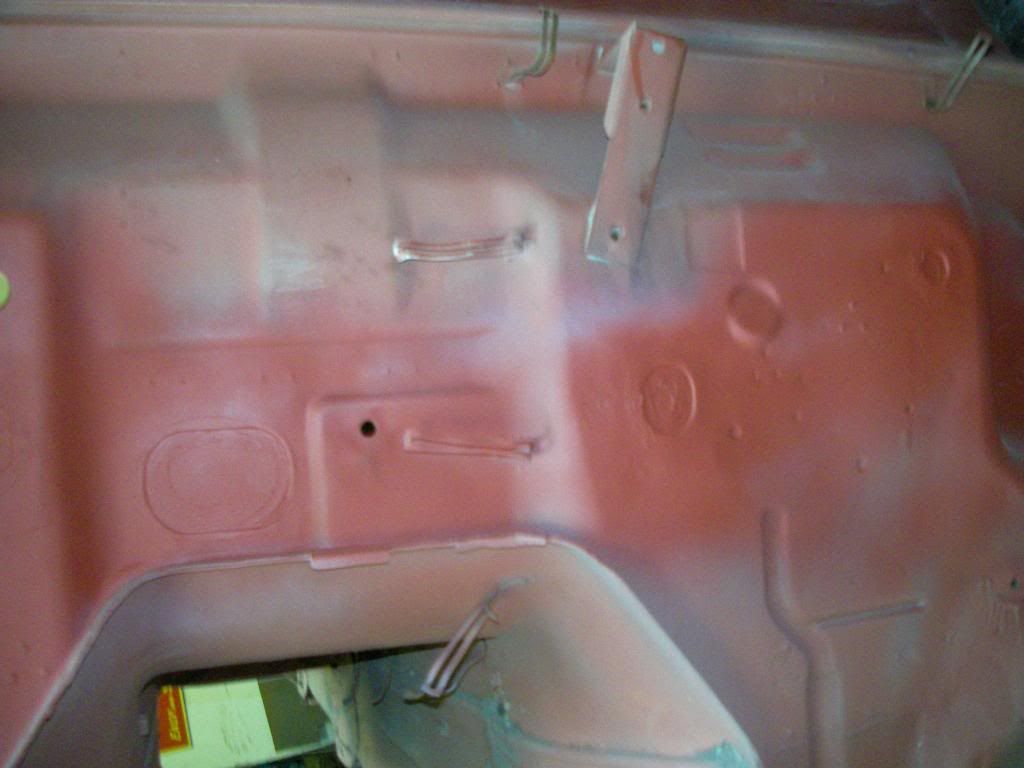
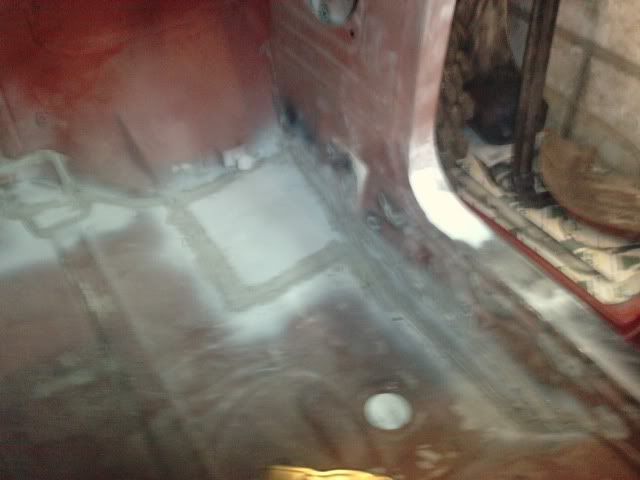
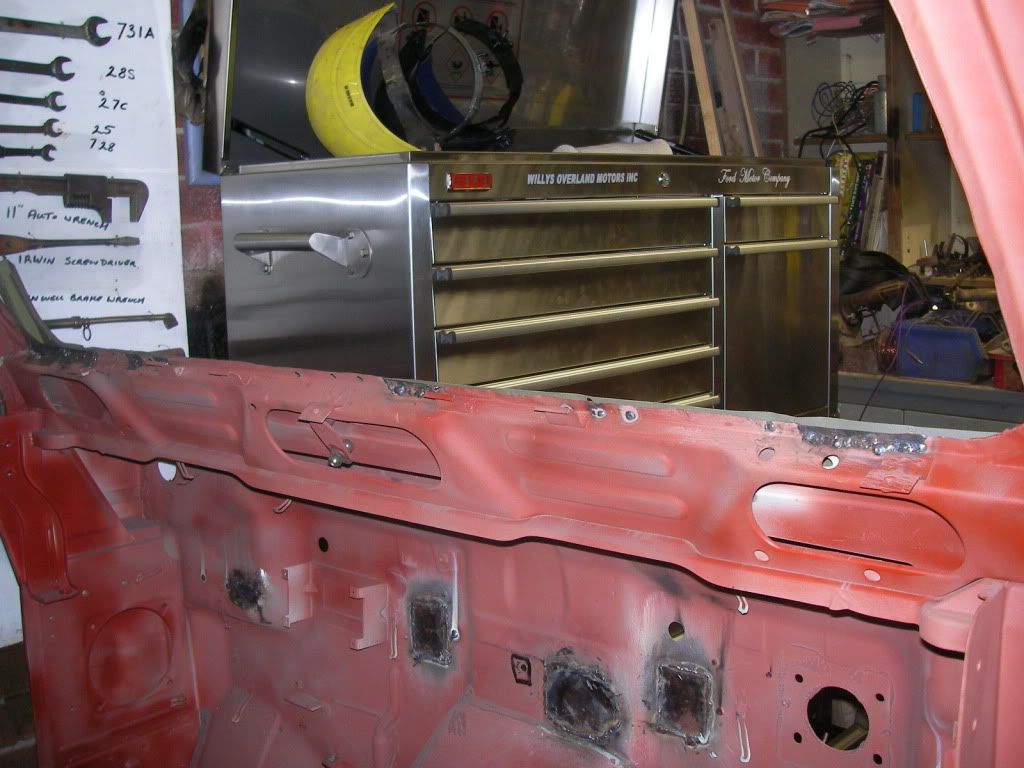
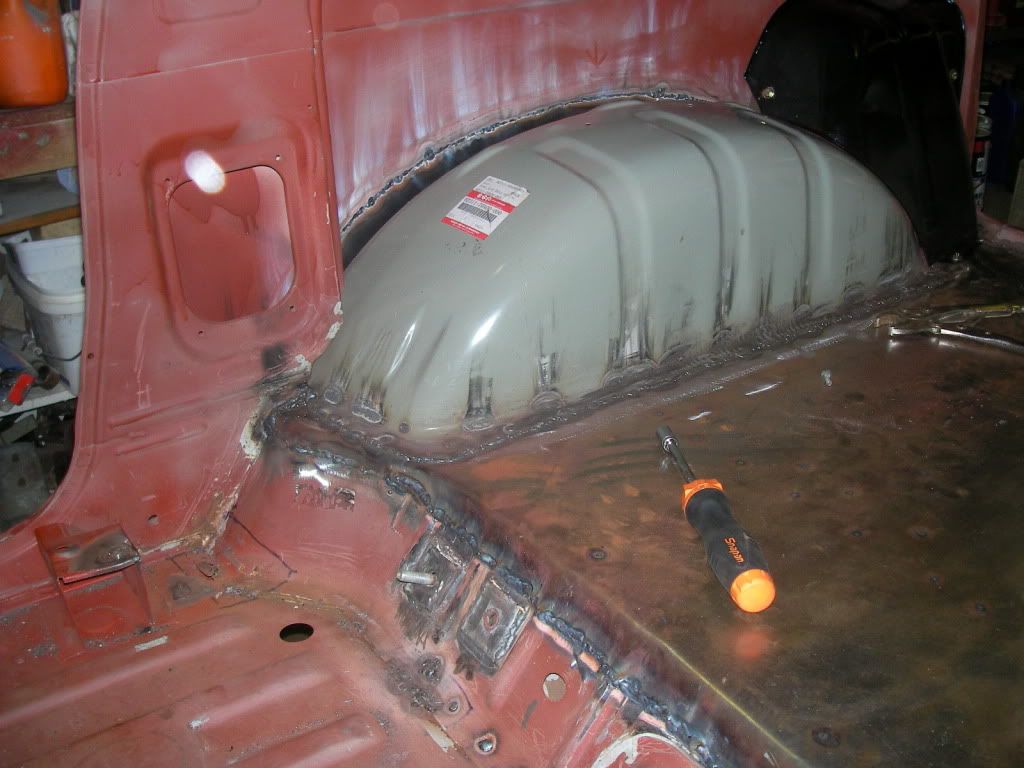
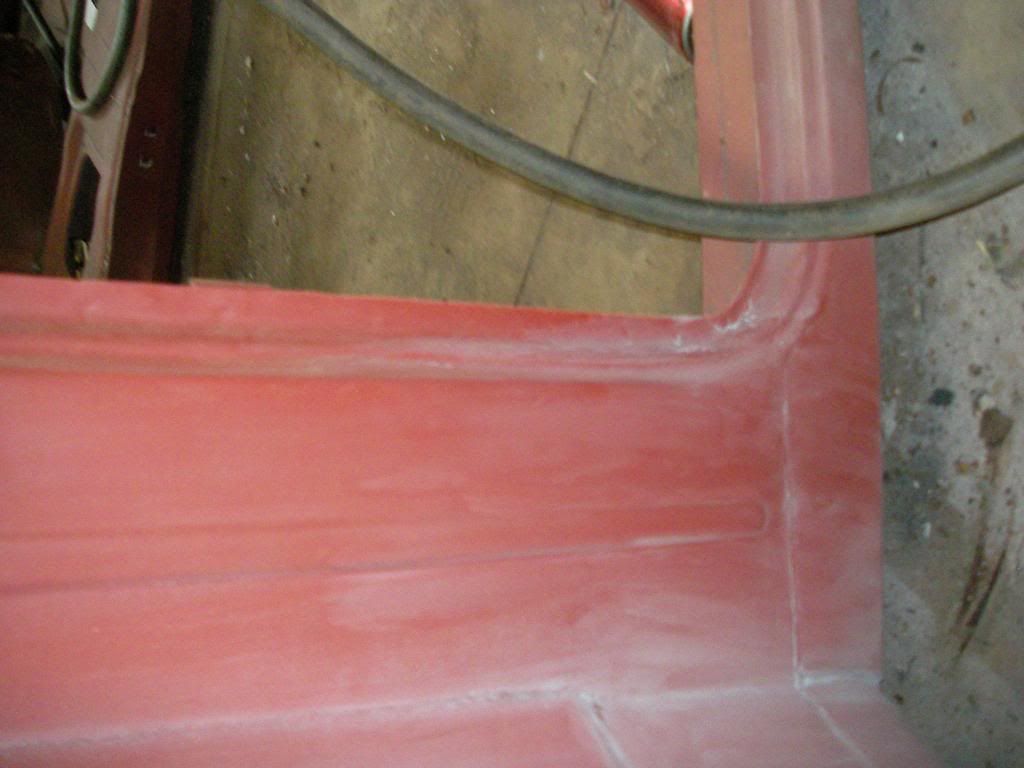
i will post some pictures up of it now as i have repaired all the inner sill and the drivers floor.
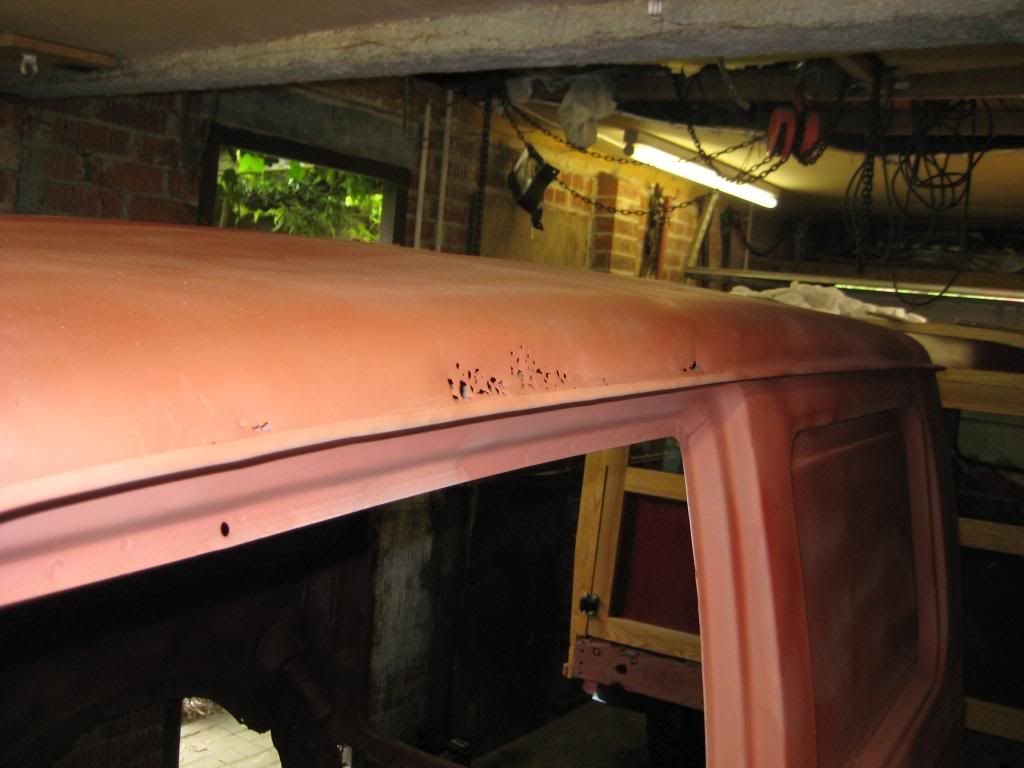
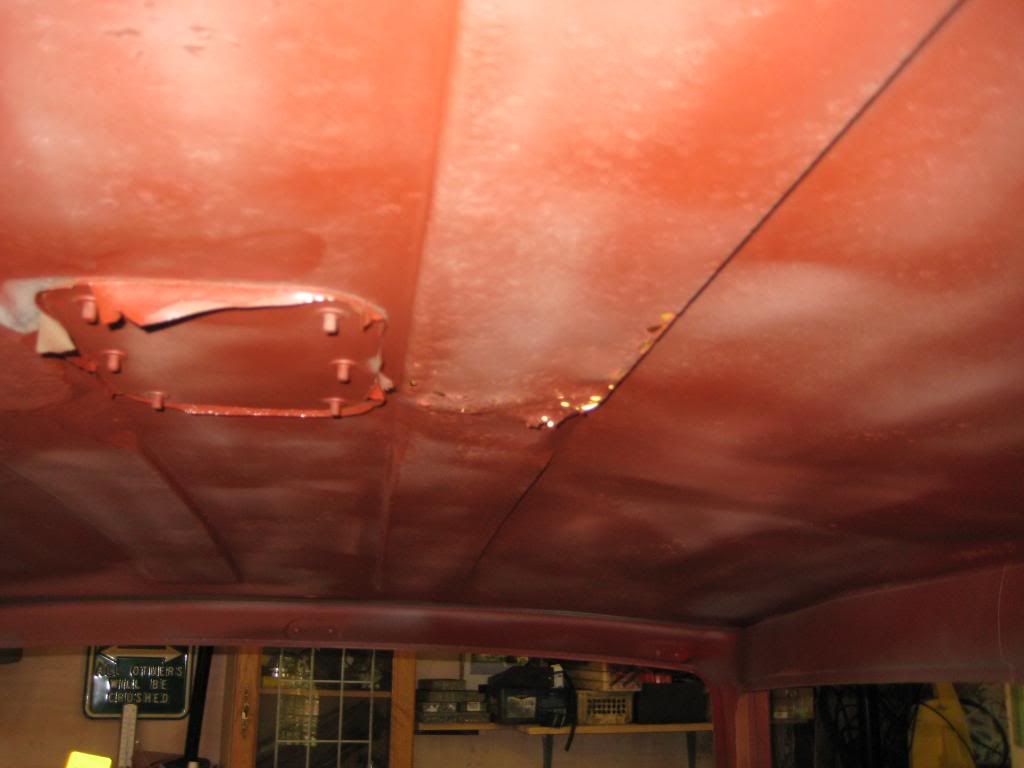
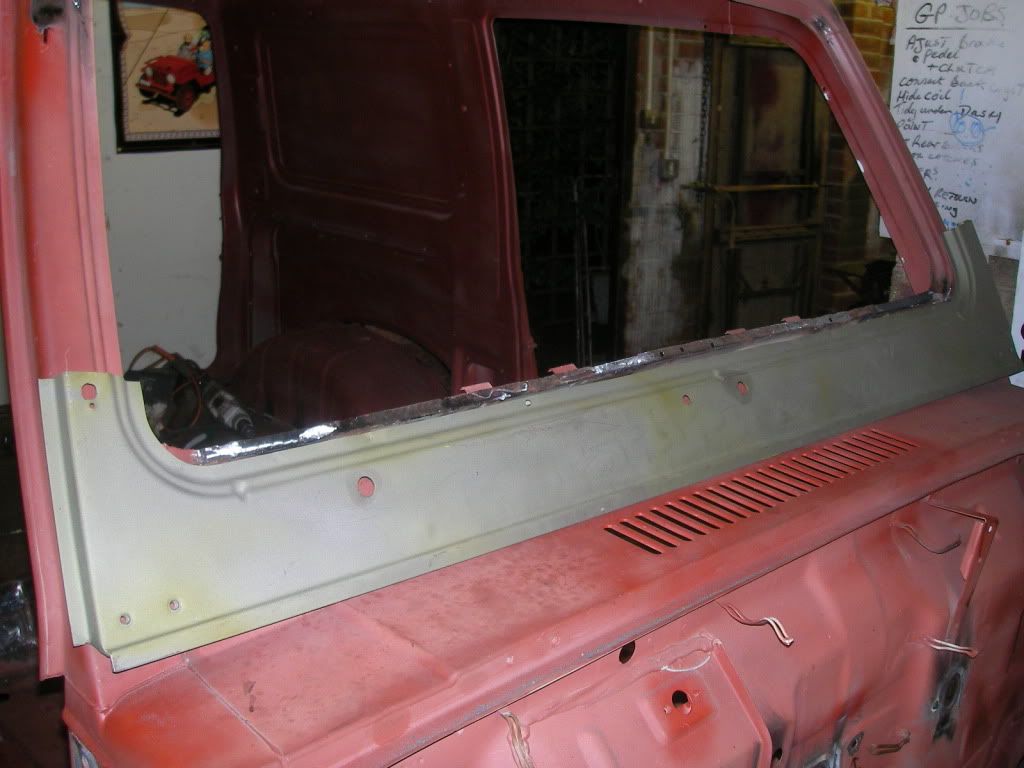
ill also get some pictures of the windscreen whitch is now also done. after teh other sill is done along with the other floor i will do the centre of the roof and the passenger wheel arch, whitch i now have thanks to steve, big thanks to him.
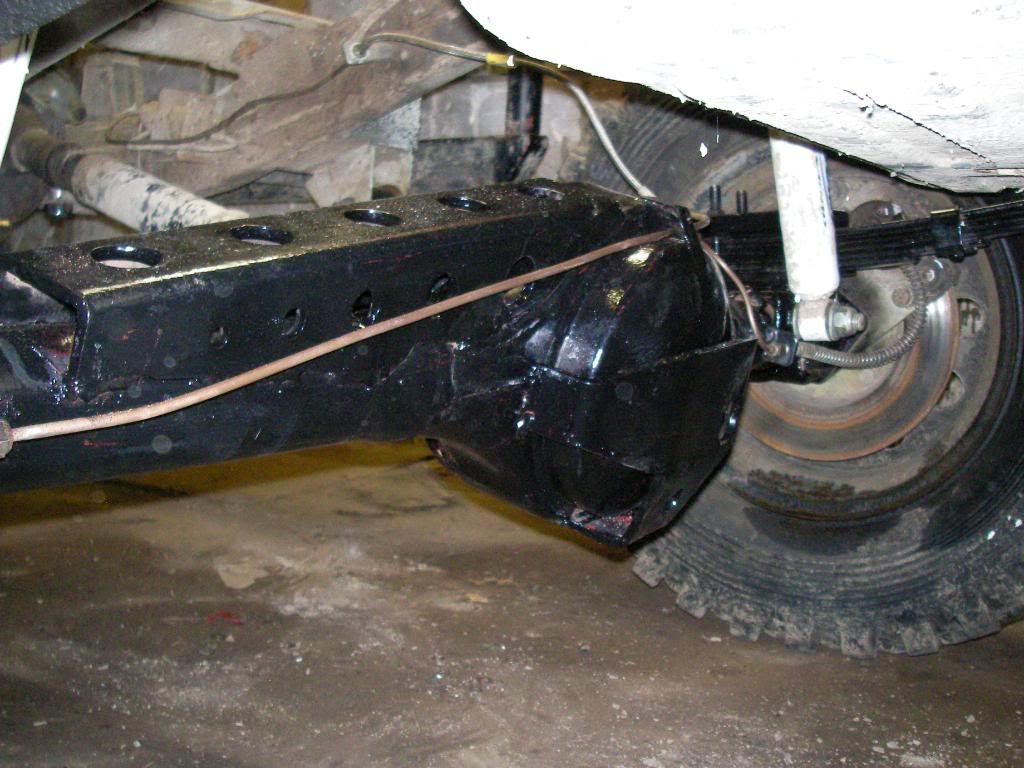
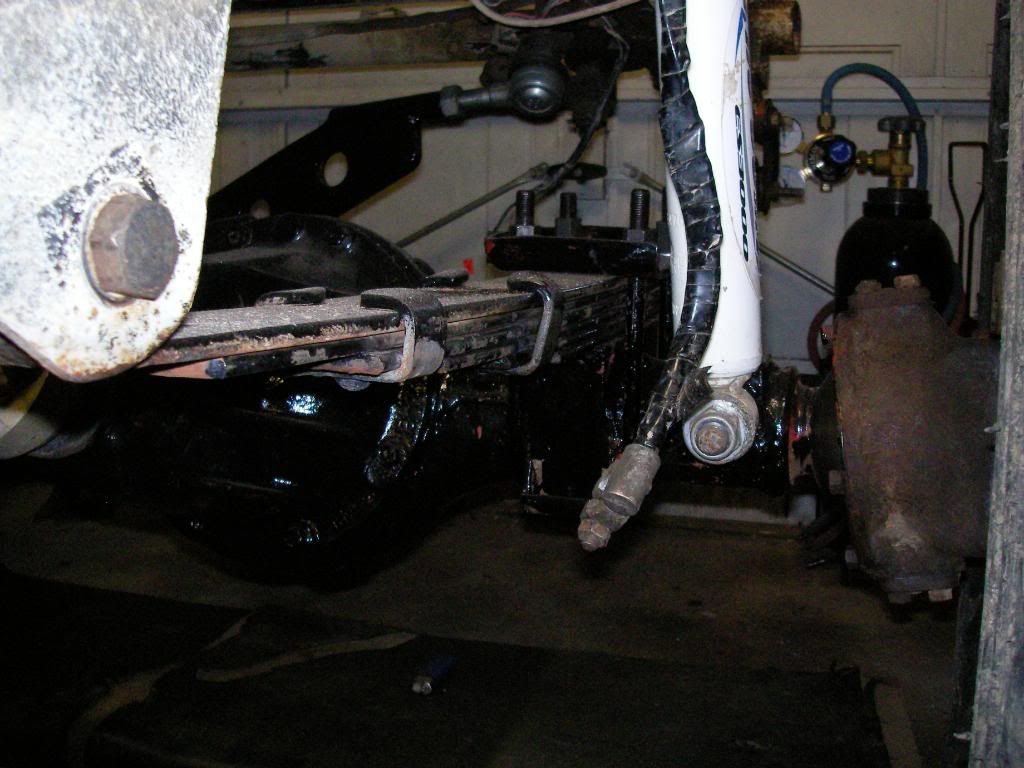
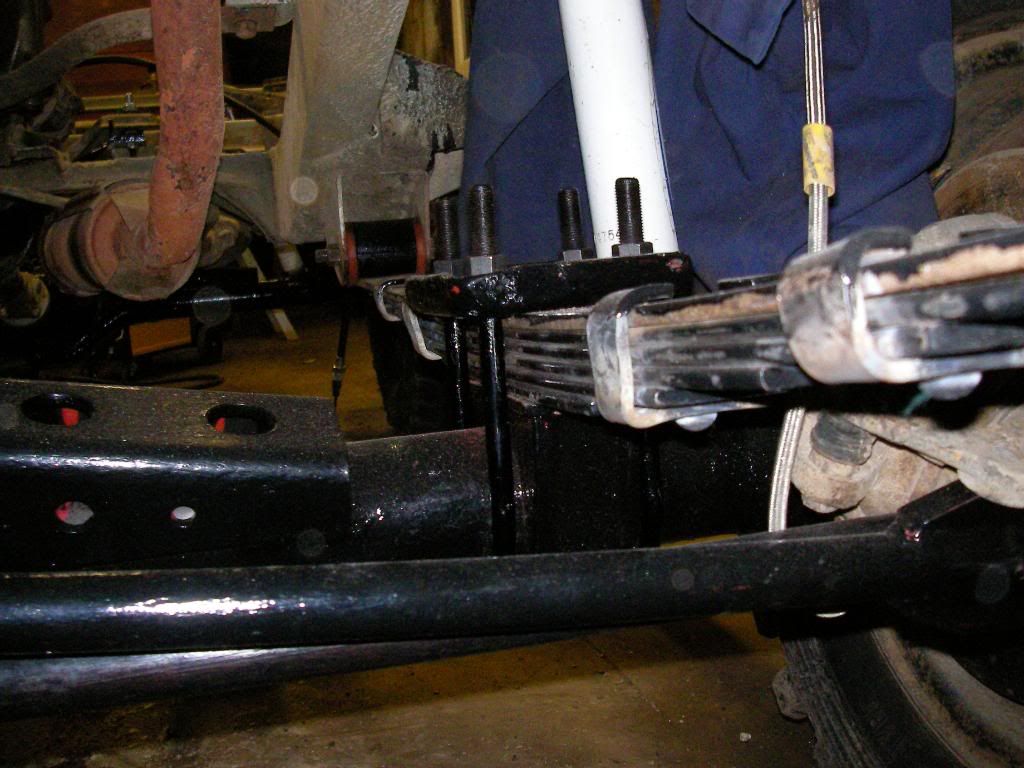
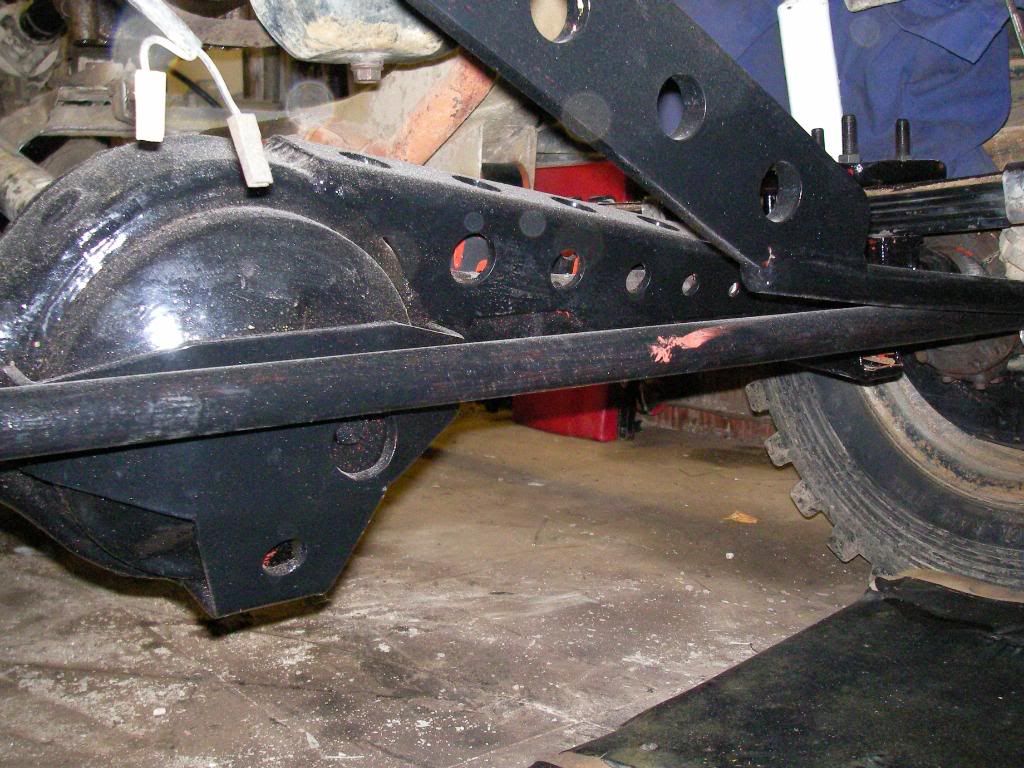
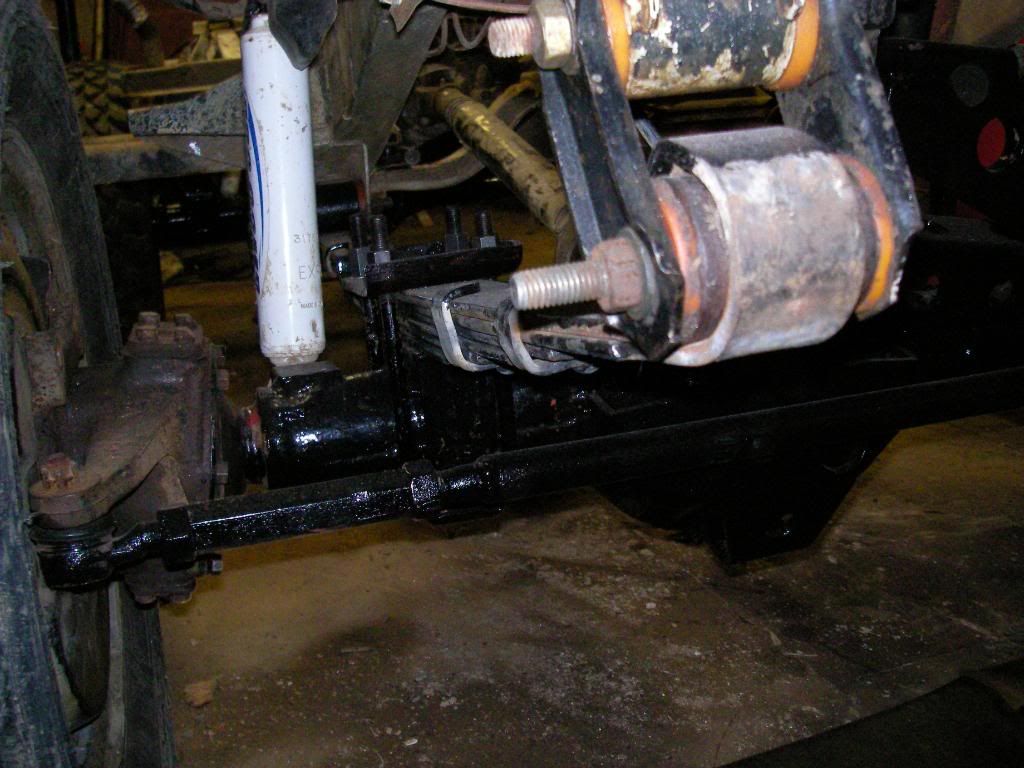
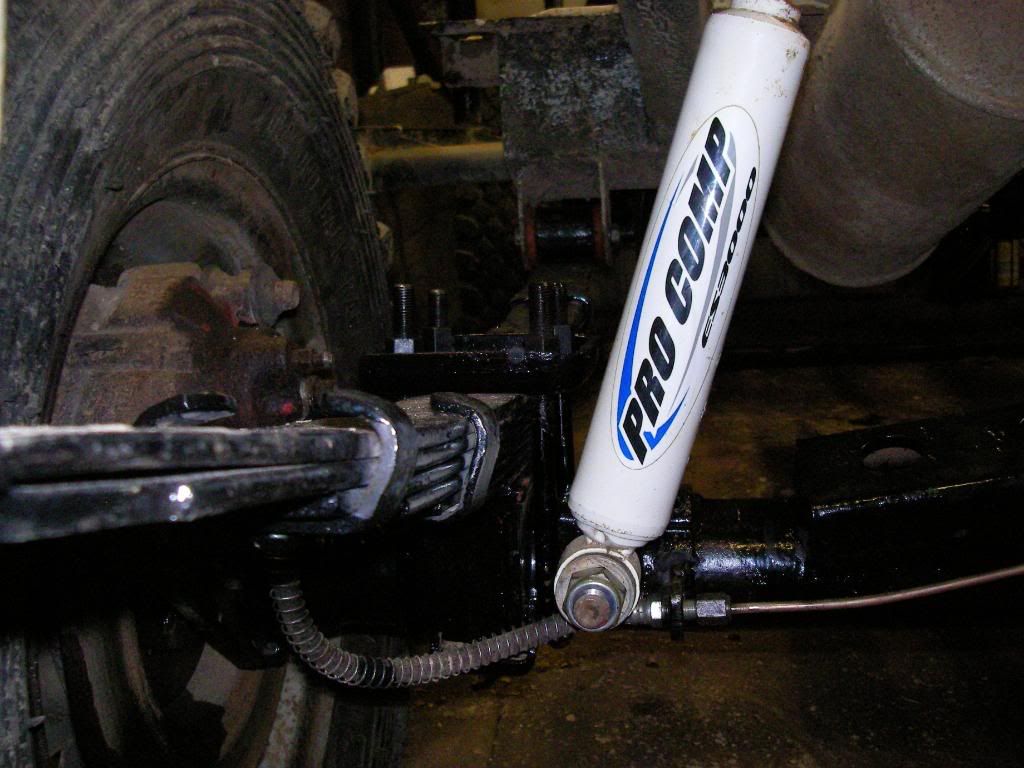
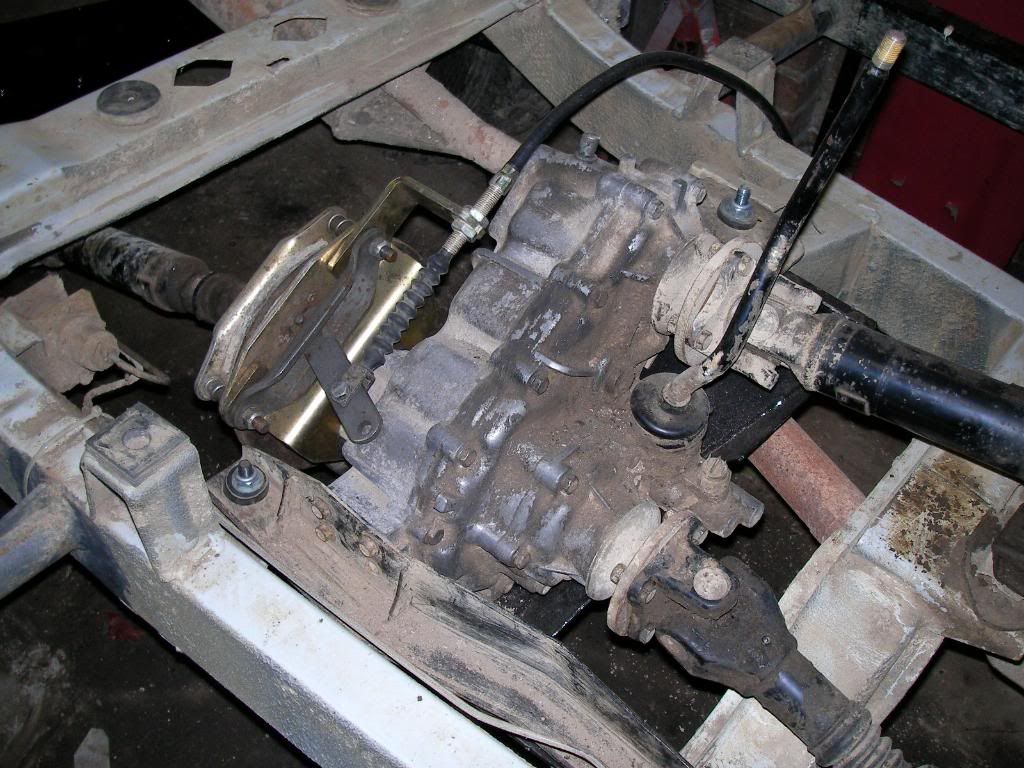
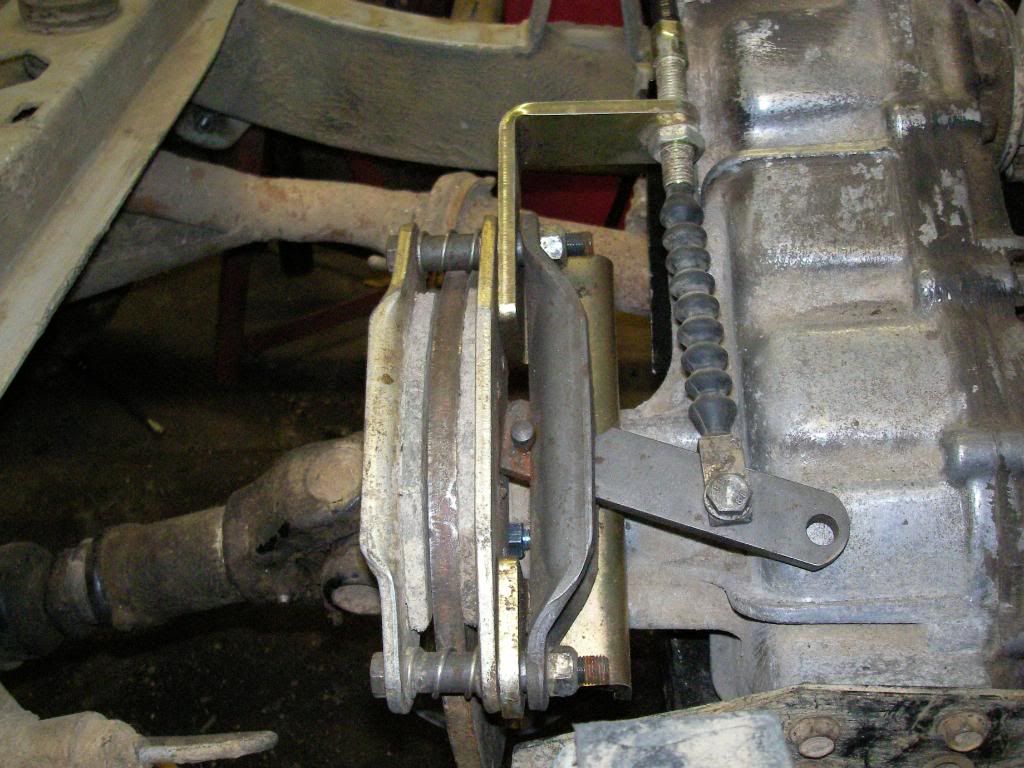
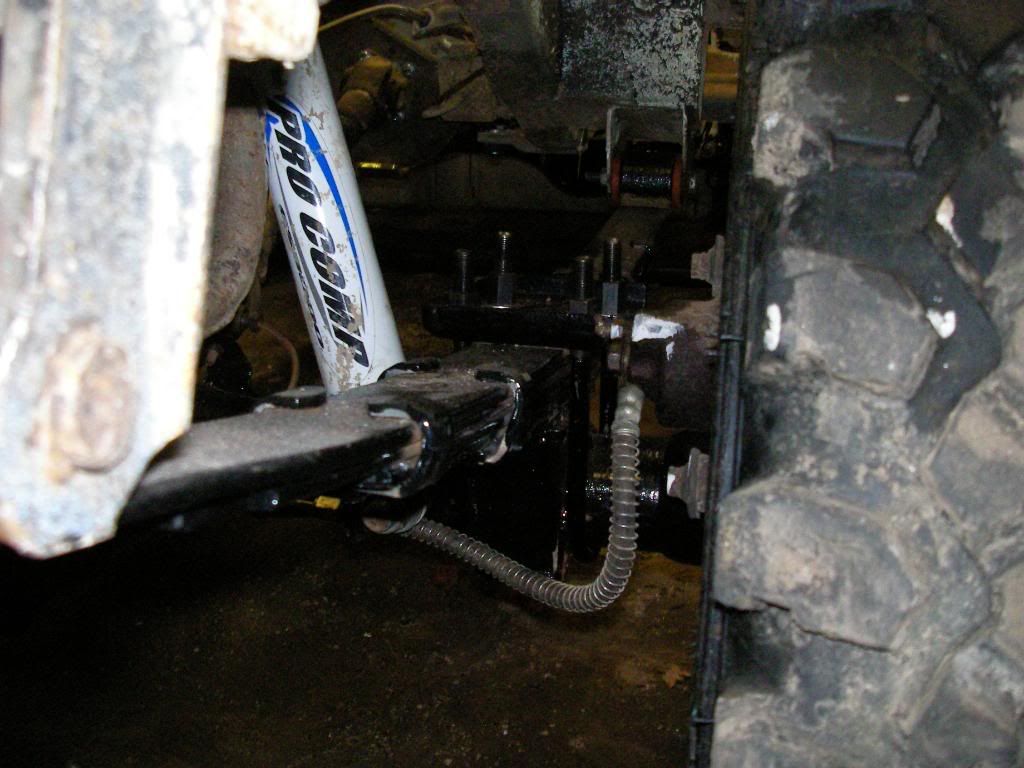
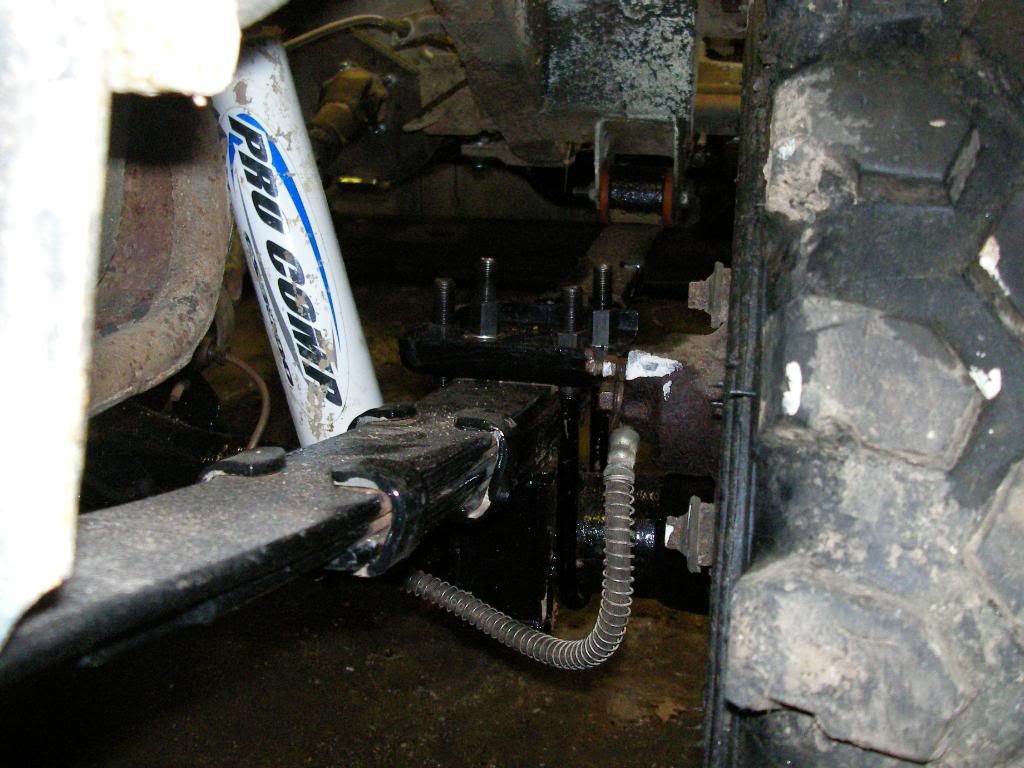
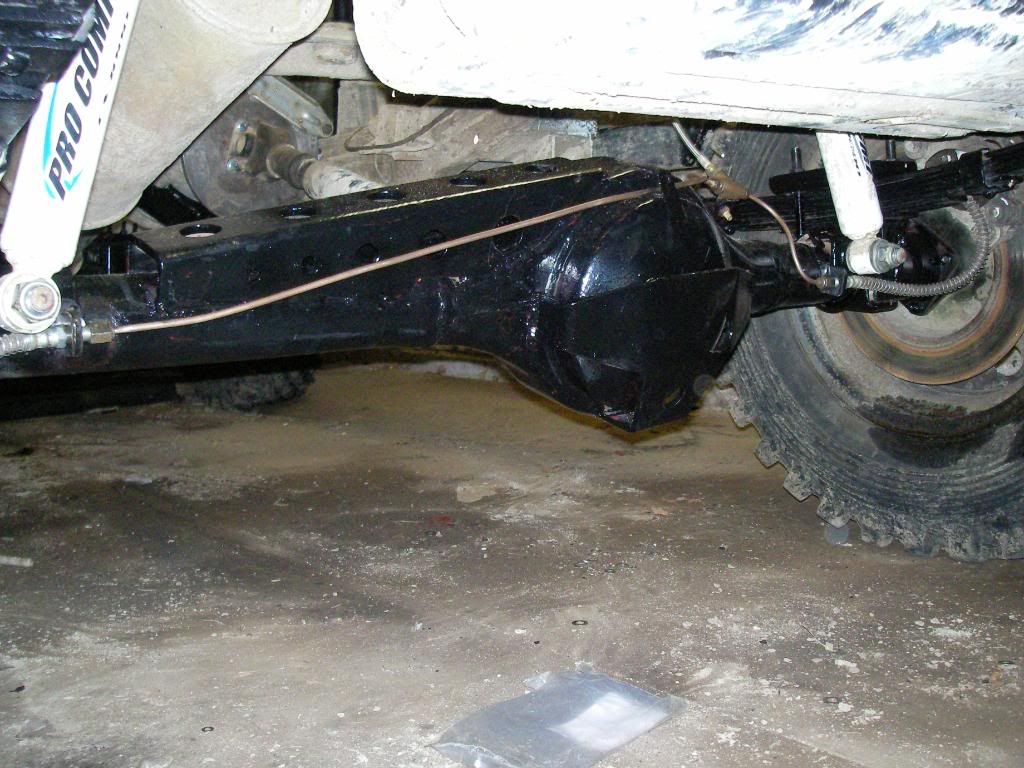
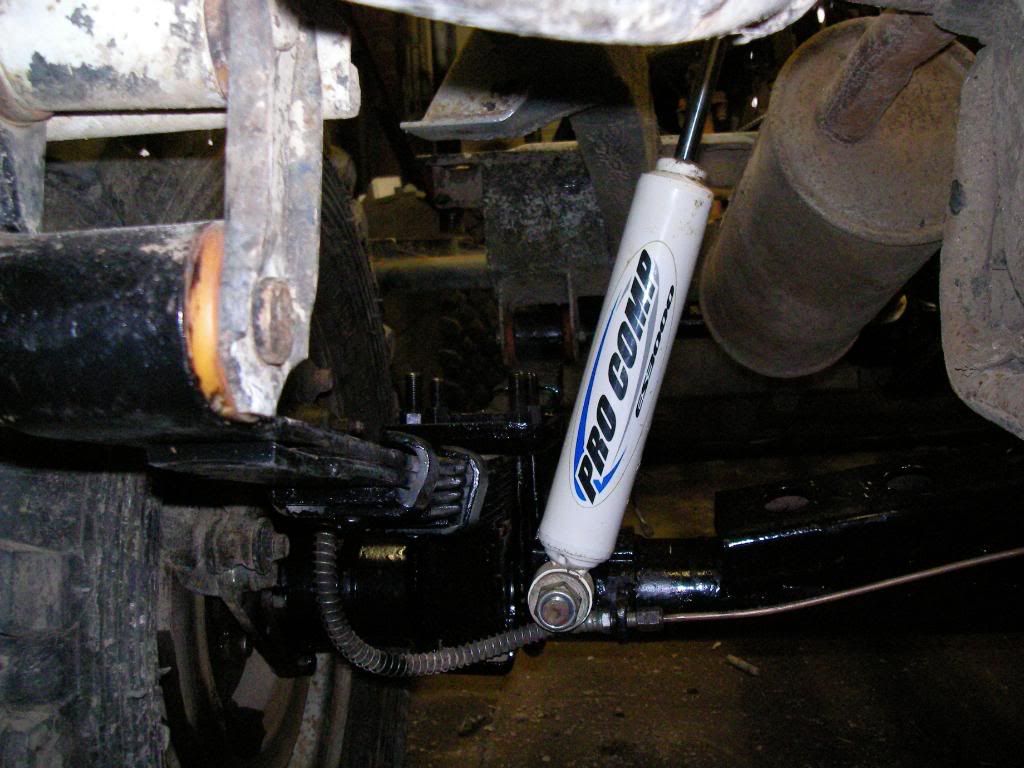
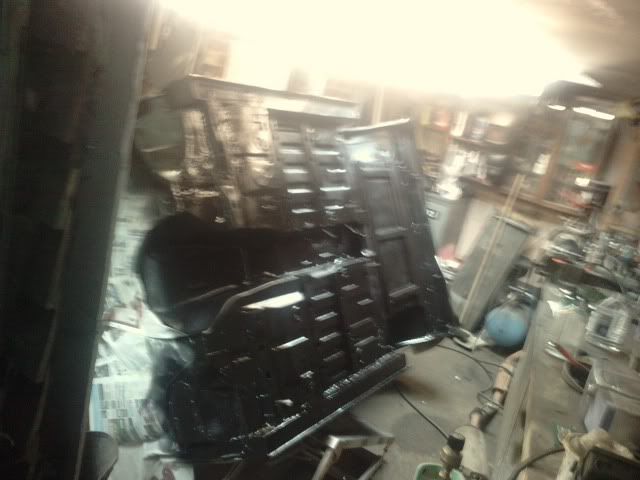
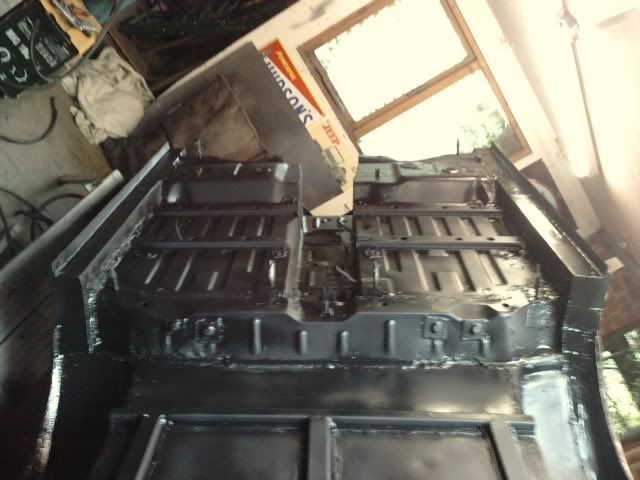
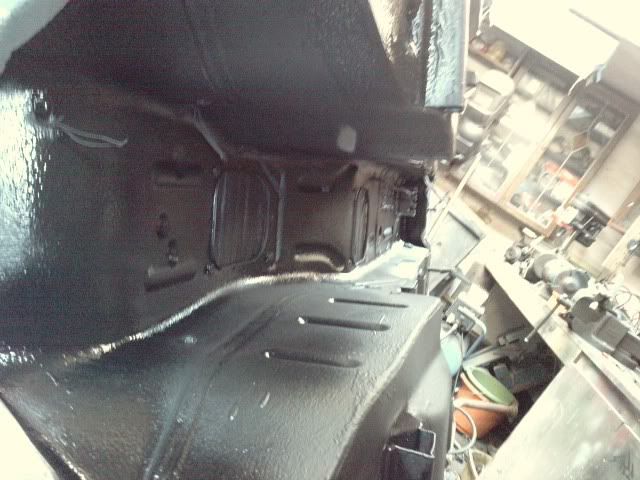
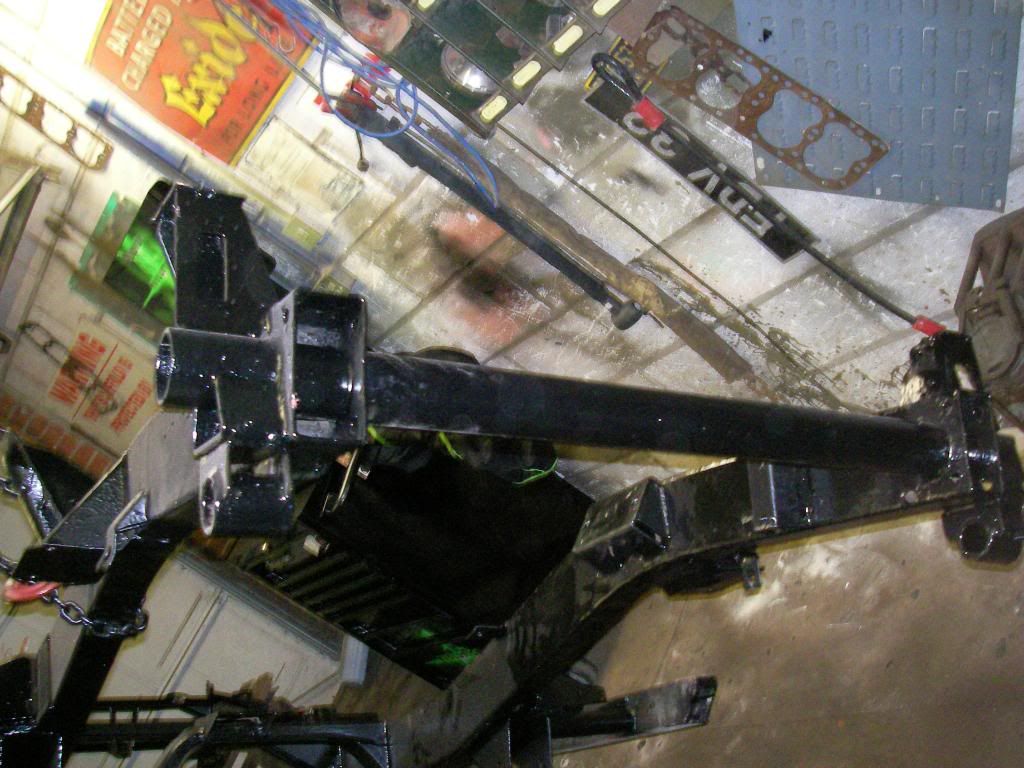
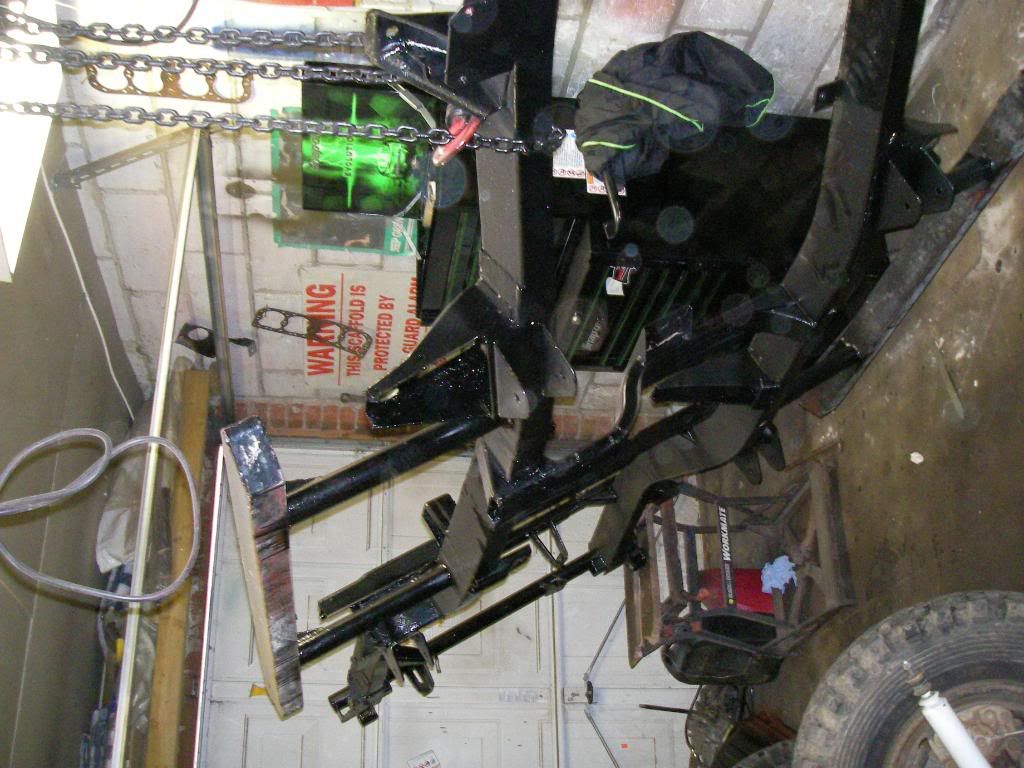
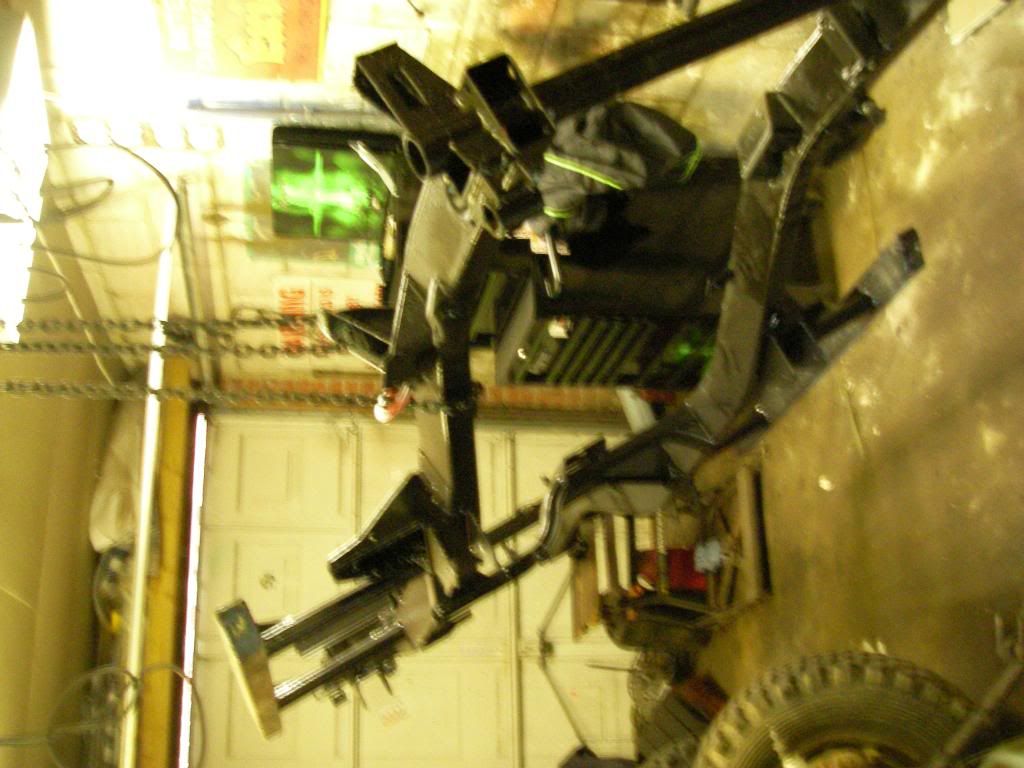
i have also sripped my chasis and painted it, whitch was intresting, spray gun in a small garage, fumes where quite bad, but exept from the runs it looks good, ill bolt my axles back on after i have made up some axle breathers for them, i have also fiitted a rocklobster as well, so the gearing on my suzuki will be a bit odd !!
thanks
mike
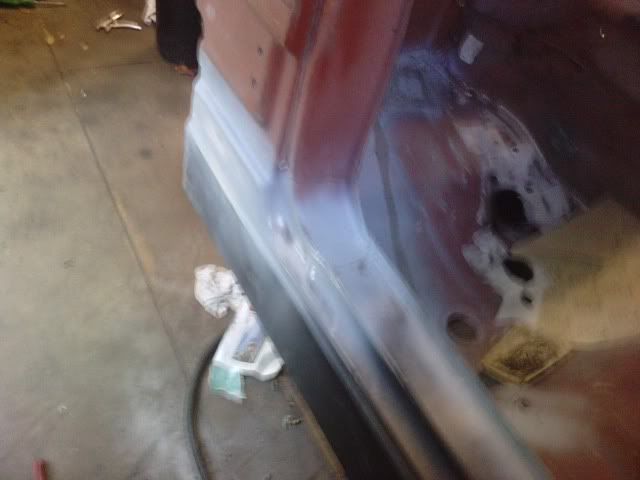
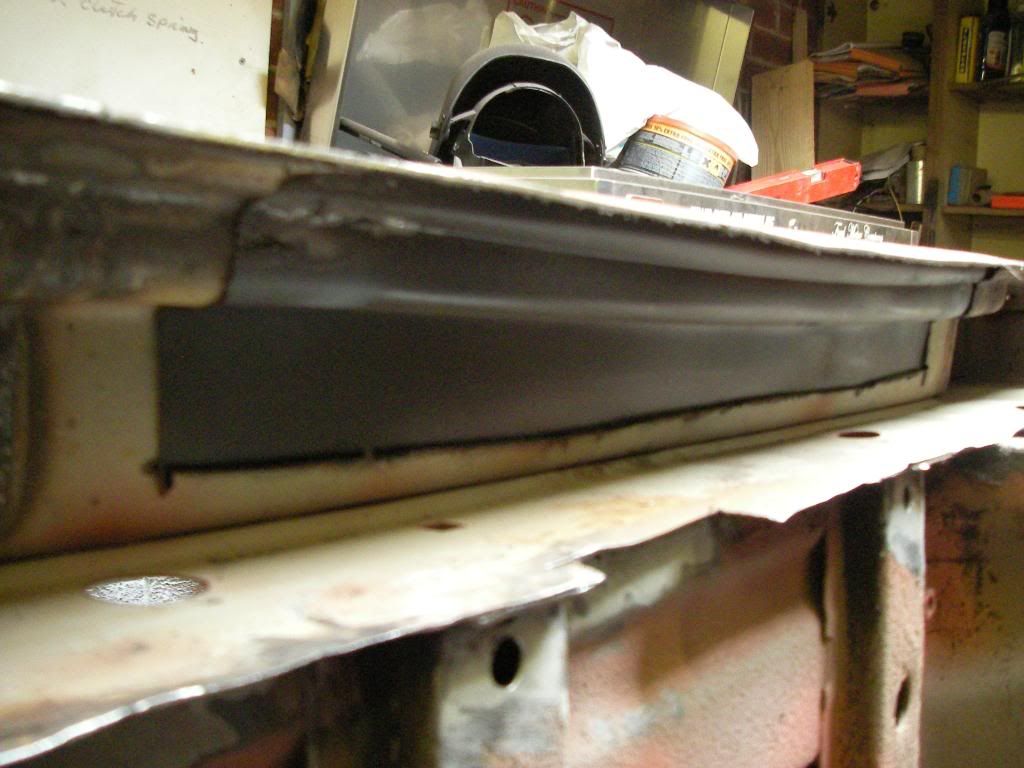
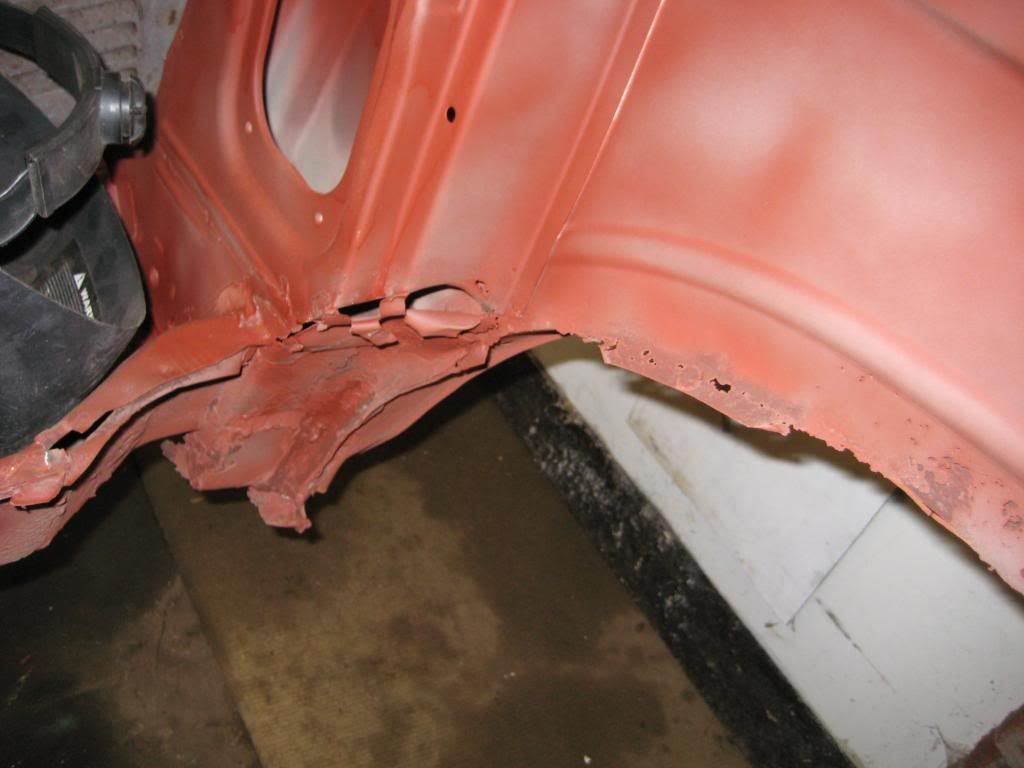
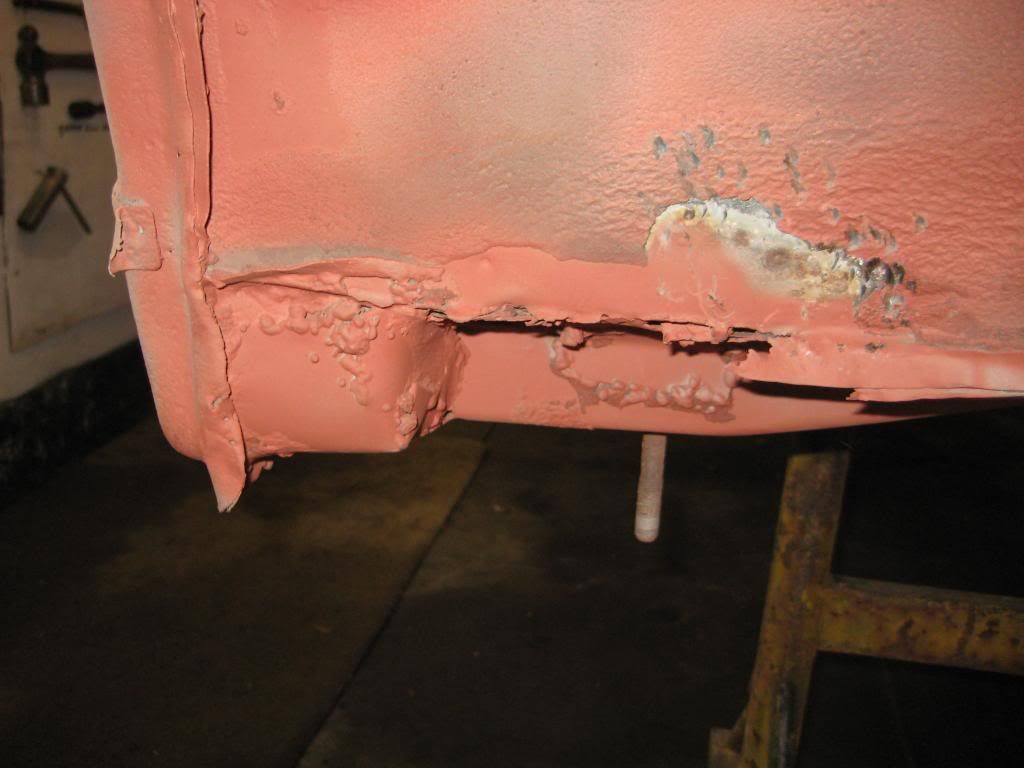
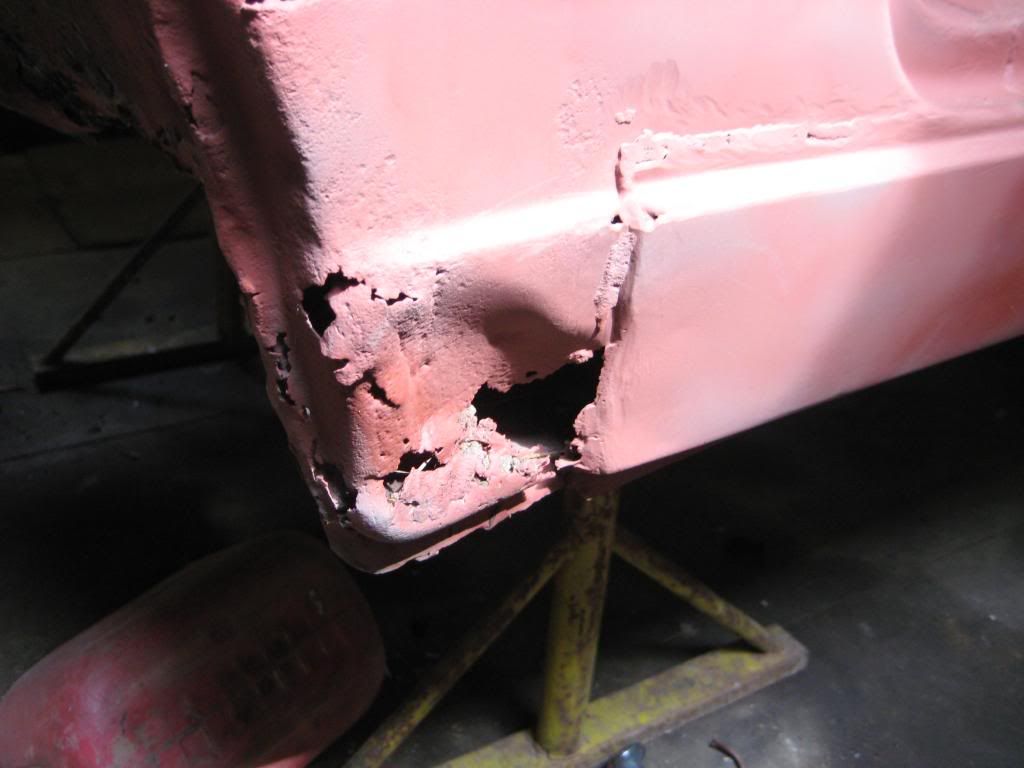
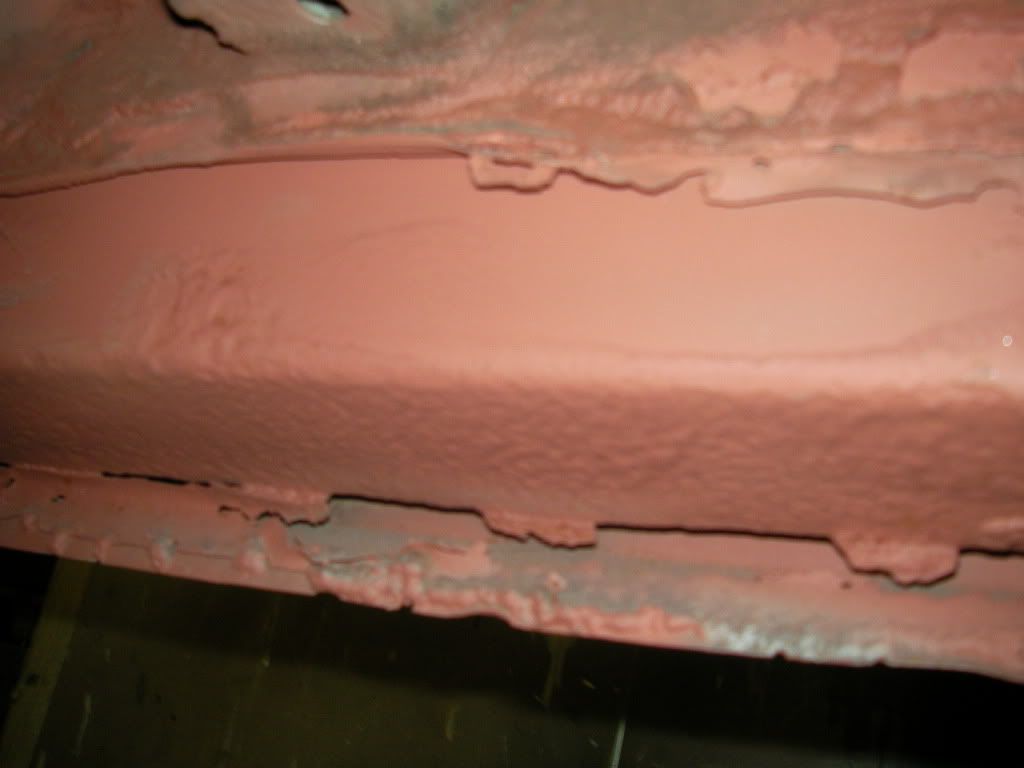
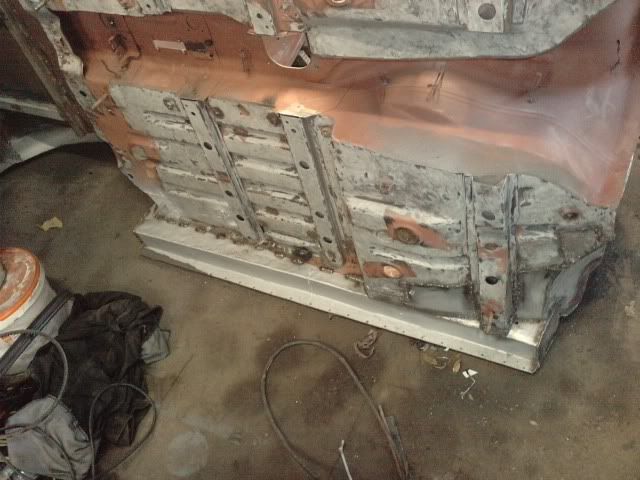
you can now see what i am up against here, the prevous owner tried to put a set of sills on it and just laid it over the top, i have new outer sills to go on and ill be cutting the rest of the crap bit out!!
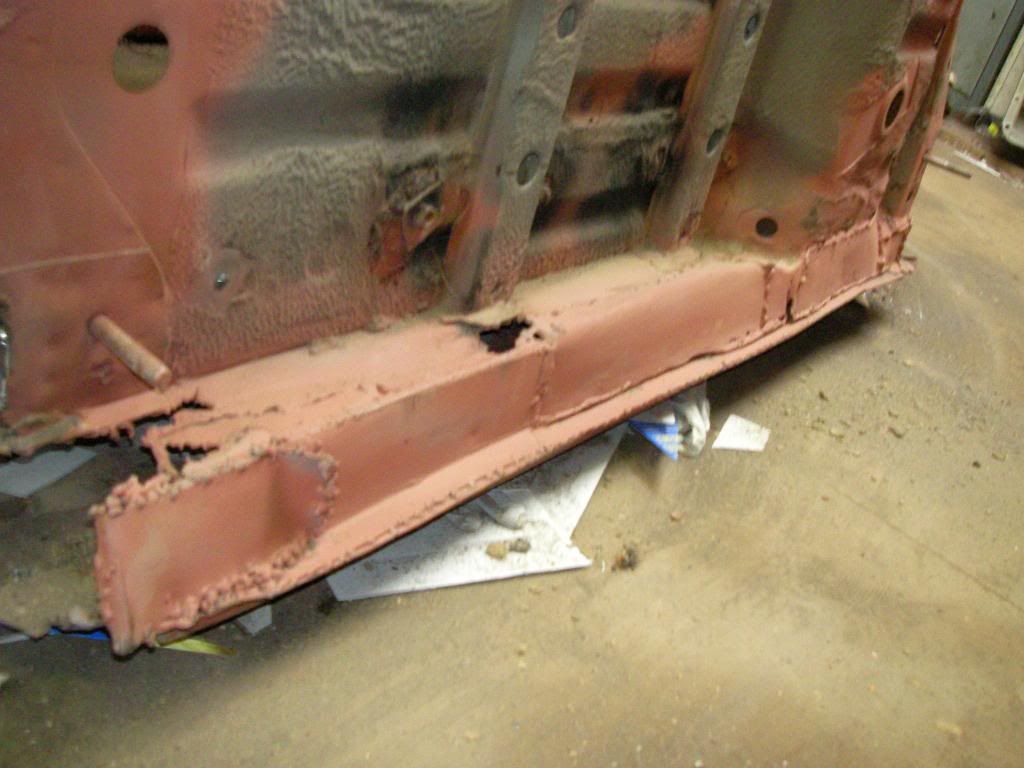
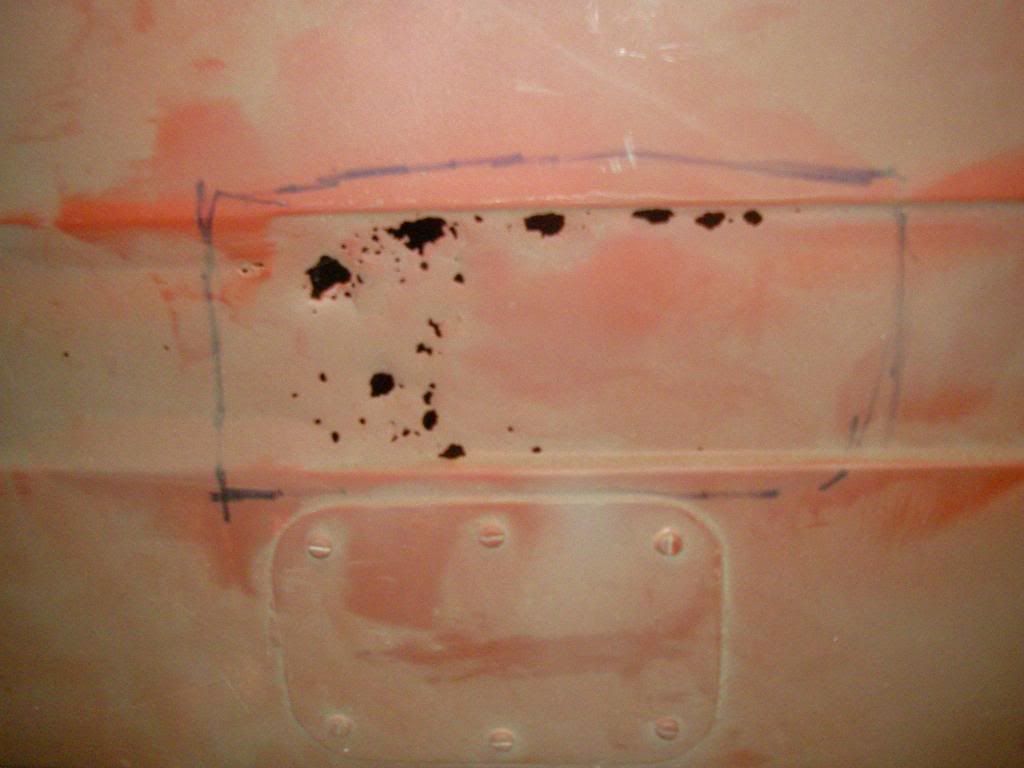
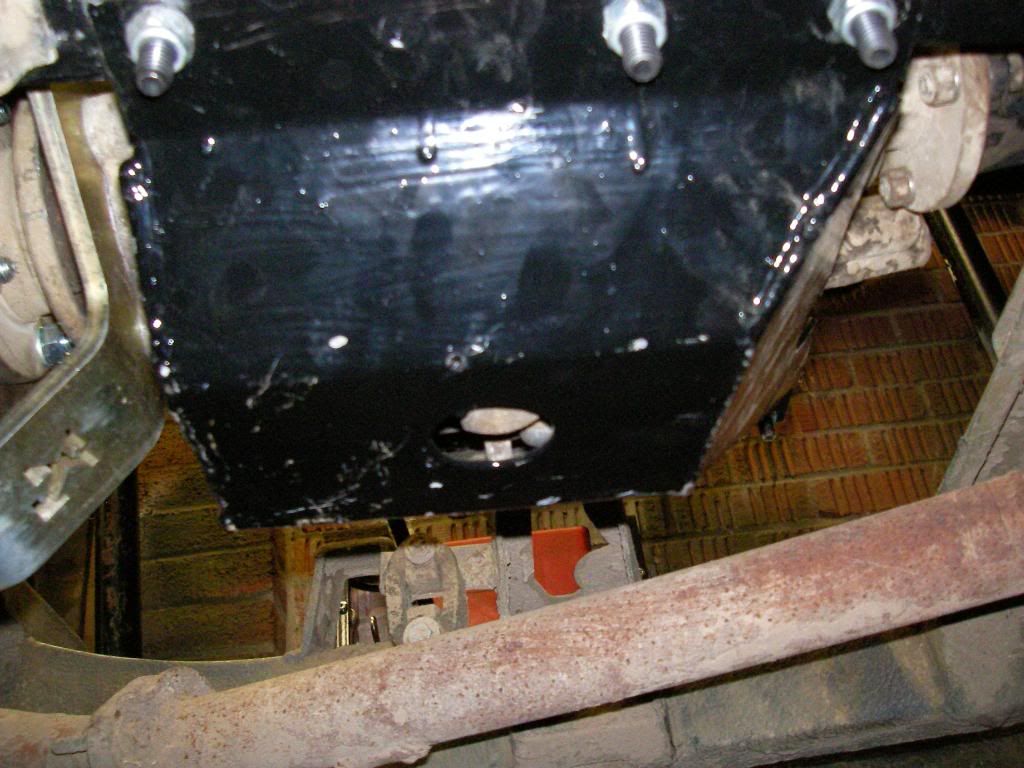
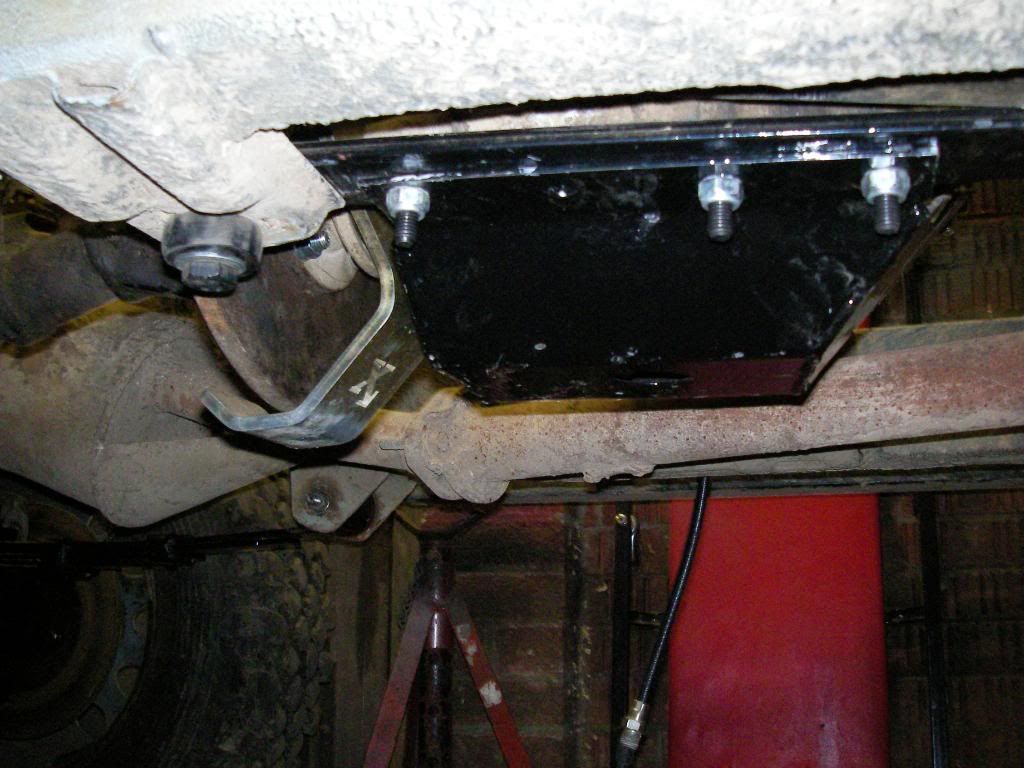
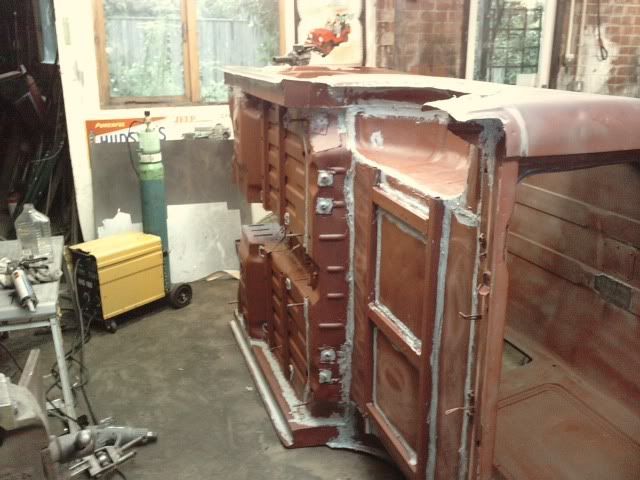
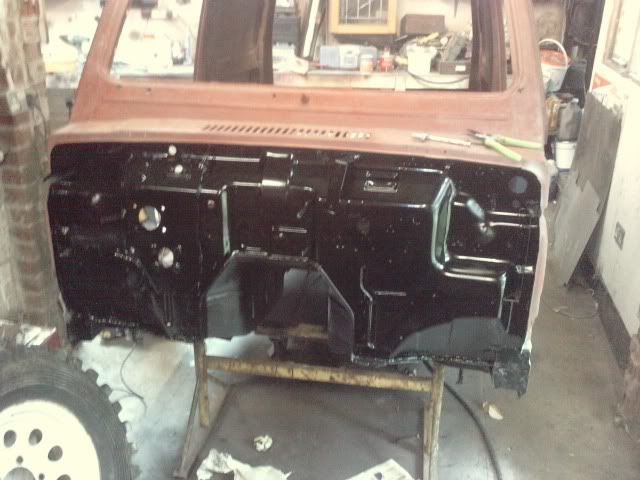
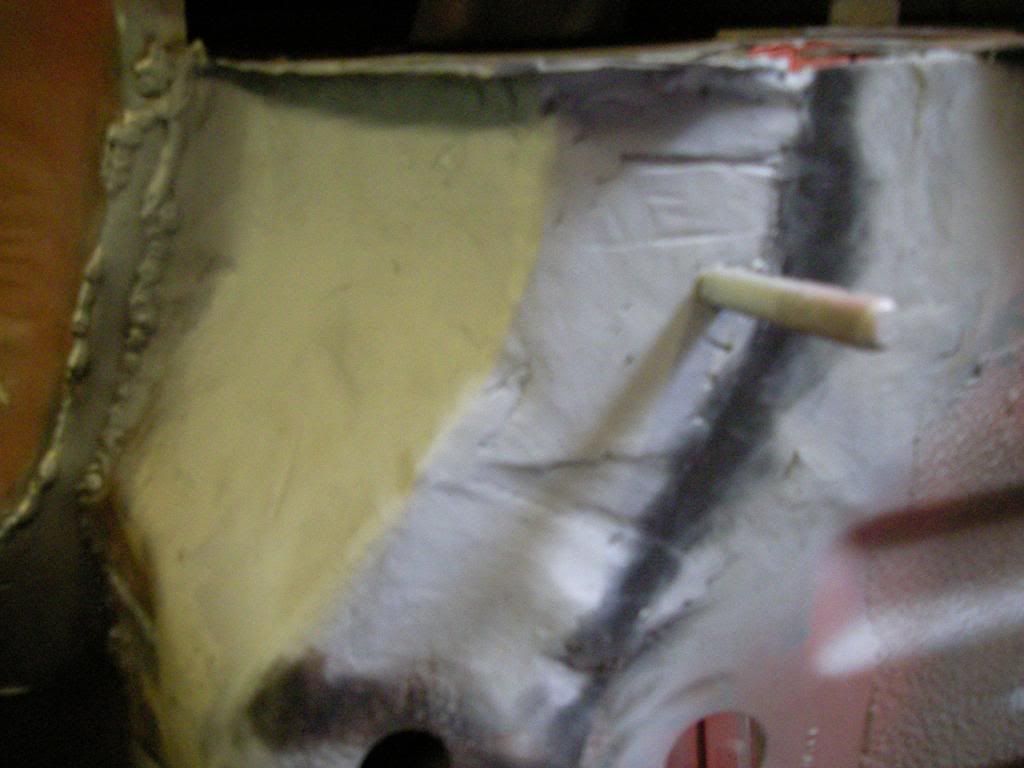
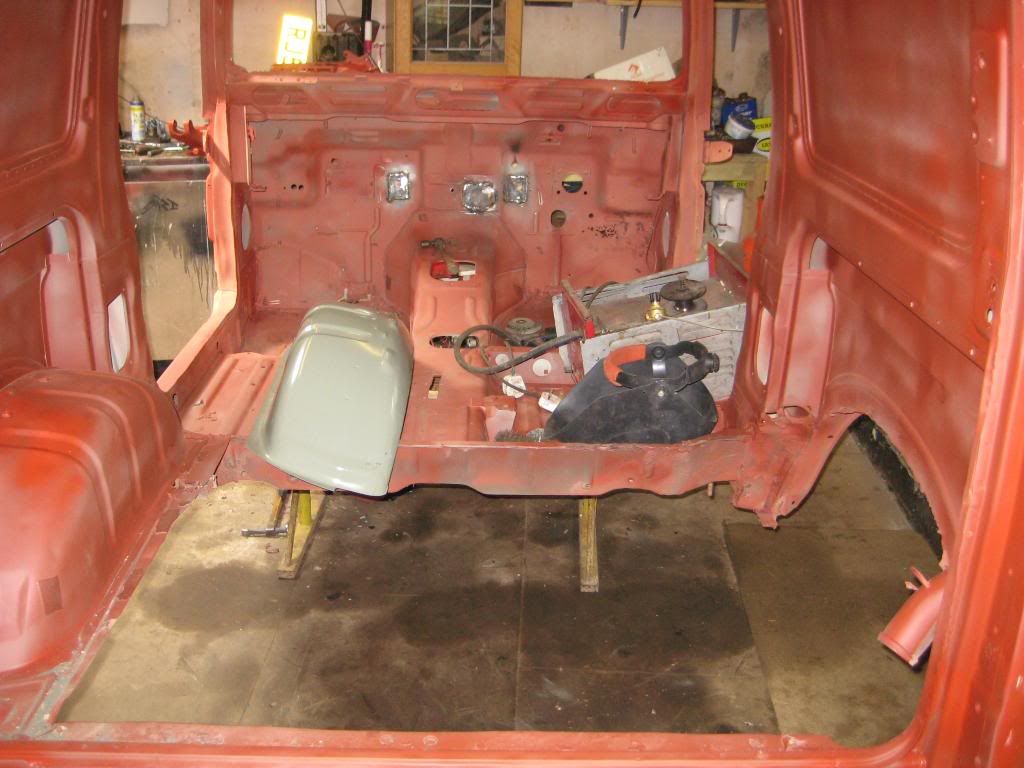
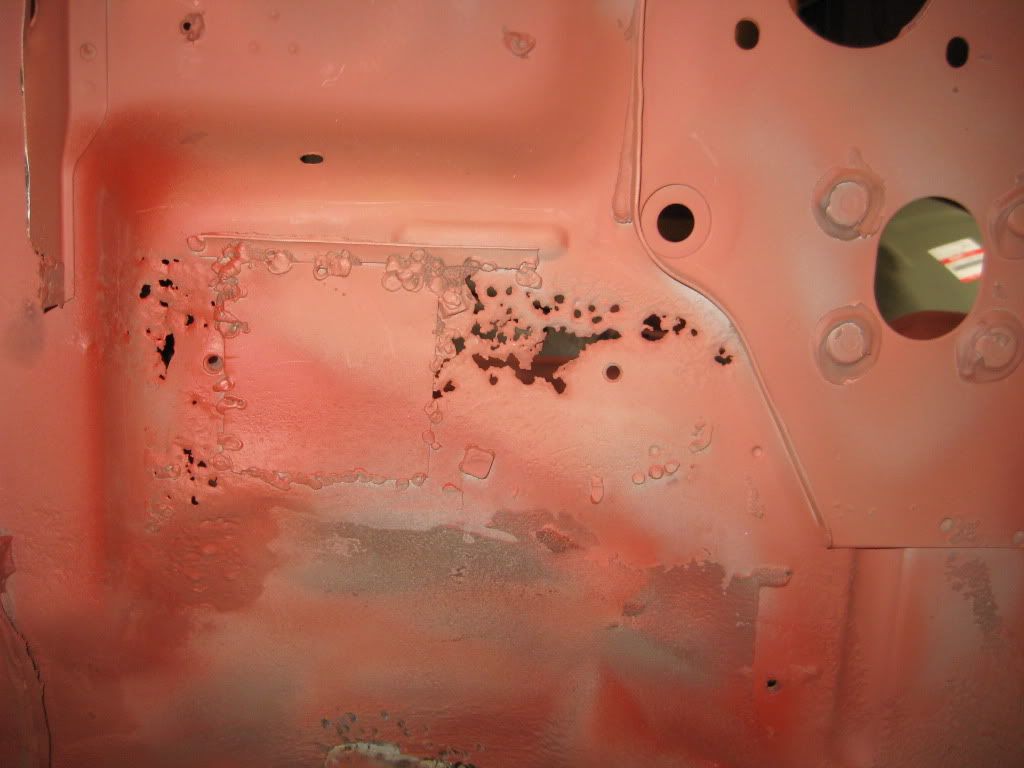
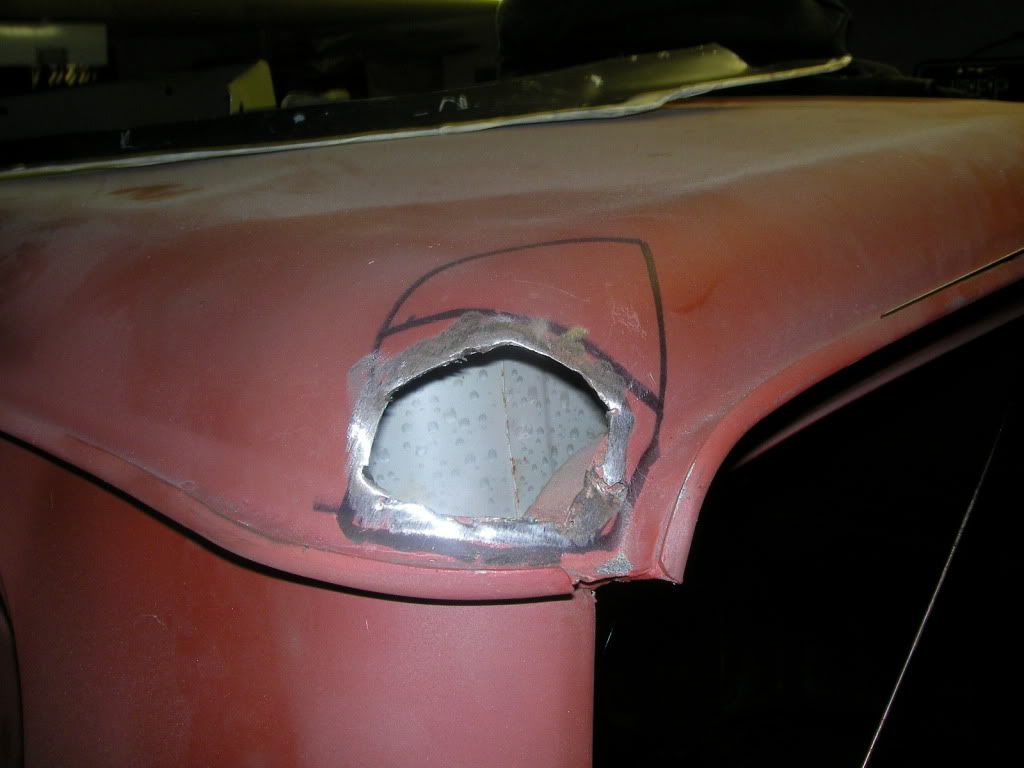
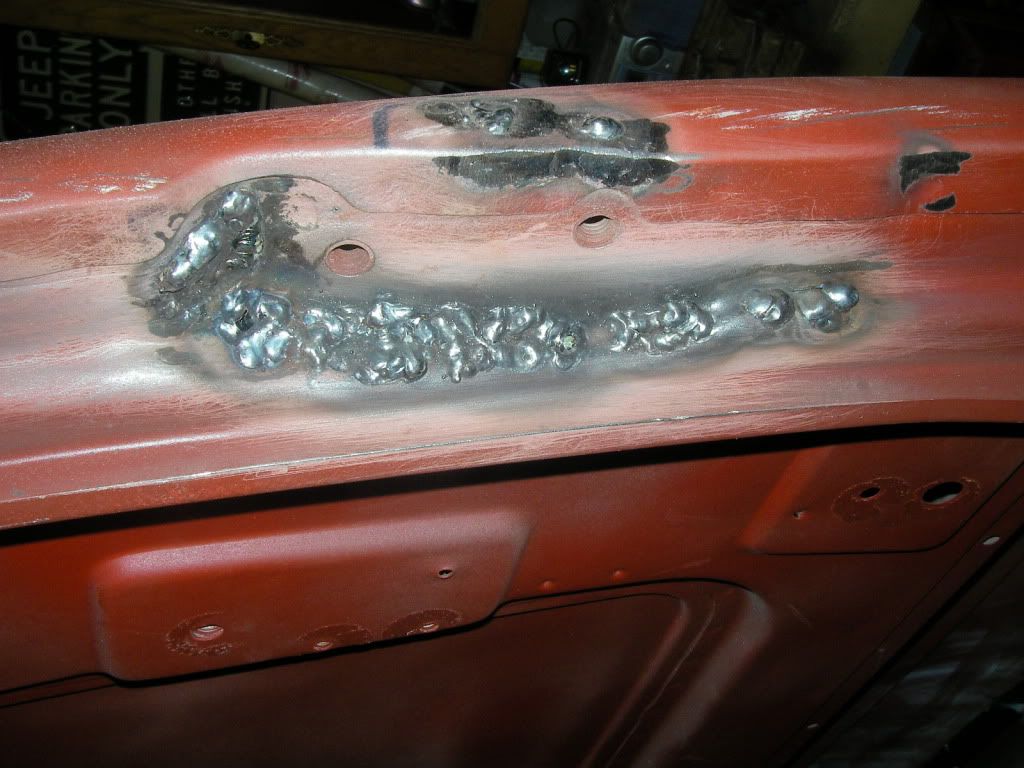
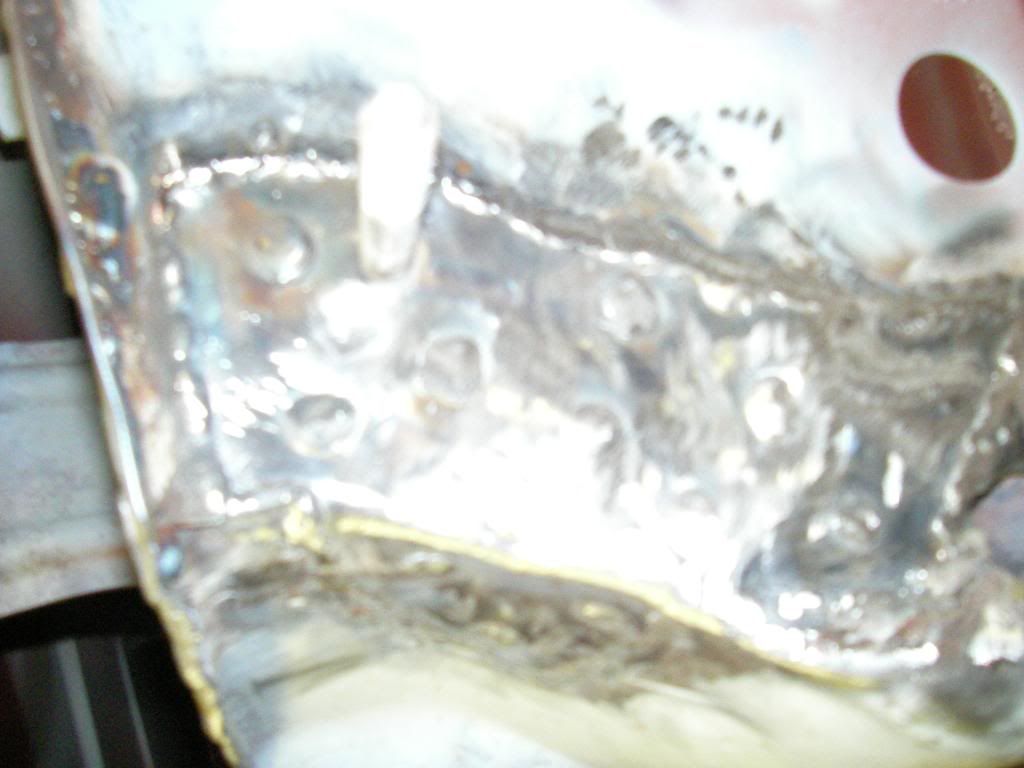
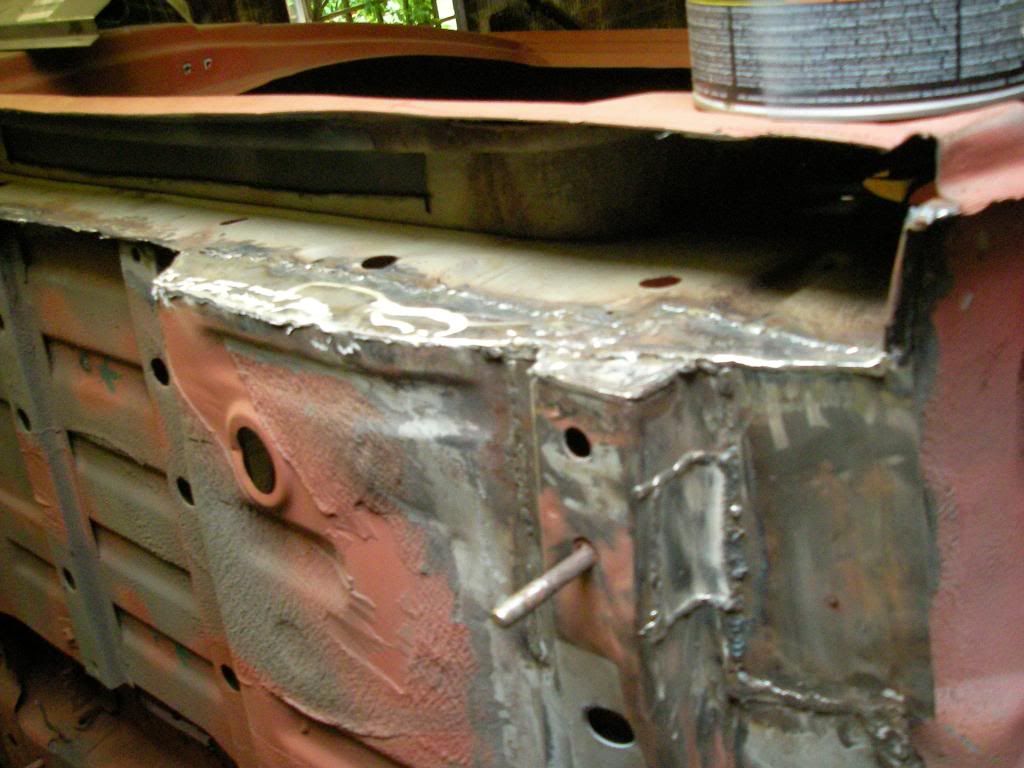
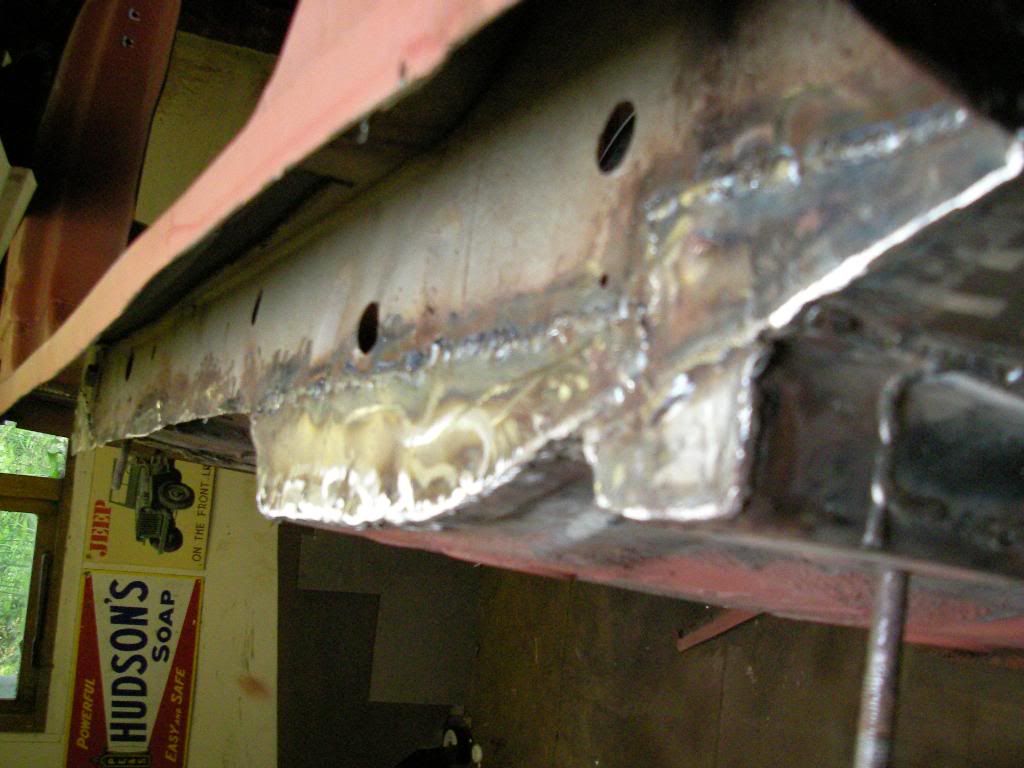
the body mounts i made using two skins of 1.5 mm steel, the orignal was three skins but made of much thiner metal, i drilled holes in the patch i made and plug welded it as well as seem welding it all the way around.
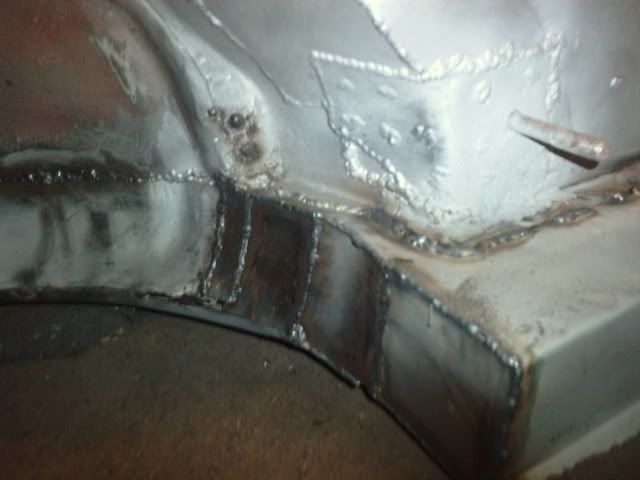
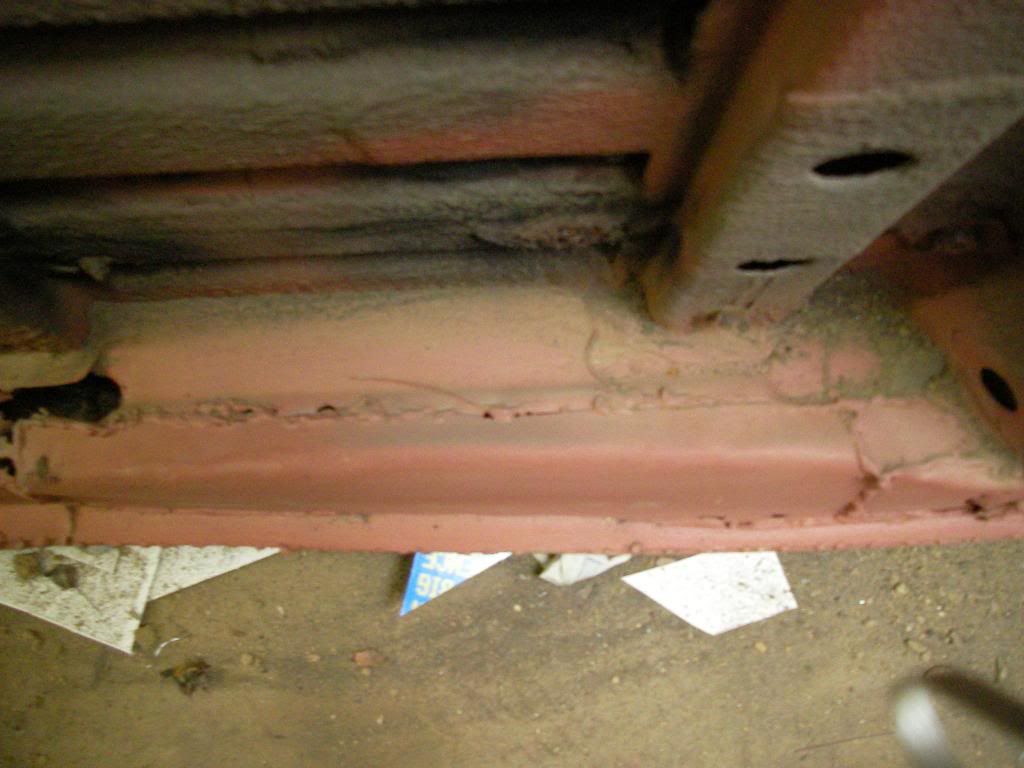
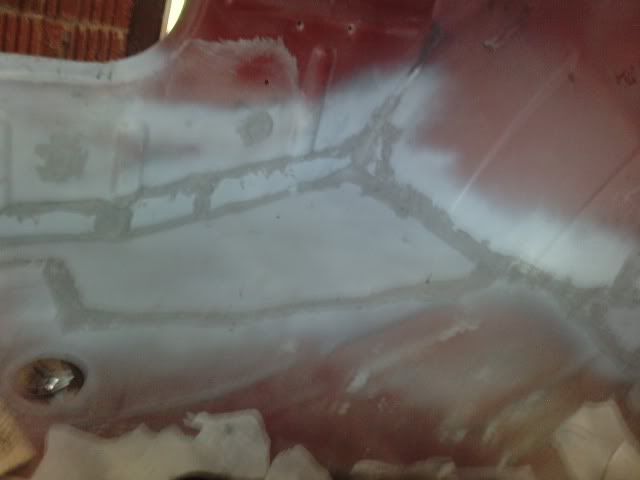
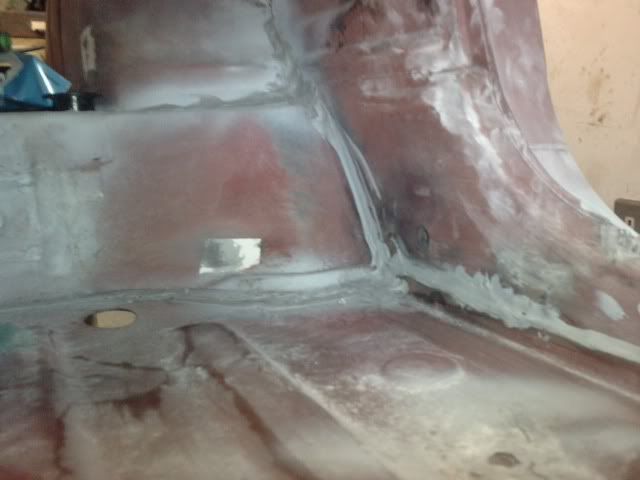
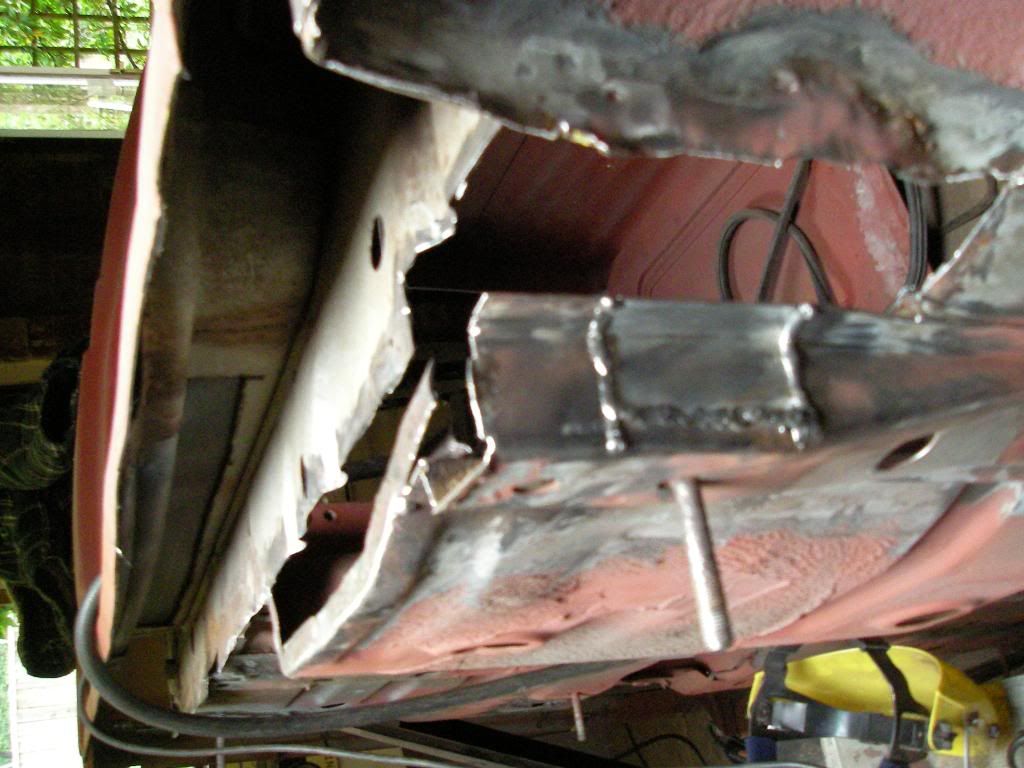
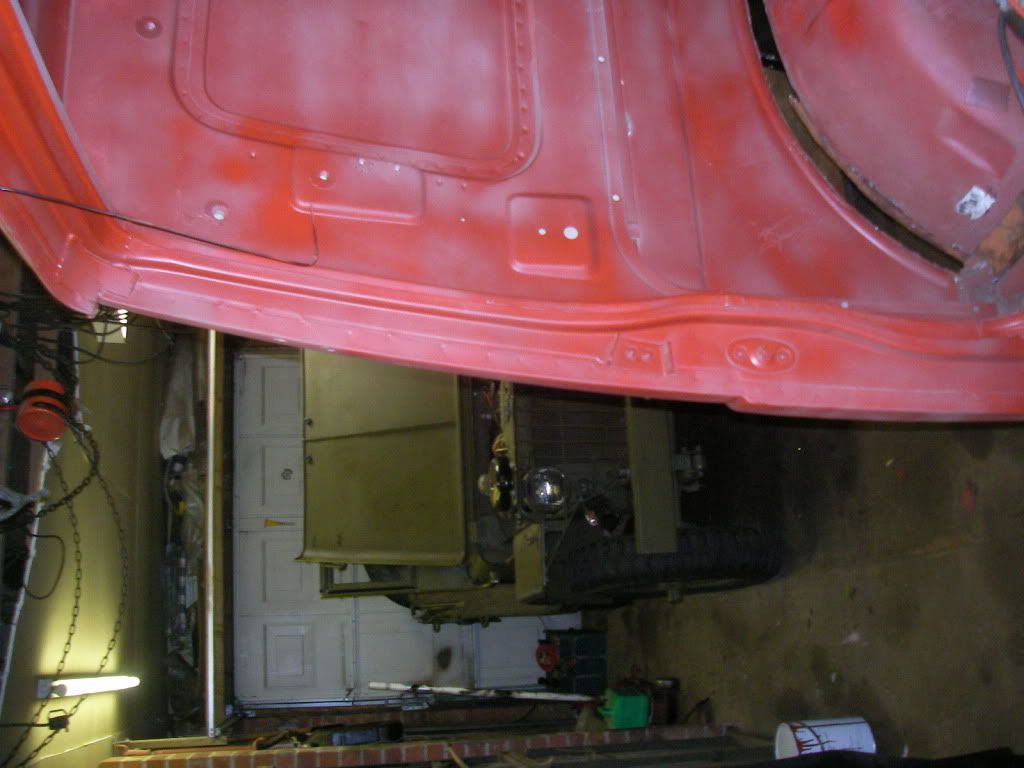
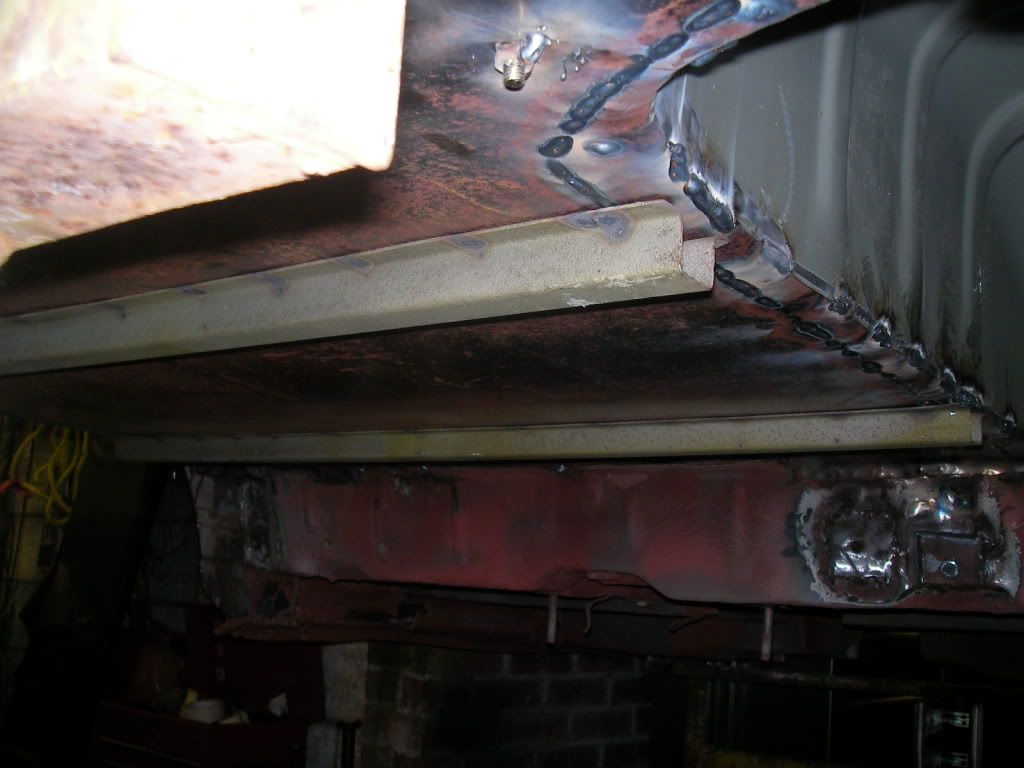
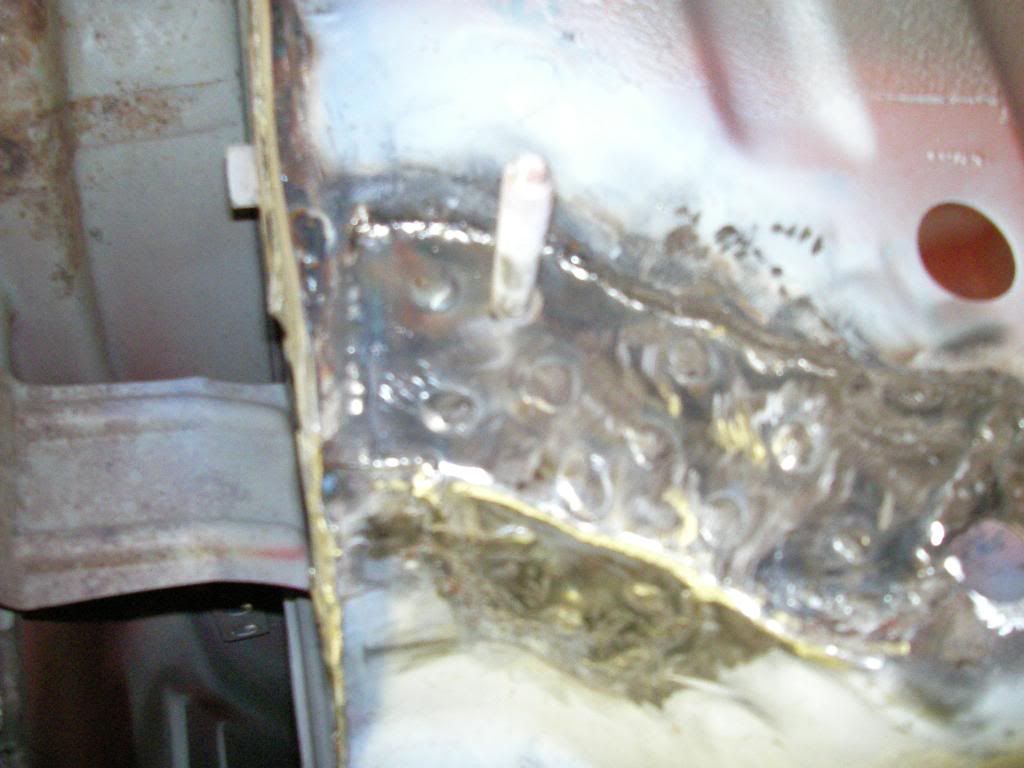
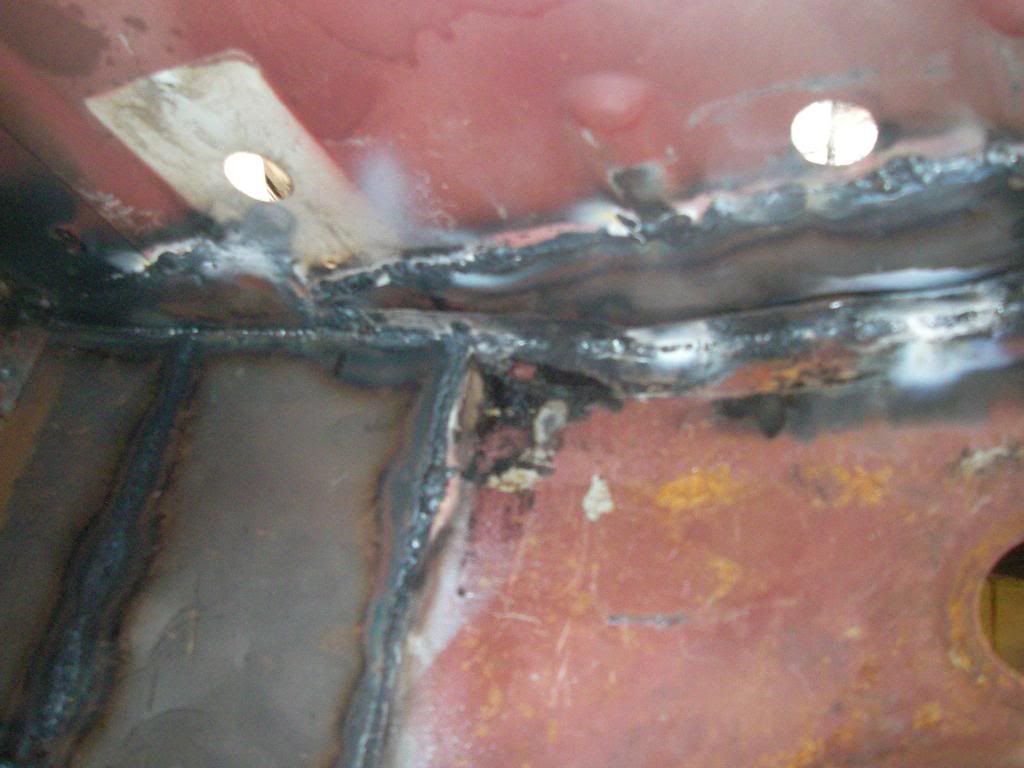
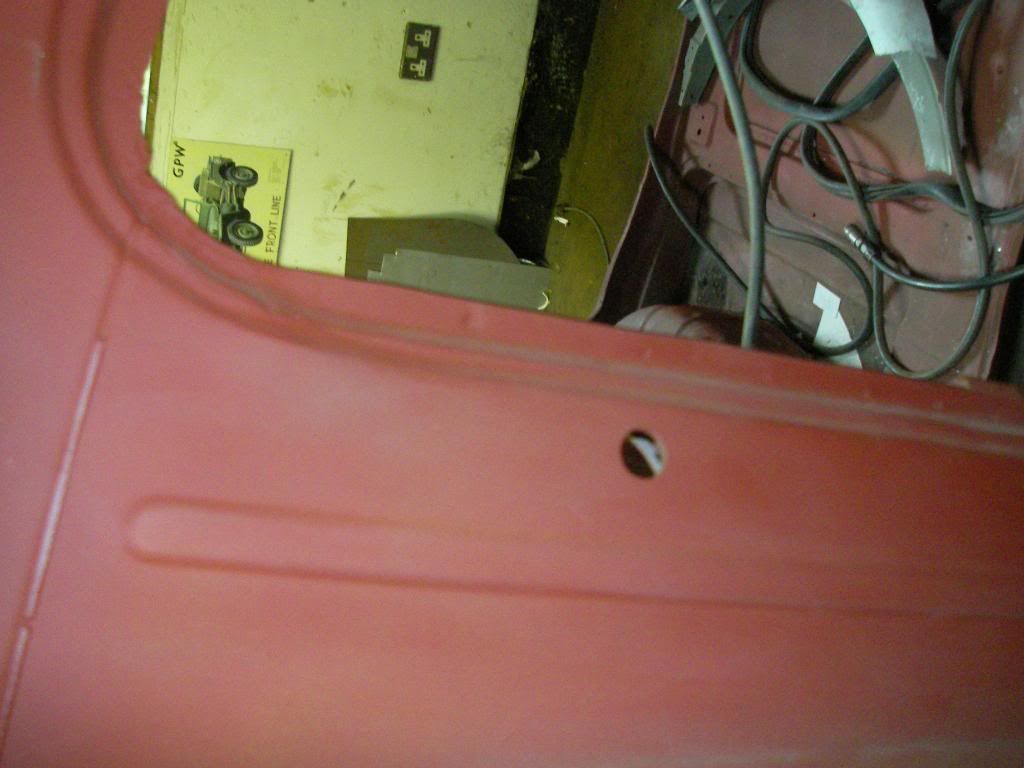
this is a reapair i had to do in the channel surport for the front floor, the prevous repair had been mig welded, but not using any gas!!!

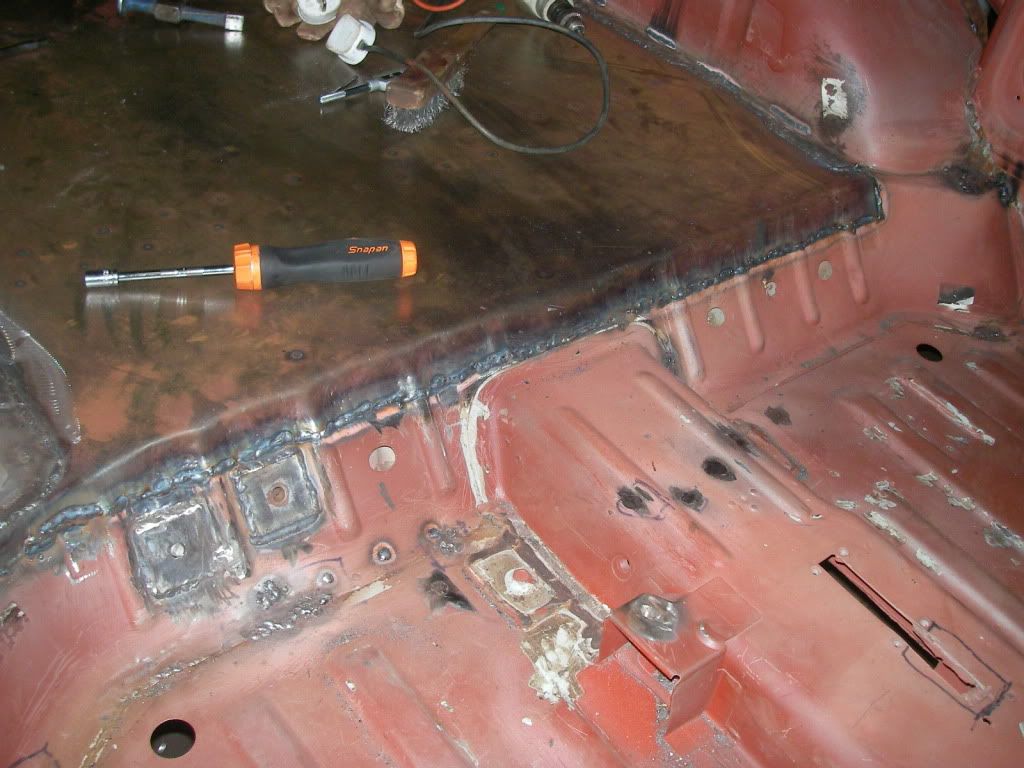
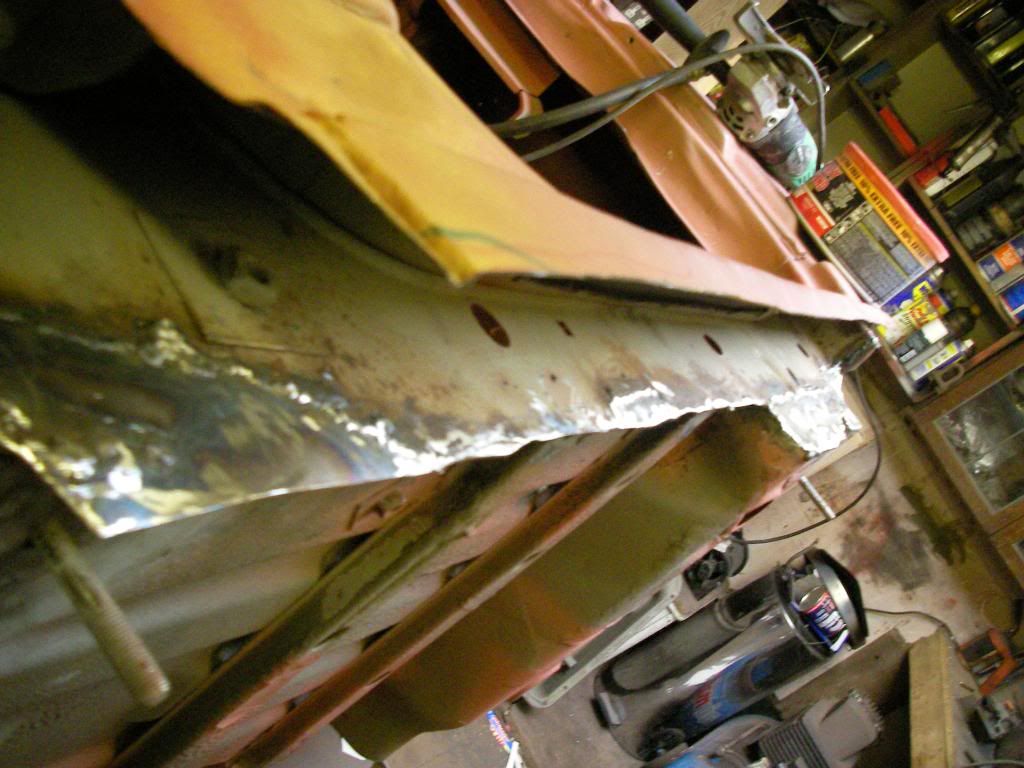
as you can see there was a lot of rot, i have now repaired the whole inner pannel, and i am making up the outer part this week using my friends folder, i plan in slitting the pannel i make and welding the slits up, as well as spot welding it on.
the body mounts i made using two skins of 1.5 mm steel, the orignal was three skins but made of much thiner metal, i drilled holes in the patch i made and plug welded it as well as seem welding it all the way around.
this is a reapair i had to do in the channel surport for the front floor, the prevous repair had been mig welded, but not using any gas!!!
as you can see there was a lot of rot, i have now repaired the whole inner pannel, and i am making up the outer part this week using my friends folder, i plan in slitting the pannel i make and welding the slits up, as well as spot welding it on.


 #
#