Page 4 of 9
Re: suzuki steve's 410 build
Posted: Wed Jun 26, 2013 9:43 pm
by Jordi

- image.jpg (678.87 KiB) Viewed 5366 times
Re: suzuki steve's 410 build
Posted: Wed Jun 26, 2013 9:54 pm
by dndnk
did the same on my front arches steve . ive posted some pics of mine this evening . i used the plastic curtain they use on factory doors to extend mine
Re: suzuki steve's 410 build
Posted: Wed Jun 26, 2013 9:57 pm
by suzukisteve
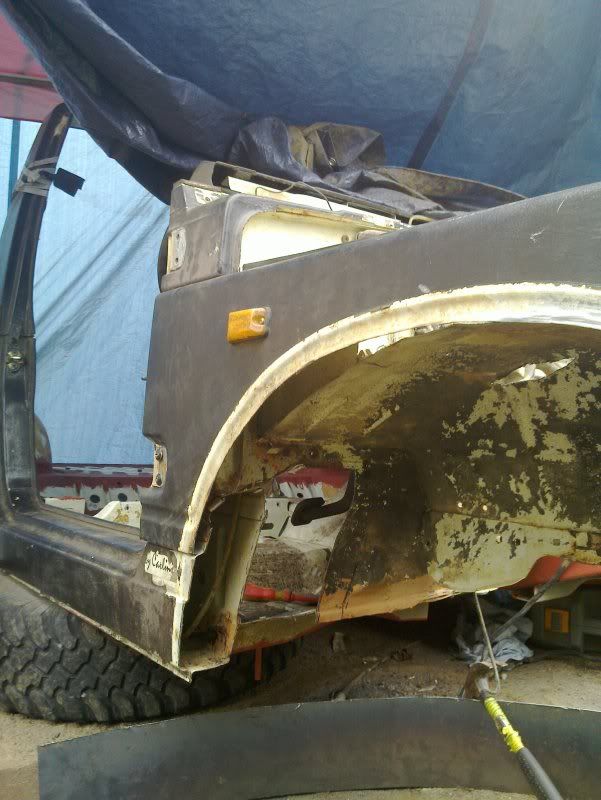
ah fantastic! so as a guide for the curve, just use the existing curvature of the indent thats already in the body

once its all tacked in is it best to seam weld arch to the wing?
Re: suzuki steve's 410 build
Posted: Wed Jun 26, 2013 10:01 pm
by Jordi
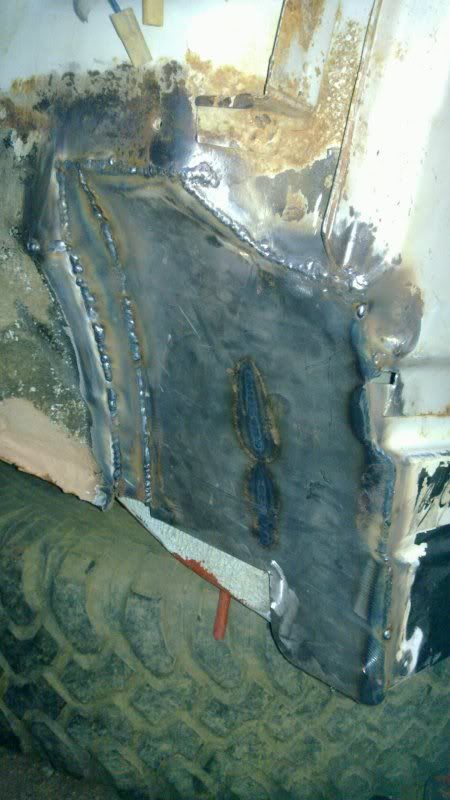
Mine is just spot welded every few inchs. I'm not the worlds best welder. As much as seam welding can look tidier. It was easier and neater for me to spot weld.
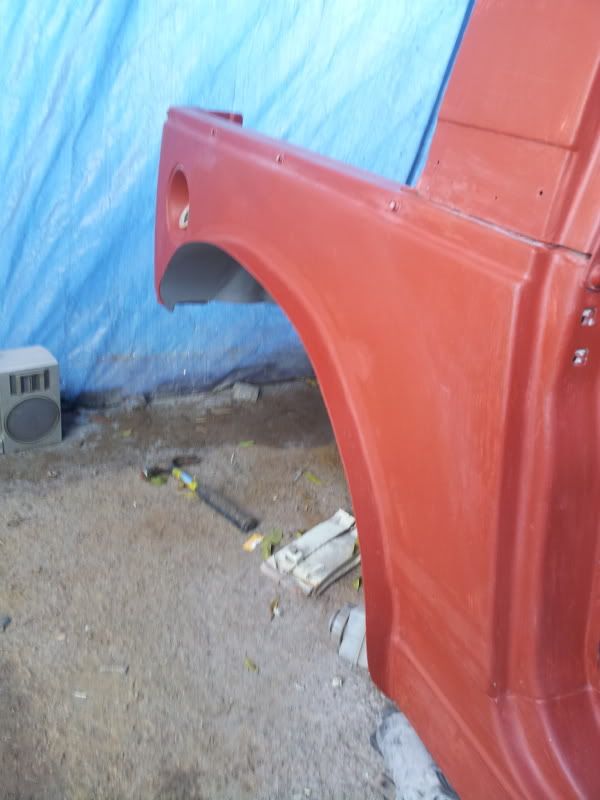
I put the panel in place and just tacked it as i shaped it to the curve of the wing. The indent made a nice easy line to follow for cutting the old wing out.
Re: suzuki steve's 410 build
Posted: Wed Jun 26, 2013 10:10 pm
by suzukisteve
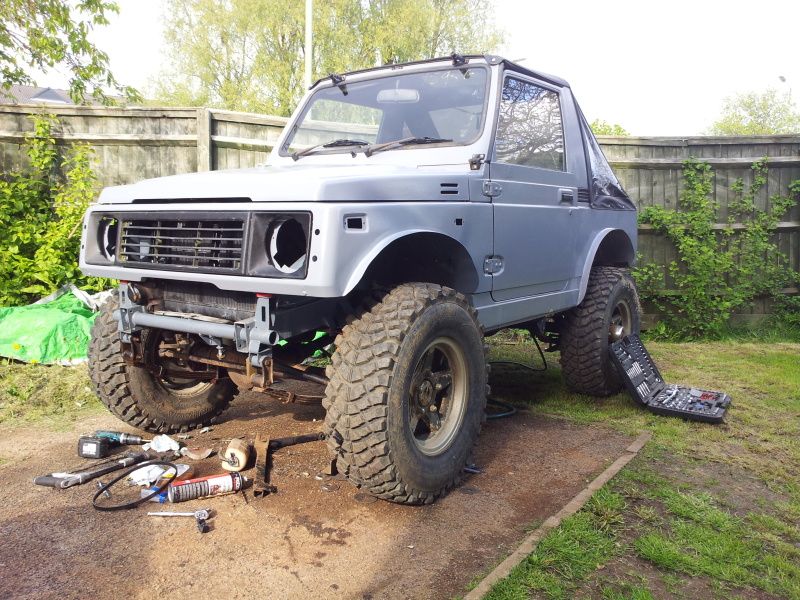
sweet! next week is when the body work will begin! then ill chuck the other lump in. give a proper once over add interior trim, cd player, lights etc etc
really excited about the "finished" product!

Re: suzuki steve's 410 build
Posted: Wed Jun 26, 2013 10:11 pm
by Jordi
The plan for the new front clip is.....
Cut it out to the indent, possibly the top of it this time.
Cut a new panel to fit and joggle & punch the edge where the join in the arch will be
Fit it so it over laps on top of the old arch
Spot weld through the hole in the engine bay
On the underside where the groove is and the panels join seam weld it
I don't intend to have the steel cover all the tyre, just sticking out 2/3 inches
Drill a hole every few inches along the sticky out bit and bolt some thick rubber extentions on to cover the sharp edge and the tyres.
Make sense?
I'm hoping it will make a tidier job of it by joggling along the join in the arch
Re: suzuki steve's 410 build
Posted: Wed Jun 26, 2013 10:55 pm
by dan_2k_uk
Mine is pretty much as already described in Jordi's plan for next time except butted up and seam welded rather than an overlap.
The bottom of the pressed indent is bang on level with the highest part of the inner arch like you said Steve.
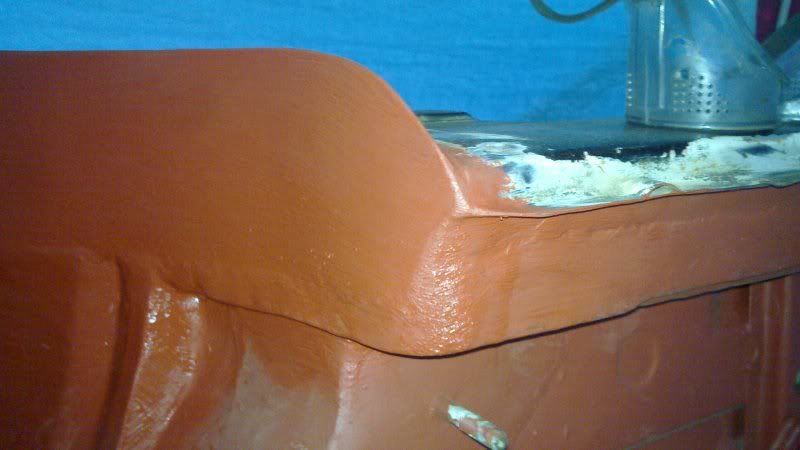
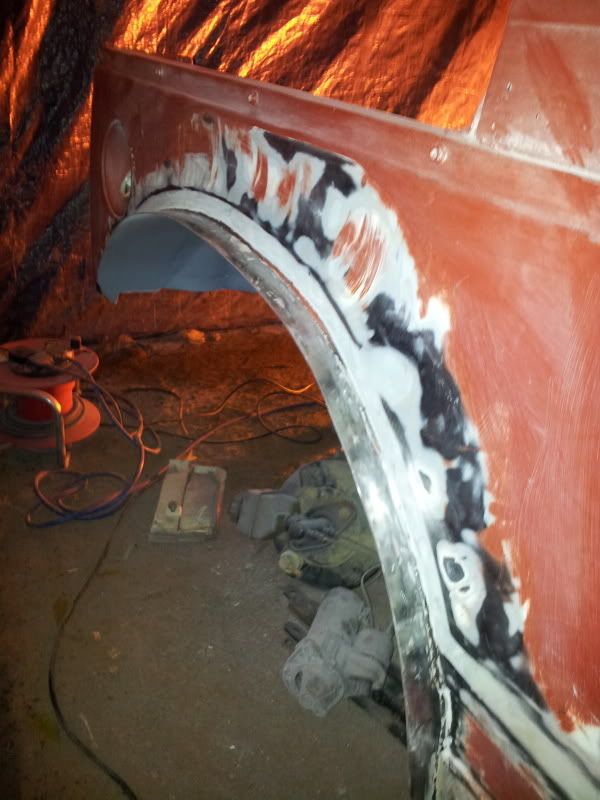
I cut a tiny bit higher into the pressed indent which is now fillered over across the whole truck which hides the weld nicely.
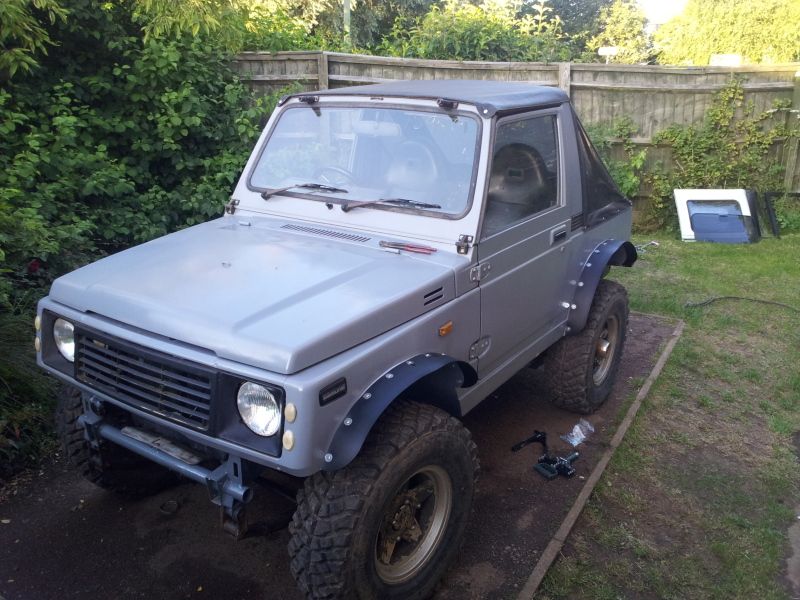
I just have a inch and a bit sticking out in 1.6mm steel and rubber pop riveted to that to make up the rest so if it twats a tree or a deep rut it wont rip off my hard work.
With the bulkhead I continued dead straight from the bottom of the front clip to give a little more clearance.
Sorted. No good if you want to keep that pressed groove. Although you could probably keep it across most of the truck and just lose it on the arches I found it much easier to just smooth the doors too!
Dan
Re: suzuki steve's 410 build
Posted: Wed Jun 26, 2013 10:57 pm
by Jordi
Look at you and your fancy welding. Not jealous at all!
Re: suzuki steve's 410 build
Posted: Wed Jun 26, 2013 11:22 pm
by dan_2k_uk
I'm going to bed.
Before I forget.
1. There is also Ferris style with no metal sticking out and the plastic/rubber attached inside the arch.
2. Bend the metal round a tyre to get the shape.
3. Cut into the inner arch as little as possible or it will be harder to get the ends to line up.
4. If there are only 2 of you doing it a extra jack and lengths/blocks of timber will help you wedge/prop/jack it into the correct place.
5. Dont be afraid to club the shit out of the inner with a big rubber mallet!

Re: suzuki steve's 410 build
Posted: Wed Jun 26, 2013 11:24 pm
by Jordi
No. 5 is very important. A 5lb hammer and lump of wood also work.