SJ Trialer

Got an vehicle build underway? post up pictures and tell us all how its going!

Builds threads only please.
diamond hell
Got muddy boots
Got muddy boots
Posts: 22
Joined: Sun Feb 26, 2012 11:13 am

Re: SJ Trialer

Post by diamond hell » Fri Mar 09, 2012 12:11 am

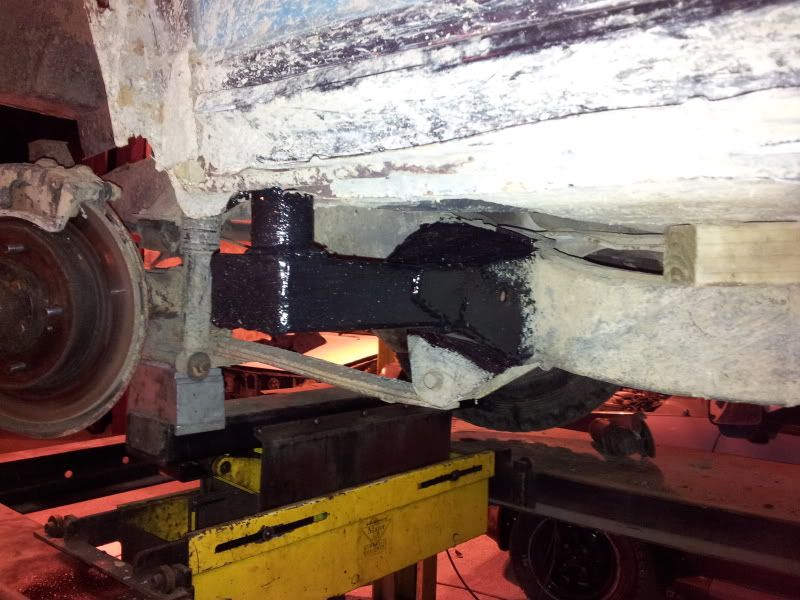
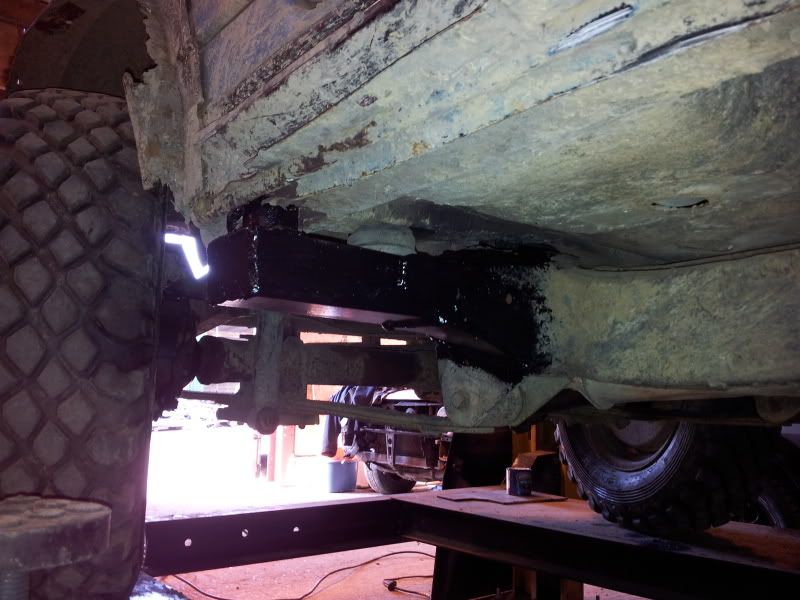
Finished the major gusseting on the front mounts now. Just need to plate in the top of the second side and then the body can go back down and be bolted in place.

Look - I even found the stub end of some Hammerite and a scraggy brush to gob it on with:

Image

Here's the remaining top piece that needs to be plated in:

Image

This is the finished side:

Image

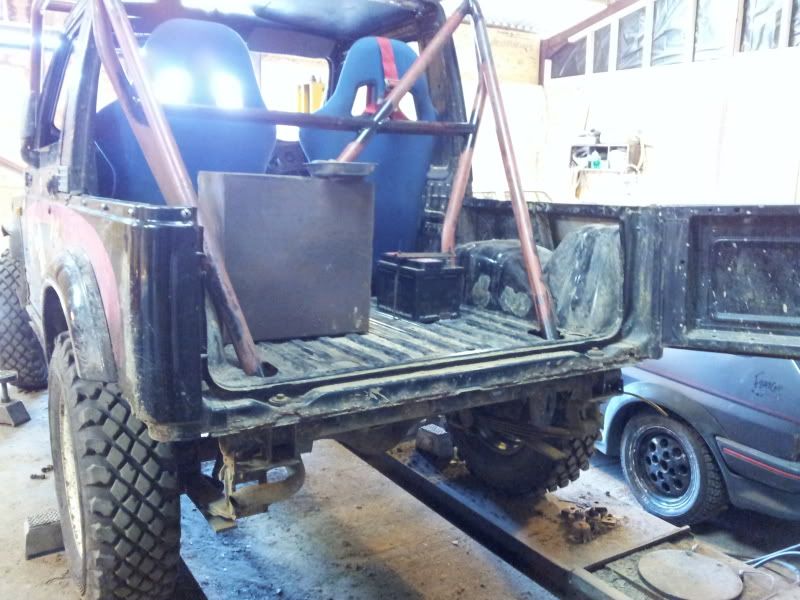
Also got a fuel tank from a friend who had it left over from a project - for free!

It's a bit rusty, but has never been used and has nicely tapped outlets, filler and breather, so it's all good. This will be mounted in the rear, along with the battery, which will be relocated from under the bonnet, to help balance the weight out a touch.

Also got the second harness bar cut tonight, ready to weld in next session. Figured out the rear tow point, as well.

Sound progress.

diamond hell
Got muddy boots
Got muddy boots
Posts: 22
Joined: Sun Feb 26, 2012 11:13 am

Re: SJ Trialer

Post by diamond hell » Sun Mar 11, 2012 8:38 pm

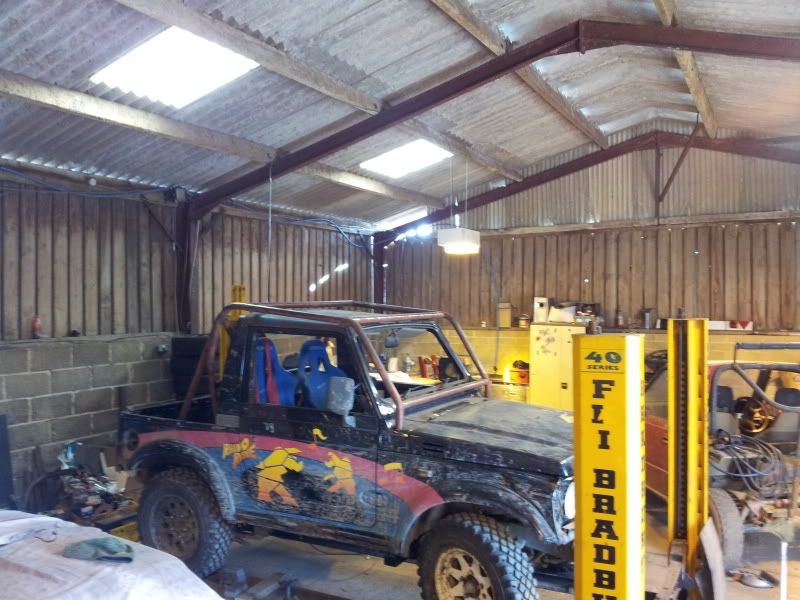
Finally getting somewhere:

Image

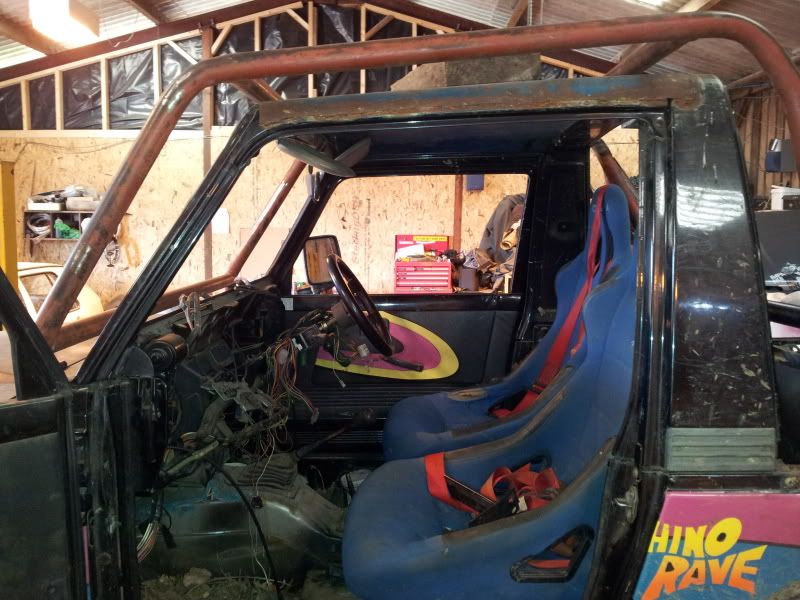
Bolted up the bar that reinforces the tin shed on top of the chassis, under the dashboard. Both the seat mounts are finished, but the passenger seat isn't bolted down right now - makes it easier to do the work:

Image

The front outriggers are now totally finished and painted, with the body mounts in place now:

Image

Both harness bars are now welded in:

Image

The battery mount is also sorted, in the back to try and balance things up a touch:

Image

And the fuel tank will be sorted with mounts during the next session and maybe a fuel pick up and a cap on the tank, too.

I might even put the dash back in it on Thursday night. Looks promising for the Easter event. 8-)

Anyone want a roll bar? Anyone got a windscreen?
Last edited by diamond hell on Sun Mar 11, 2012 10:30 pm, edited 1 time in total.

User avatar
ianedwards
SCUK Addict
SCUK Addict
Posts: 878
Joined: Thu Sep 15, 2011 8:23 pm
Location: Brecon Powys

Re: SJ Trialer

Post by ianedwards » Sun Mar 11, 2012 8:48 pm

For some reason I can't see your latest pics, i can see the last ones you put up.

Strange, Might just be my crap laptop

Sounding good tho.

Ian
Cheers

Ian. :)

1987 Suzuki SJ413 KJA - Fixed + Modified in my own way

User avatar
lazy rambler
Can I have a tow
Can I have a tow
Posts: 296
Joined: Sun May 22, 2011 8:00 pm
Location: Aylsham, Norfolk

Re: SJ Trialer

Post by lazy rambler » Sun Mar 11, 2012 8:57 pm

Can't see them either.
:blackside: 2" Shackles, 31" x 10.5" Buckshot Mudders, 1.6 8V with SU :blackfront:

Now a build in progress

User avatar
turbo-tom
I spend far too much time on here
Posts: 4478
Joined: Fri Jun 25, 2010 9:29 pm
Location: West Sussex

Re: SJ Trialer

Post by turbo-tom » Sun Mar 11, 2012 9:04 pm

coolbeans
Last edited by turbo-tom on Sun Mar 11, 2012 10:39 pm, edited 1 time in total.
Tom :)

Ford Fiesta ST :D

diamond hell
Got muddy boots
Got muddy boots
Posts: 22
Joined: Sun Feb 26, 2012 11:13 am

Re: SJ Trialer

Post by diamond hell » Sun Mar 11, 2012 10:31 pm

Doh - I fixed it just now.

User avatar
ScottieJ
The Boss
The Boss
Posts: 11635
Joined: Tue Apr 15, 2008 12:13 pm
Location: Chippenham, wiltshire

Re: SJ Trialer

Post by ScottieJ » Mon Mar 12, 2012 1:39 pm

Looking nice there matey, really like what you have done with the body mounts! :rockin: should be nice and strong!
Zuki Build

Steady as she goes!

diamond hell
Got muddy boots
Got muddy boots
Posts: 22
Joined: Sun Feb 26, 2012 11:13 am

Re: SJ Trialer

Post by diamond hell » Tue Mar 13, 2012 7:36 am

It's just just been built to MSA minimum spec on the outriggers, then gusseted to the chassis, with 3mm plate.

No point doing these things if you're not planning to use them to their fullest extent. :twisted:

diamond hell
Got muddy boots
Got muddy boots
Posts: 22
Joined: Sun Feb 26, 2012 11:13 am

Re: SJ Trialer

Post by diamond hell » Thu Mar 15, 2012 11:29 pm

Tonight was mostly about tow points and the fuel tank.

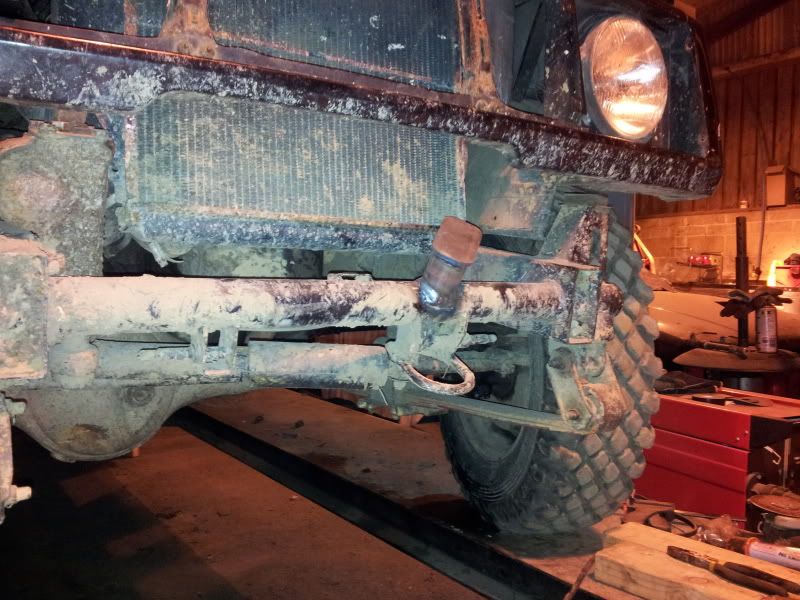
Front tow point welded on, so the rope goes through the original hoop, then the hoop goes over the new point to secure it. The big win here is that it no longer needs a shackle to secure the rope:
Image

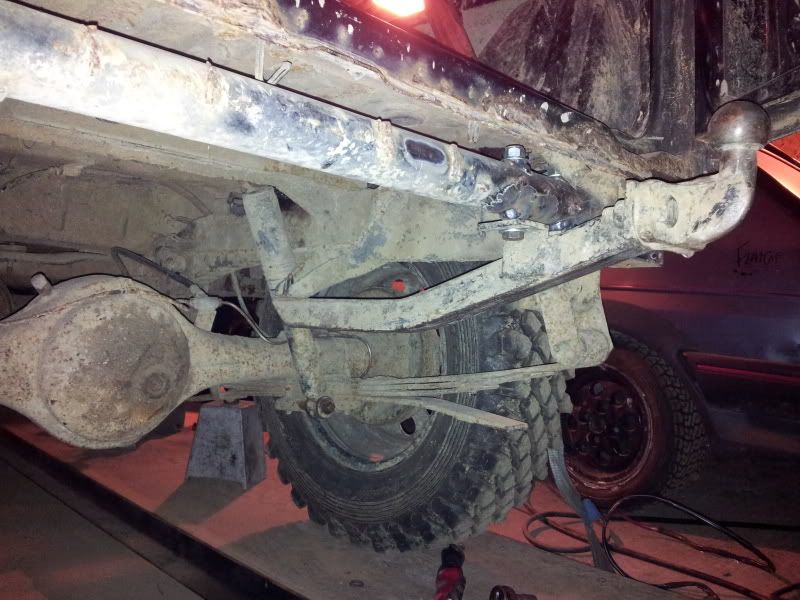
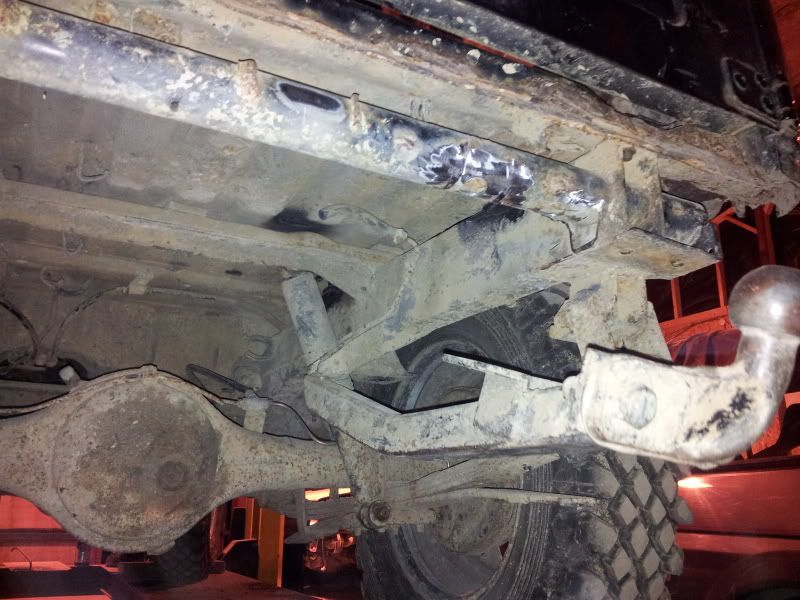
Now we could have just re-attached the rear towbar on the back, but that's not really good enough, as it was too low and in the middle, which is away from the chassis rails - not as strong as being close or on the chassis rails. So the front of the original towbar now bolts to one of the original fuel tank mounts and the main mounting bolts go through the rear crossmember, alongside the chassis rail. The bolts will go all the way through the crossmember and be nutted on the top side.

Obviously it's not good enough to just drill through the tube, so we've hole-sawed and the crossmember will have sleeves welded into it to ensure maximum strength:
Image

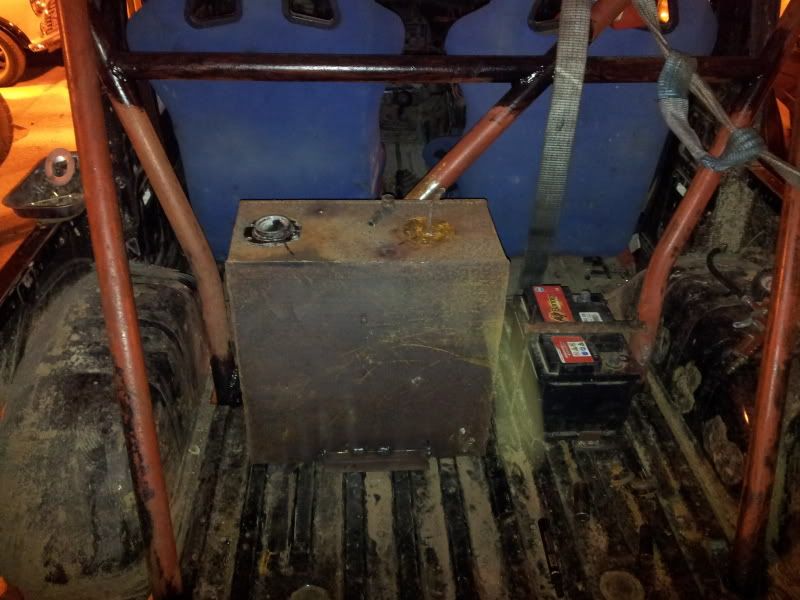
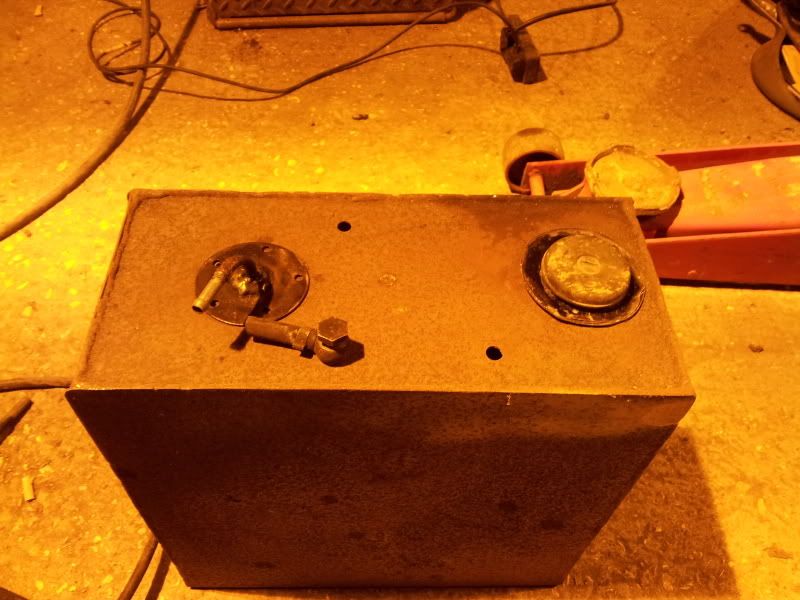
Here's the fuel tank. You'll notice it's not attractive, but it was free.
Image

The filler was cut out of the side of the body, then it was cut down to the cap and the neck. This will be flattened down and then drilled out to suit as the filler

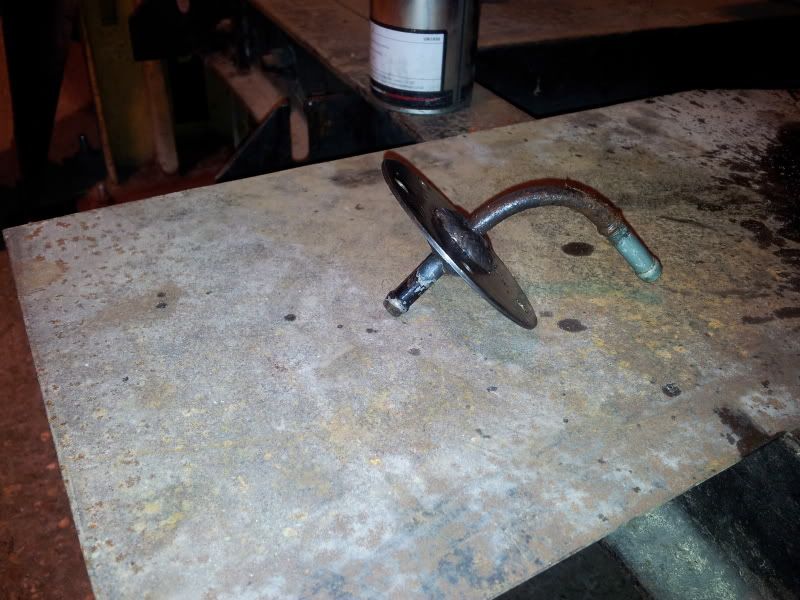
The difficult bit is the pick up from the tank. Thankfully the sh*tara that's still hanging around on it had some nice metal hose that was no longer in use, so that got butchered off it. After that I cut out some sheet steel, templated the five holes needed (already got threaded inserts in the tank) with some transparent plastic and centre-popped those, and drilled them out.

Obviously welding cruddy old fuel pipe ends to a nice, big thick bit of steel is quite a challenge, so I turned the welder right down and gobbed some more material around the pipes. Once that was built up I turned the welder up another couple of settings and then burned more material into the stuff I'd built up. This avoided blowing holes in the nasty old pipe and got a fuel-tight weld above and below the plate:
Image

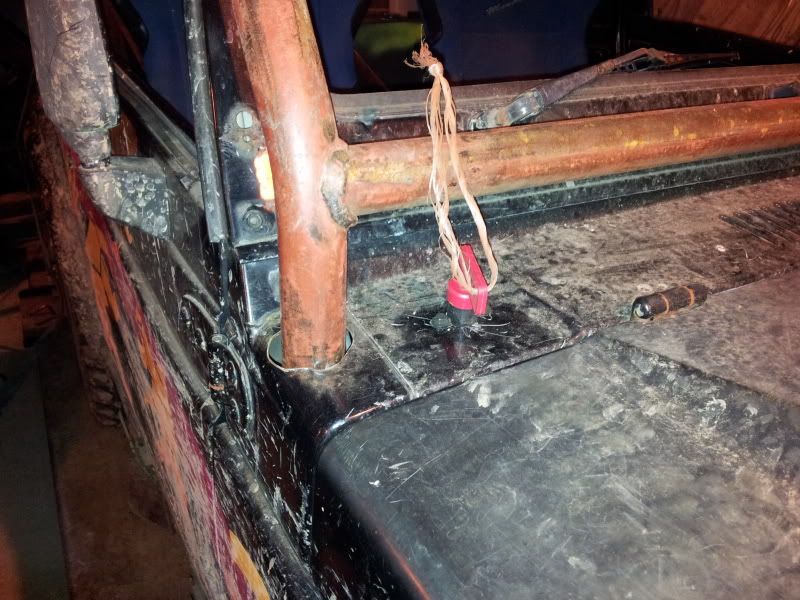
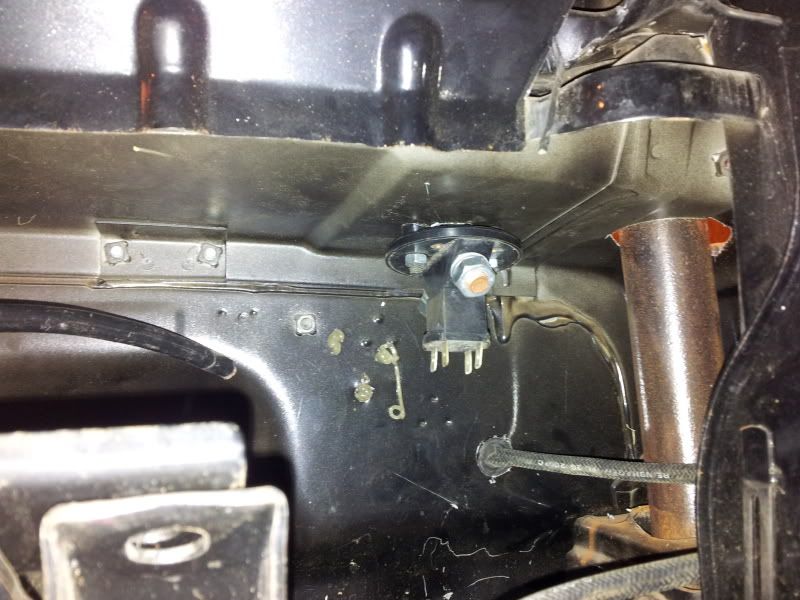
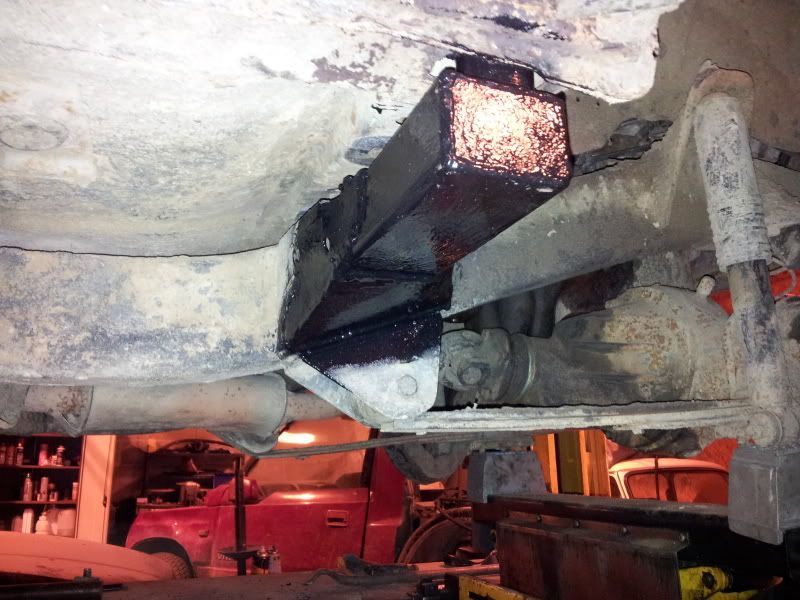
There was also some plotting around the main electrical feed. We have a nice big feed out of an Audi 100, which also has a couple of auxiliary feeds, too. This is going to go to a cut out in front of the screen, from the battery in the back and then to the starter and loom feed. Removing the insulting tape from the current main starter and loom feed discovered a particularly nasty repair, but then finding these things means they're sorted out.
diamond hell
Got muddy boots
Got muddy boots
Posts: 22
Joined: Sun Feb 26, 2012 11:13 am

Re: SJ Trialer

Post by diamond hell » Fri Mar 23, 2012 2:09 pm

Rear tow point sorted:

Image

Fuel tank nearly there, ready to be mounted:

Image

Cut-off in front of windscreen:

Image

Ready to be wired in, using an Audi 100 power feed I've had lying about for years. :grin:

Image

Now into the jobs that seem to take FOREVER!

Post Reply