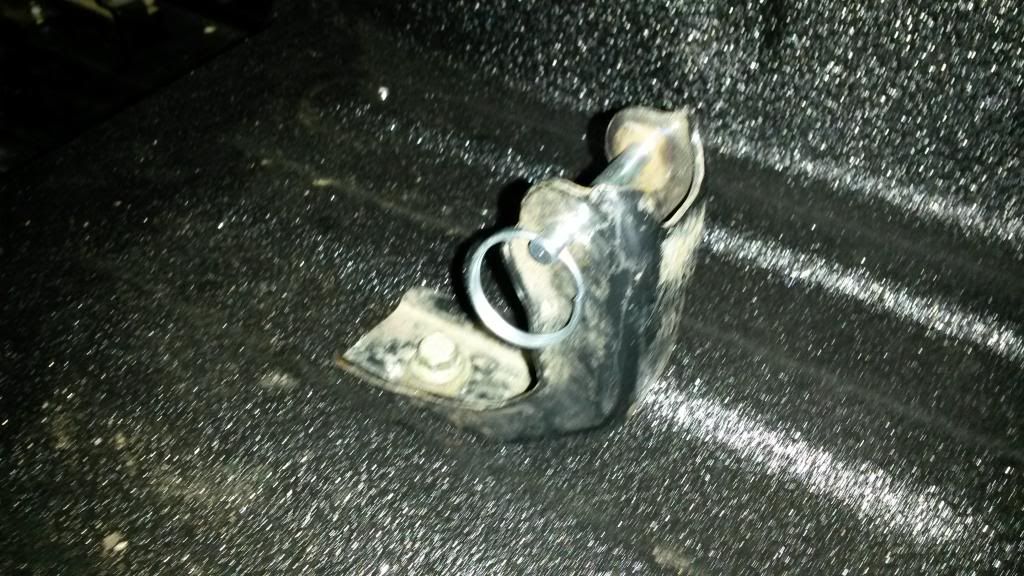
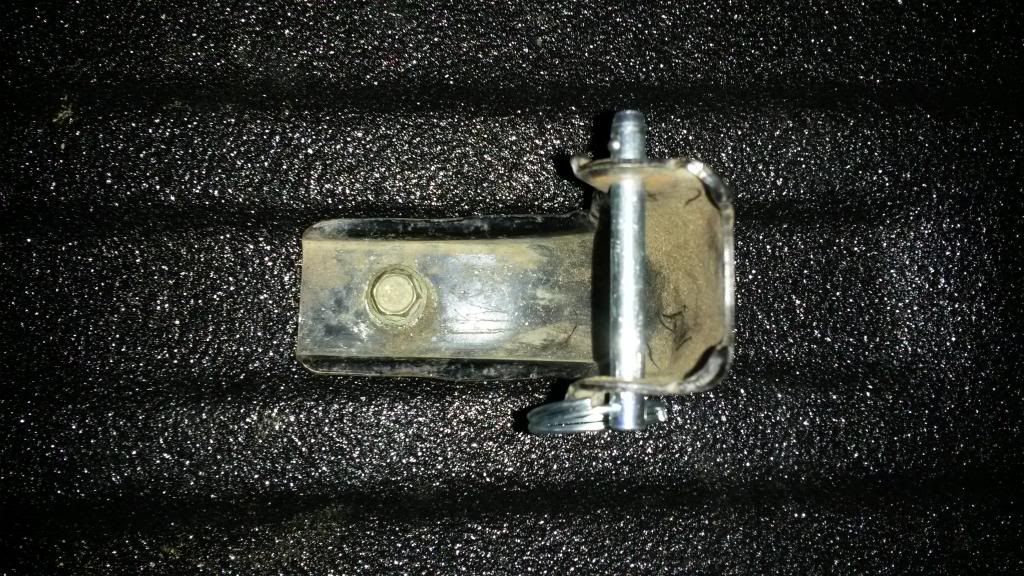
1988 Samurai Build in Utah, USA

Got an vehicle build underway? post up pictures and tell us all how its going!

Builds threads only please.
UT410
Got muddy boots
Got muddy boots
Posts: 25
Joined: Tue Jan 28, 2014 9:51 pm
Location: Salt Lake City, Utah USA
Contact:

1988 Samurai Build in Utah, USA

Post by UT410 » Thu Jan 30, 2014 10:08 pm

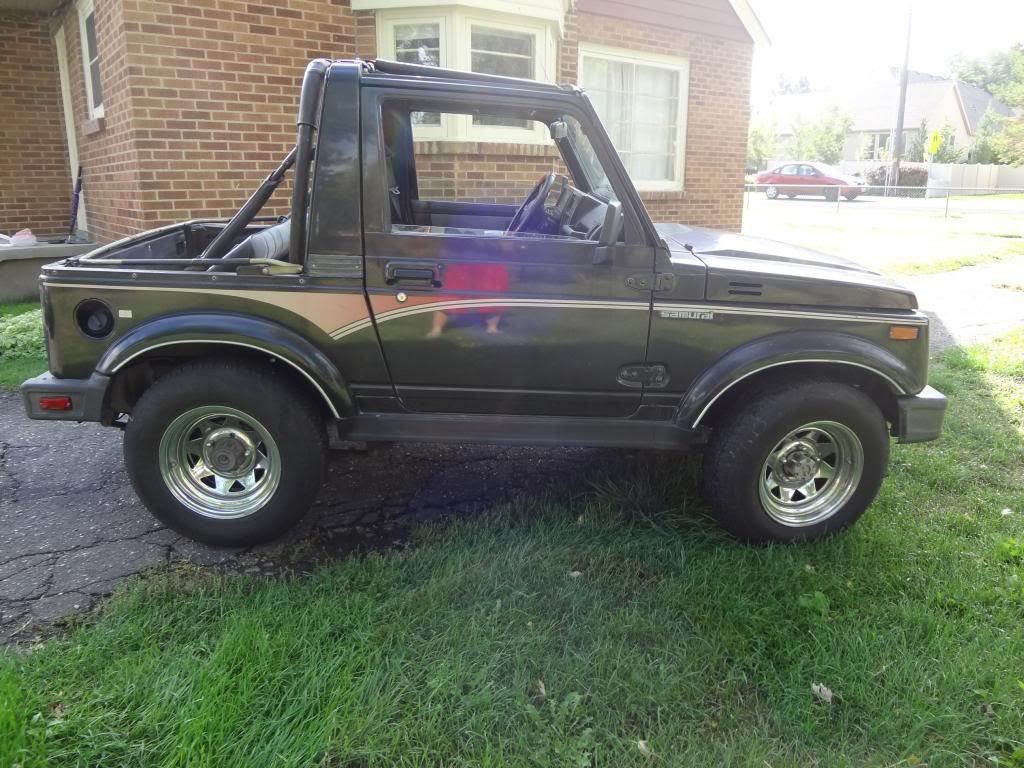
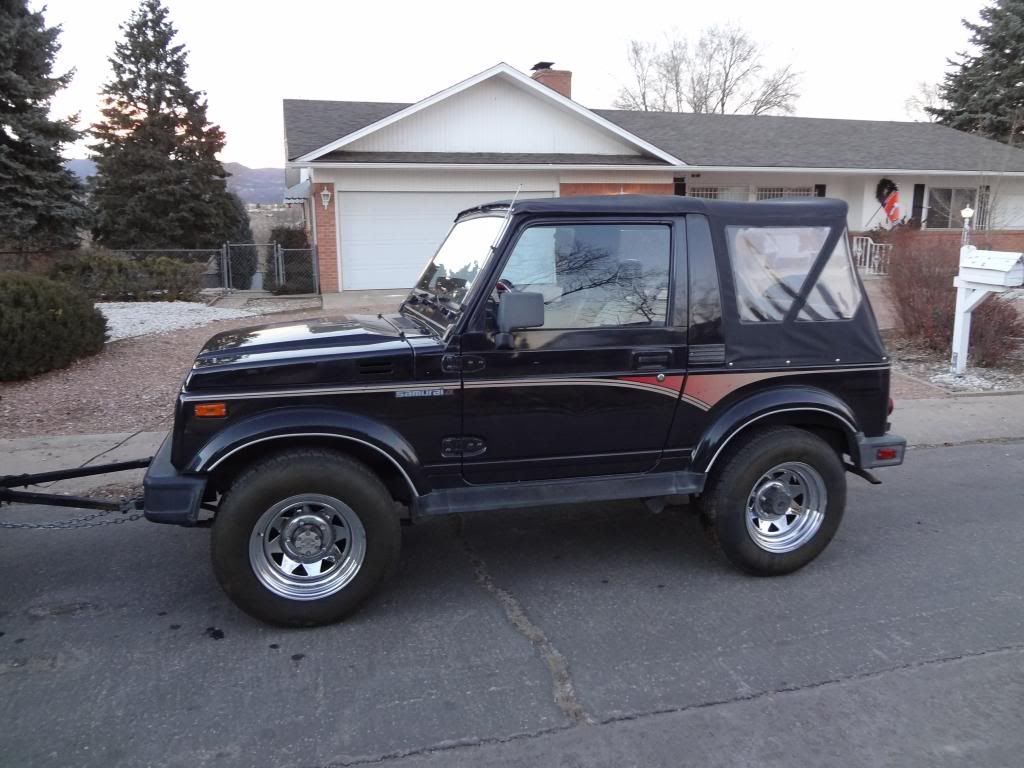
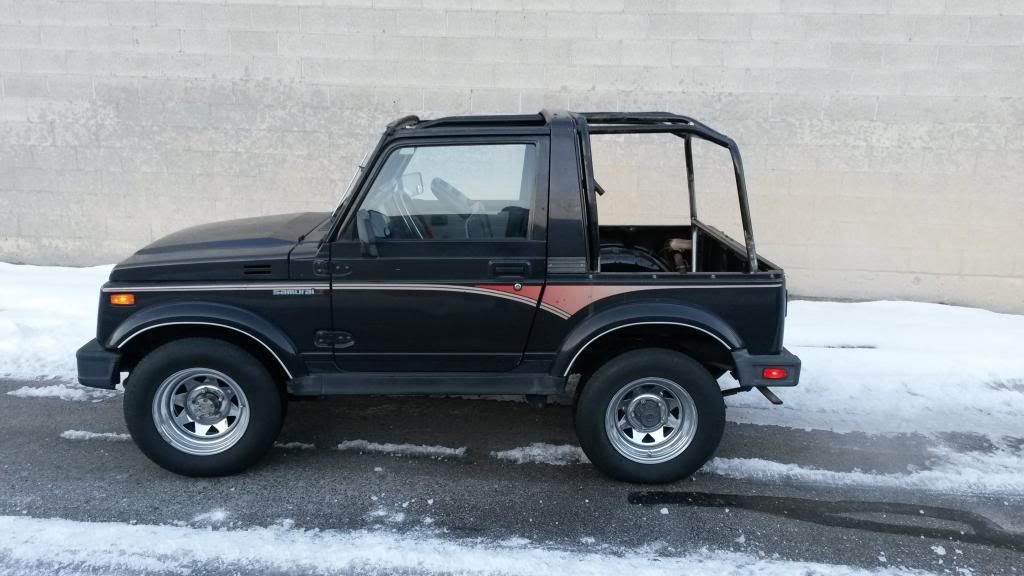
This 1988 Samurai spent the first 25 years of it's life as a vehicle flat-towed behind an RV for two different retired couples here in the states. It's common in the RV/motorhome community to refer to such vehicles as "toads" or "dinghies."

When the previous owner gave up traveling, the little Sammy sat beside his home in Colorado Springs, Colorado, at the foot of the mountain where Pike's Peak resides. It sat, mostly. He drove it once a week, 8 miles round trip (roughly 13 km), for the last TEN years!

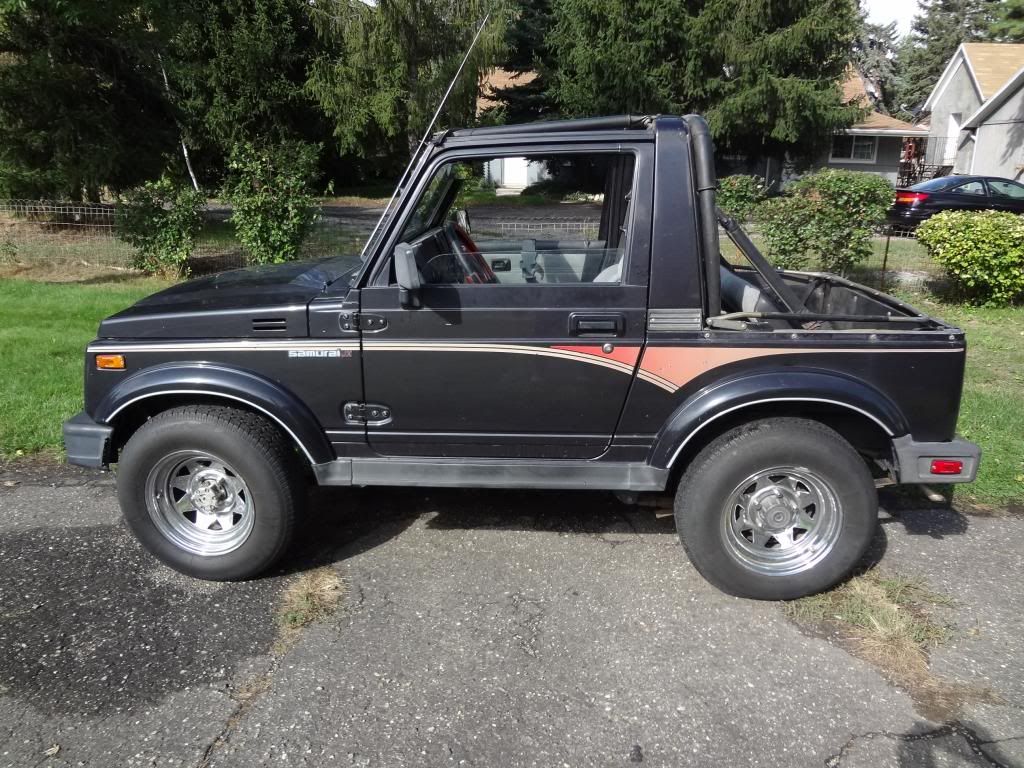
All that said, the vehicle was in very good condition. The hood was dinged up from a hail storm and it was horribly under-powered for a Samurai. Having driven it so little and so slowly over the years, it was loaded with carbon. The shifter sheet and bolt were worn and broken but other than those issues it was in fairly good shape.

It had never been washed or vacuumed since the gentleman owned it. He'd never even opened the back door. The passenger side window hadn't been rolled down since his wife had stopped riding it in many years prior.

That was about the extent of the Zuk's neglect.

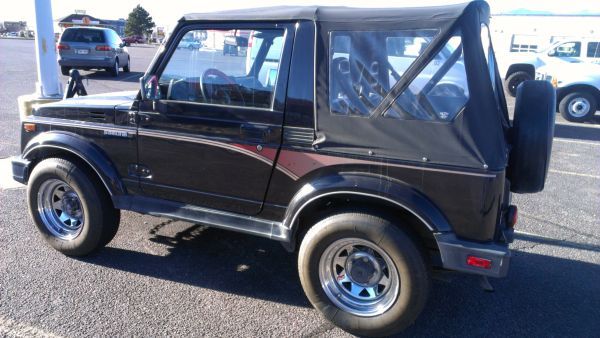
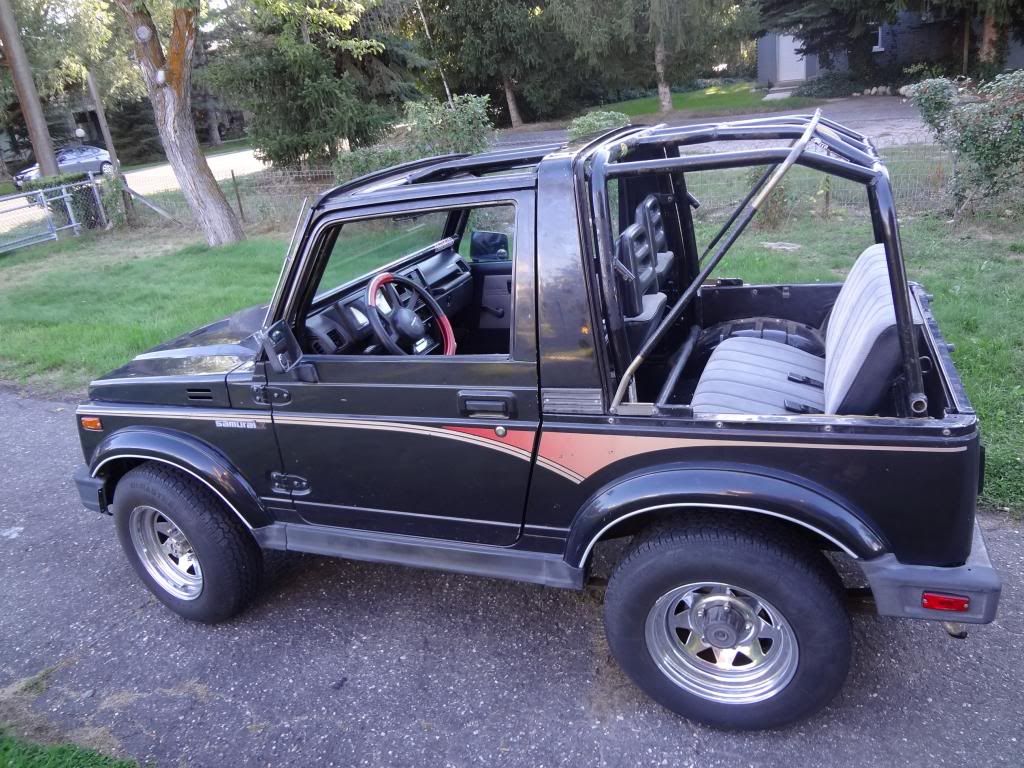
This is how I found it:
Image

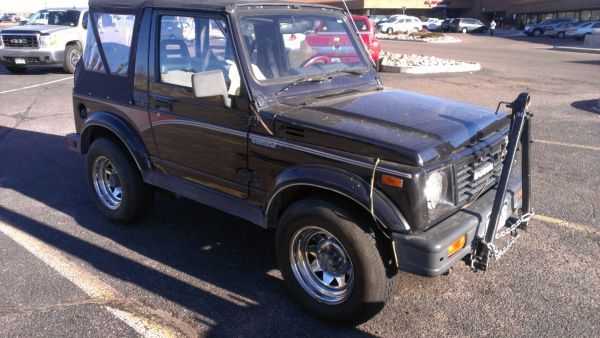
The only photos I saw of it before driving a day to see it:
Image

Image

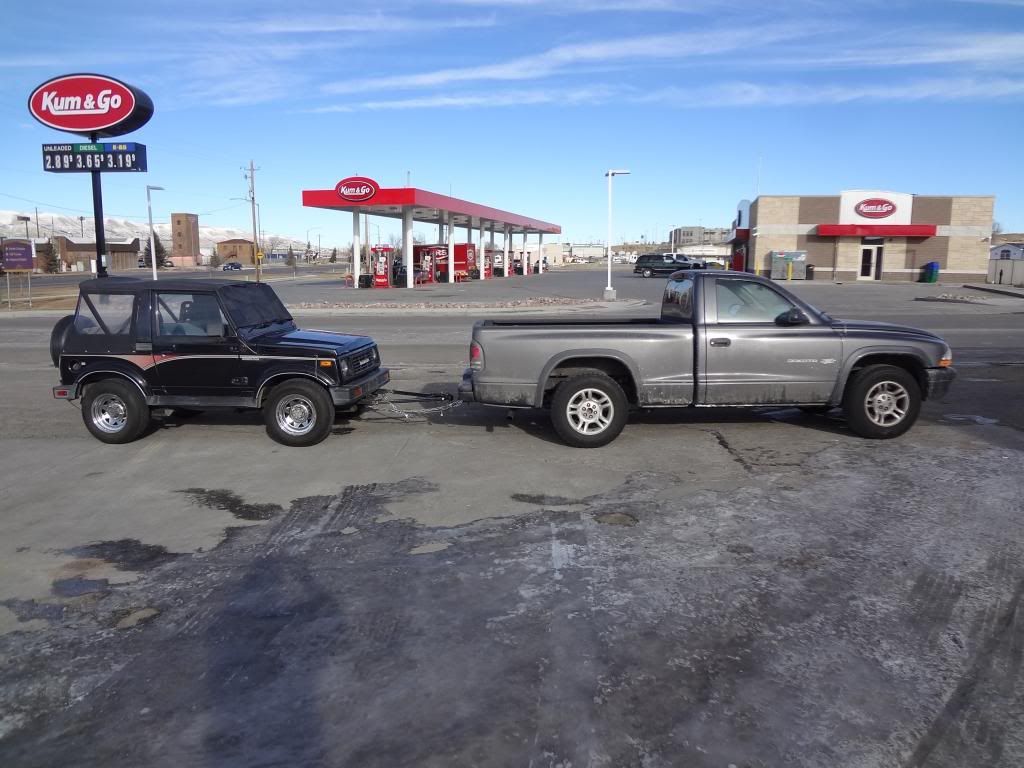
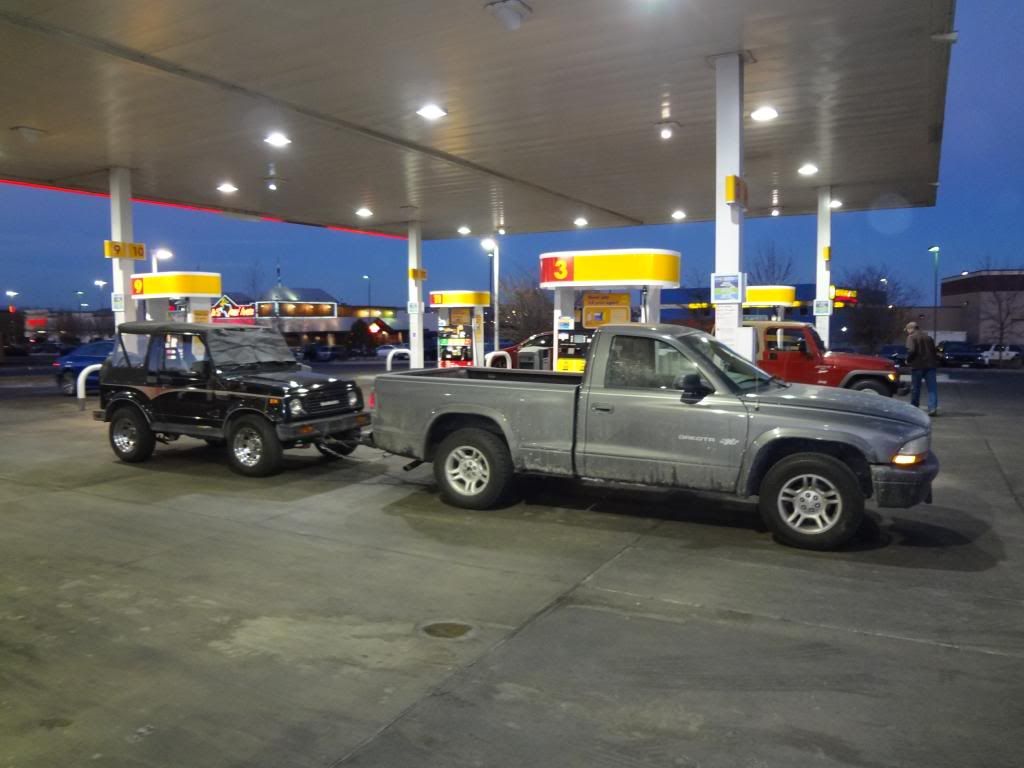
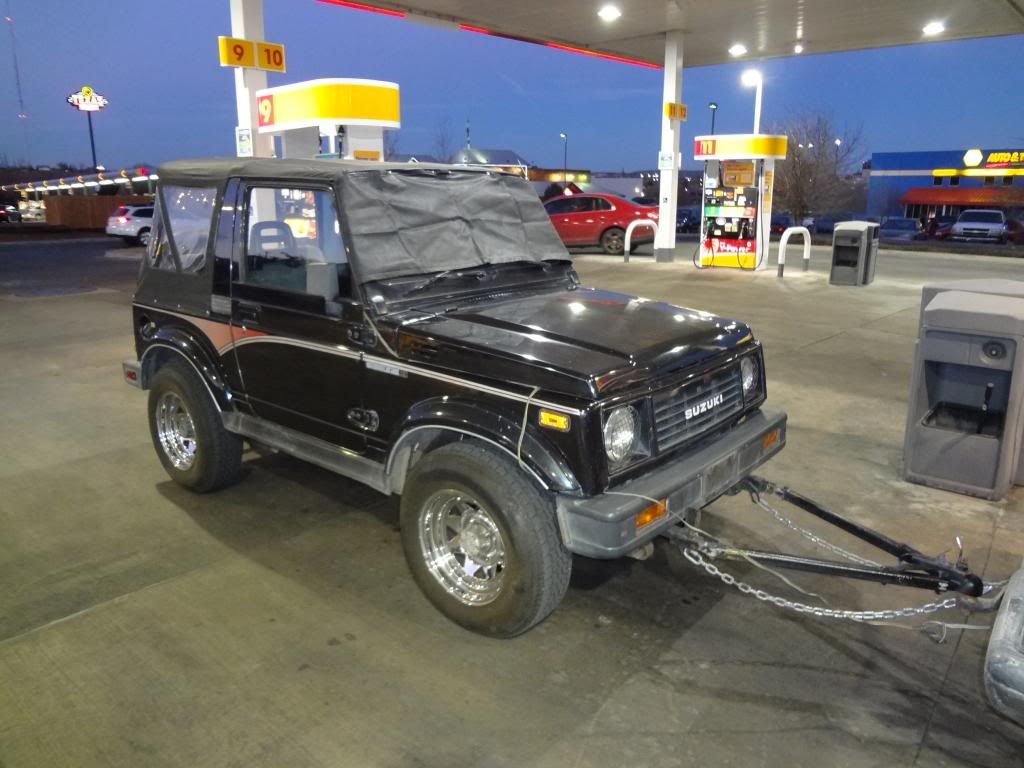
I towed it back to Utah, never having flat-towed a vehicle in my life. They tow very well. I was impressed.

I stopped a few times and snapped some photos:
Image

A few miles into the trip. Fuel before heading home.
Image

Image

It started behaving oddly while towing. Come to find out, my tow hitch (the reciever part) was very loosely connected to my truck frame. I tightened the bolts and continued on... albeit a bit nervously.
Image

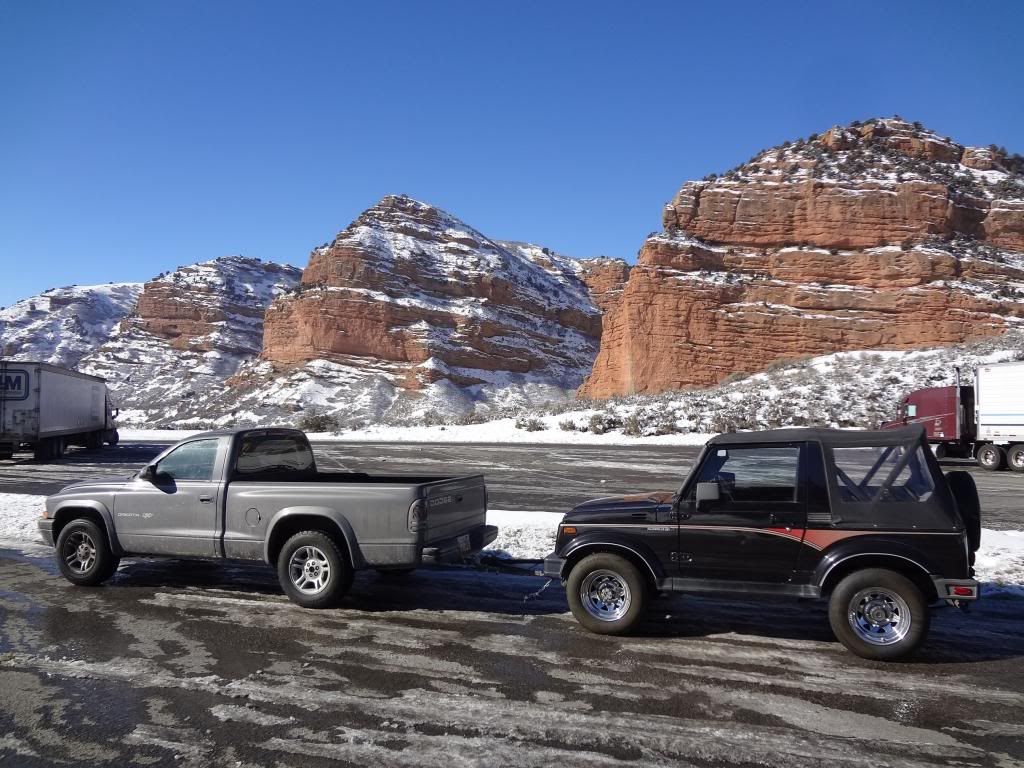
At a rest stop in Utah. I had to introduce the Zuk to the red rocks. :D

Then, it was on to getting it legal. Here in the Utah we have emissions regulations and safety inspection before getting the vehicle tagged for the road.

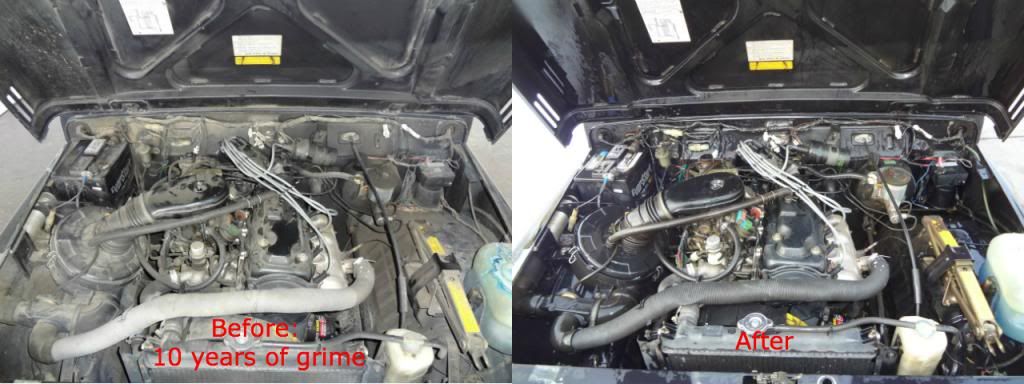
The engine needed to be cleaned of the carbon, the front wheel bearing needed replacing, shifter bolt and sheet (doubt it was needed for safety concerns but you couldn't distinguish a shift pattern and that got old quick), a tune-up, fuel cap and it was legal.

It currently gets the claimed factory fuel mileage, which I was impressed to see.

From here on, I started horse-trading for parts and buying build-parts when I found deals.

A pic of the engine compartment:
Image
Last edited by UT410 on Fri Feb 21, 2014 10:33 pm, edited 3 times in total.
For more of my build, check out my Instagram account: https://www.instagram.com/kungfubowler/
User avatar
Jordi
Bow down before me
Bow down before me
Posts: 7535
Joined: Sun Nov 29, 2009 2:35 pm
Location: Darlington, Co. Durham

Re: 1988 Samurai Build: From "toad" to "off road"

Post by Jordi » Thu Jan 30, 2014 10:13 pm

Looks tidy. How far did you travel to collect it? (I have no idea of American geography, other then the roads I drove on round california / nevada were arrow straight through what seemed like desert for hundreds of miles)
1988 Samurai - Truck Cab & Tray Back - 1.6 8v & HIF44 - Snorkel - Stack Exhaust - PAS, YJs & 33s - Trussed, Gusseted & Pumpkin Capped Axles - 4.3 R&Ps - 4.16 T/Box - Rear Air Locker - Full Float Back Axle & Discs - RCV Front Shafts - X-Eng Handbrake - Custom Fuel Tank

User avatar
bedron
Got muddy boots
Got muddy boots
Posts: 42
Joined: Sun Oct 06, 2013 9:10 pm
Location: kilkenny ireland

Re: 1988 Samurai Build: From "toad" to "off road"

Post by bedron » Thu Jan 30, 2014 10:16 pm

:welcome: lovely zuk u found ..i love those happy days

UT410
Got muddy boots
Got muddy boots
Posts: 25
Joined: Tue Jan 28, 2014 9:51 pm
Location: Salt Lake City, Utah USA
Contact:
Re: 1988 Samurai Build: From "toad" to "off road"
Post by UT410 » Thu Jan 30, 2014 10:18 pm

Now onto some fun stuff.

I should add, first, that I've got expensive taste but I'm cheap. I like to say "champagne taste on a beer budget." I usually pull it off pretty well because I'm patient and I'm decent at trading and selling off what I don't need. Plus, I buy and sell a lot of old Ford parts (1920s-1930s). That's pretty much what has paid for the parts for the build.

Anyway, I've been around Suzukis for a while and when I was planning on getting another, I started thinking about which Zuks had feature I liked.

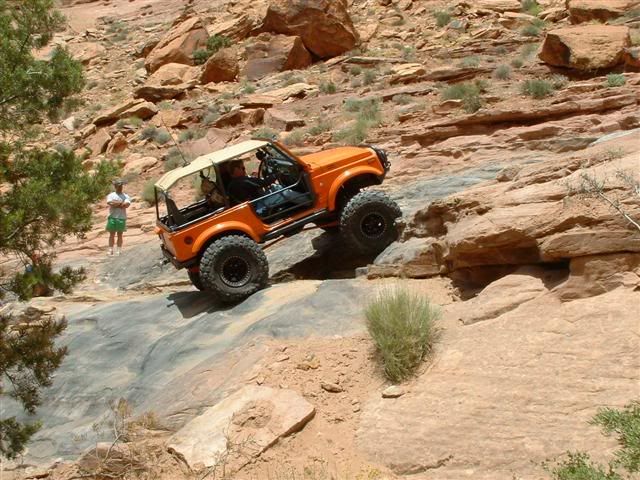
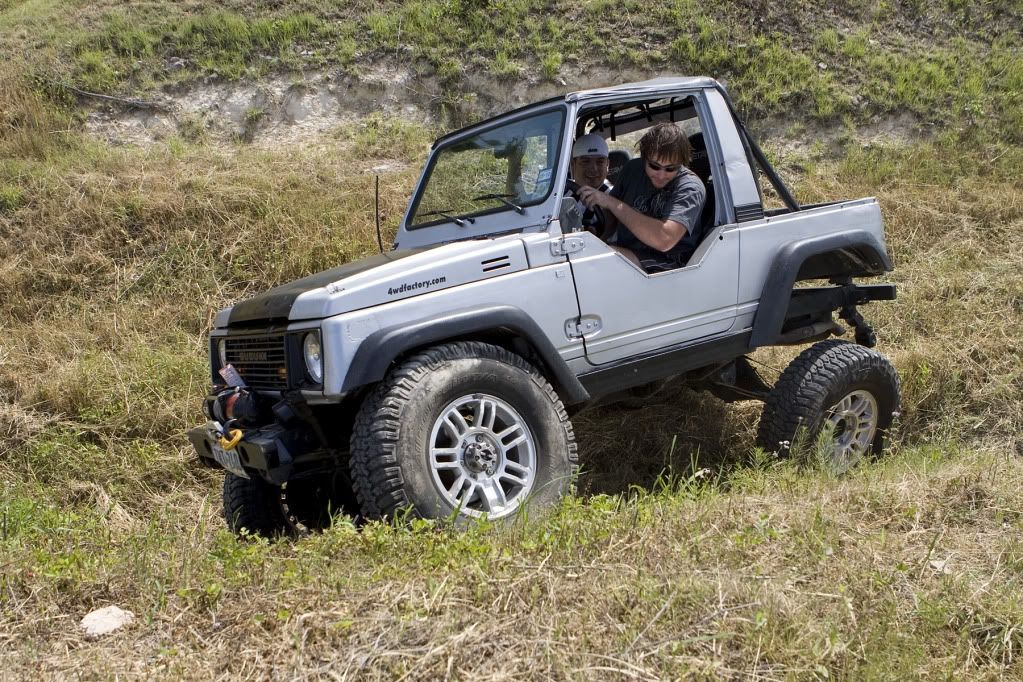
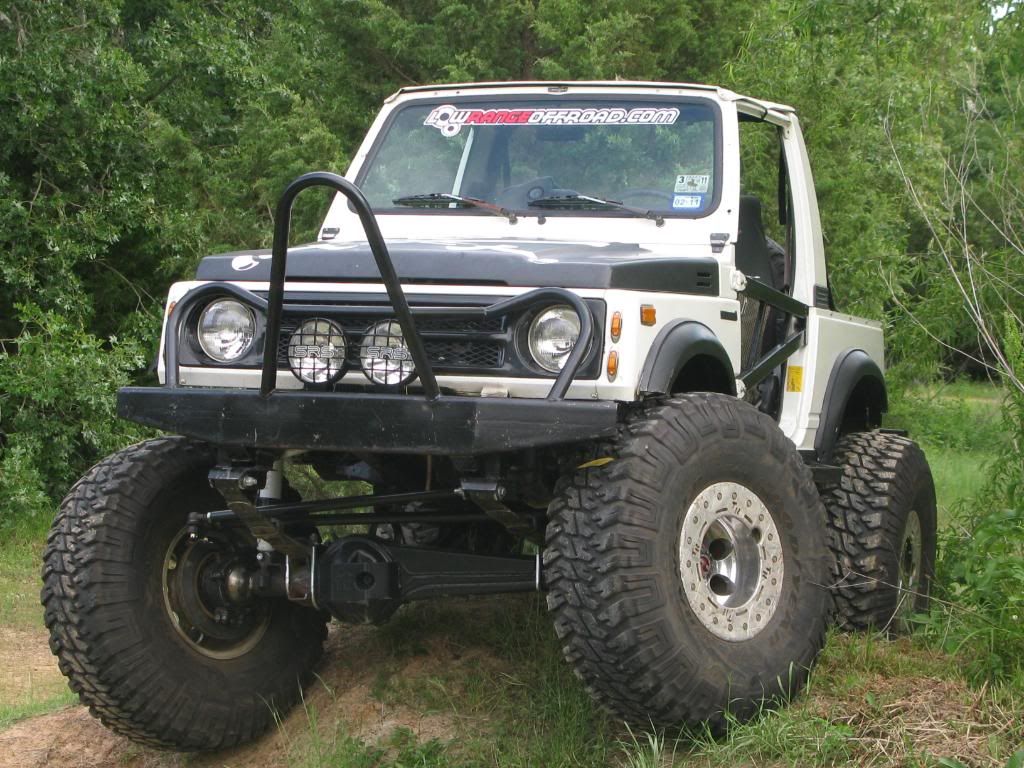
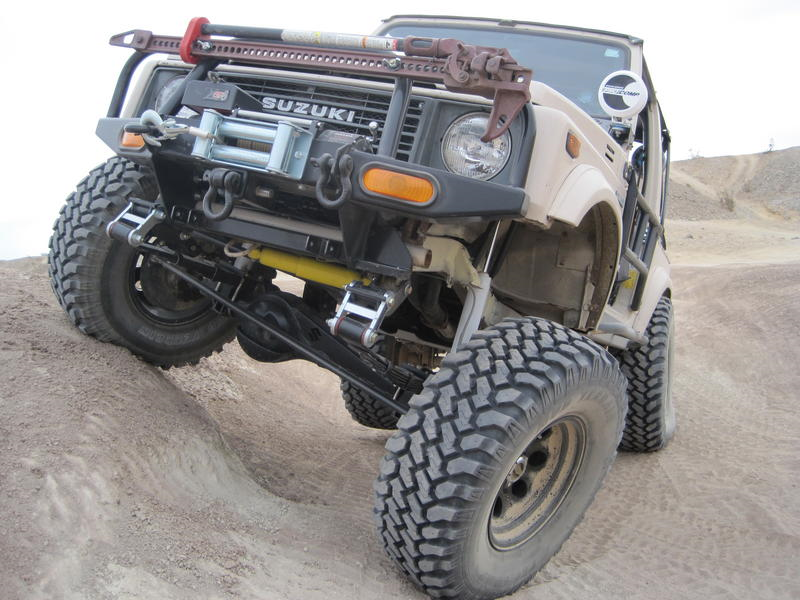
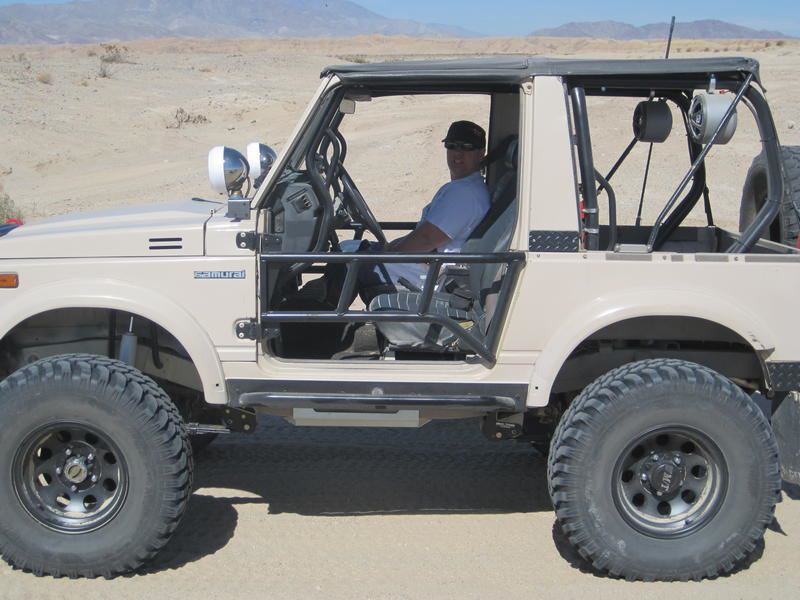
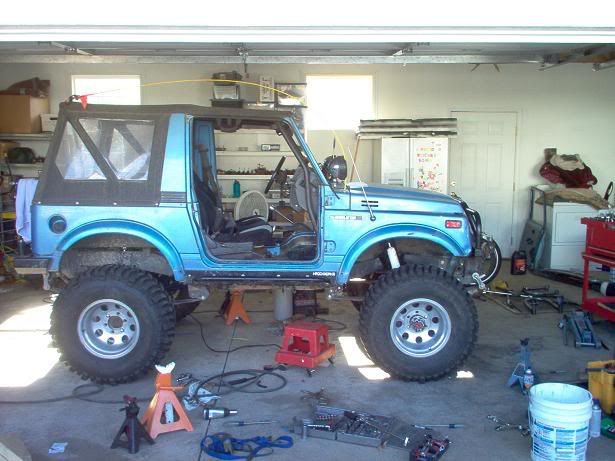
Here are some of my inspirations for this build:

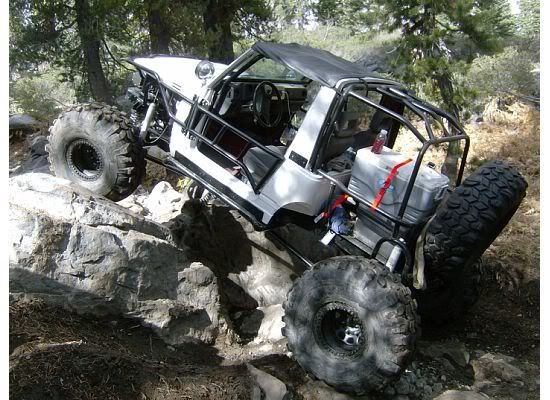
Image

NC Zuk's (RIP)

And these all have certain elements that I liked:

Image

Image

Image

Image

Image

There are plenty of others, too. But these are rigs that I kept studying and going back to.
For more of my build, check out my Instagram account: https://www.instagram.com/kungfubowler/

UT410
Got muddy boots
Got muddy boots
Posts: 25
Joined: Tue Jan 28, 2014 9:51 pm
Location: Salt Lake City, Utah USA
Contact:

Re: 1988 Samurai Build: From "toad" to "off road"

Post by UT410 » Thu Jan 30, 2014 10:45 pm

So, after a lot of research and lists made, I started looking for parts. I was sad to see that so many venders/folks that were a big part of the Suzuki community 5-8 years ago had moved on. The community in the US had shriveled up a bit.

However, some adapted and others grew.

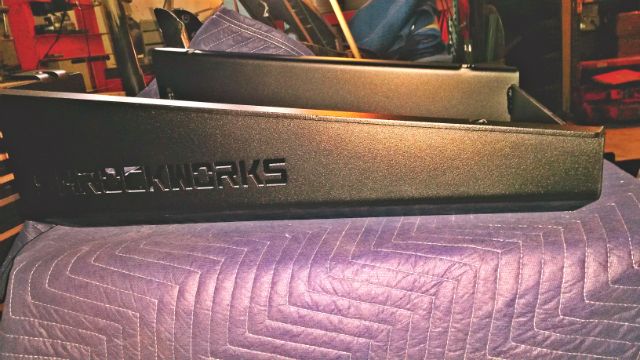
I reached out to Jim at Shrockworks and had them get going on some bumpers and skids. I had some changes/improvements I wanted them to make and they accommodated me. Then it was onto the wait for the parts to be fabricated.

While waiting, I searched classifieds both locally and throughout the US and located a bunch of parts needed.

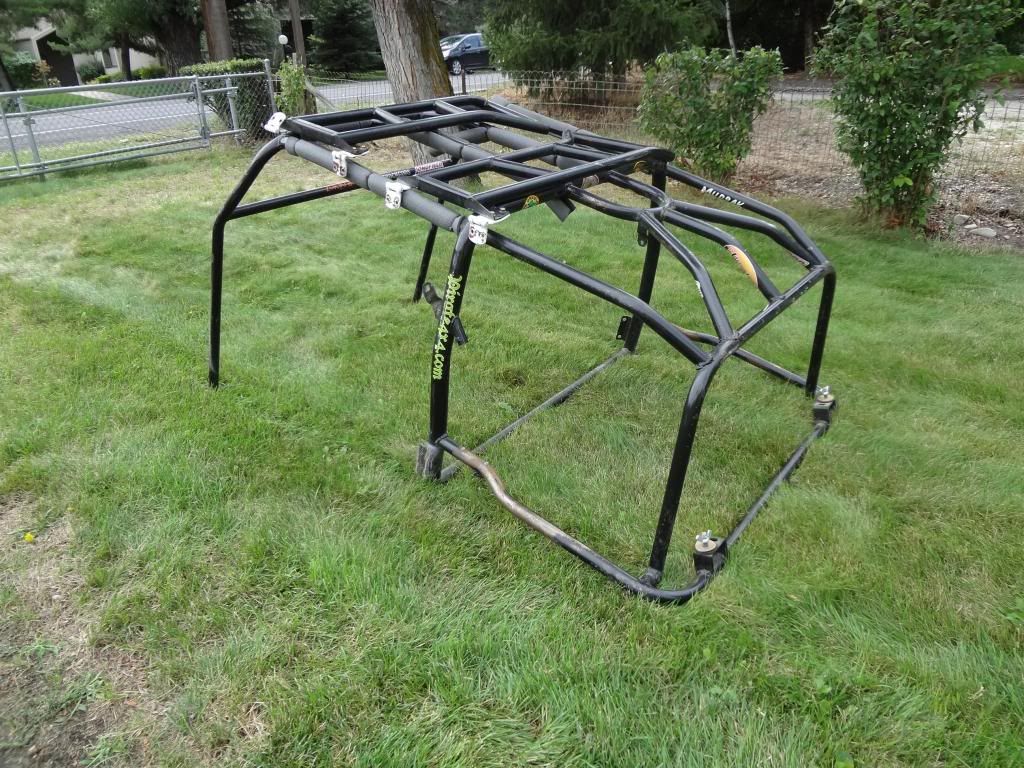
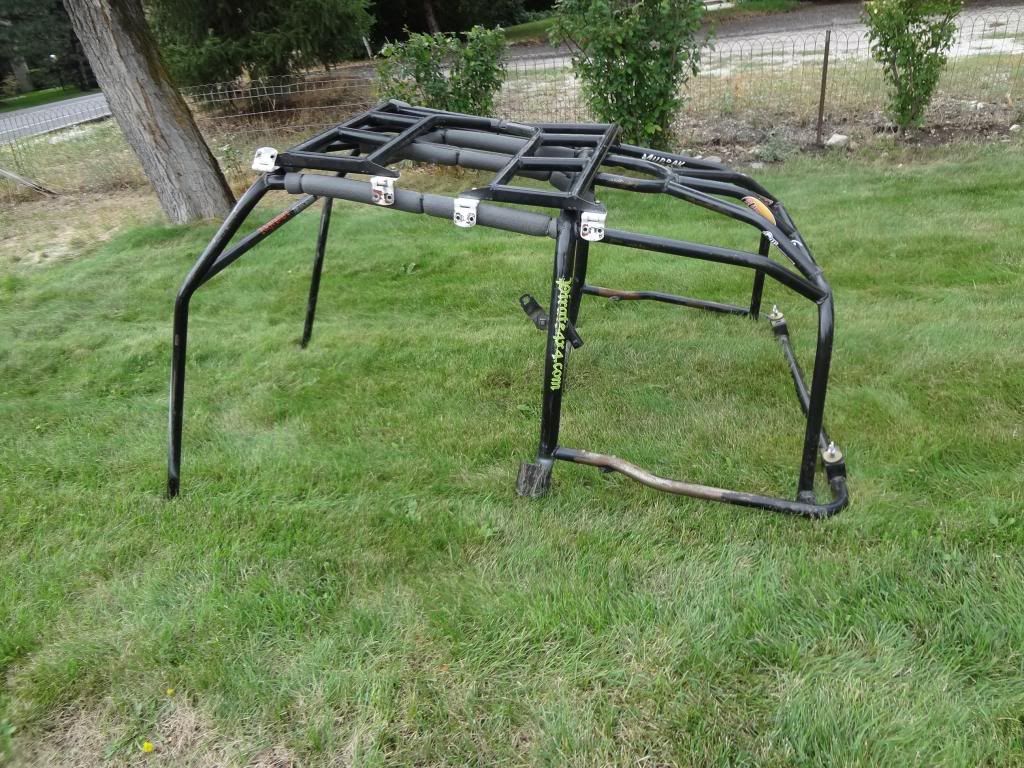
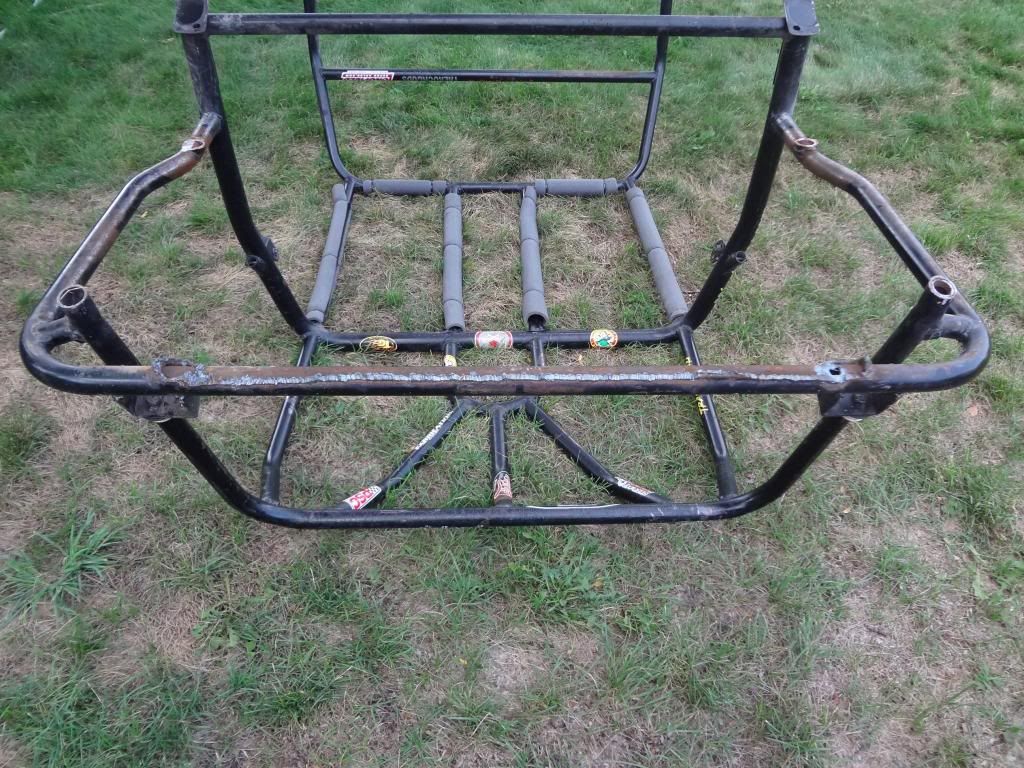
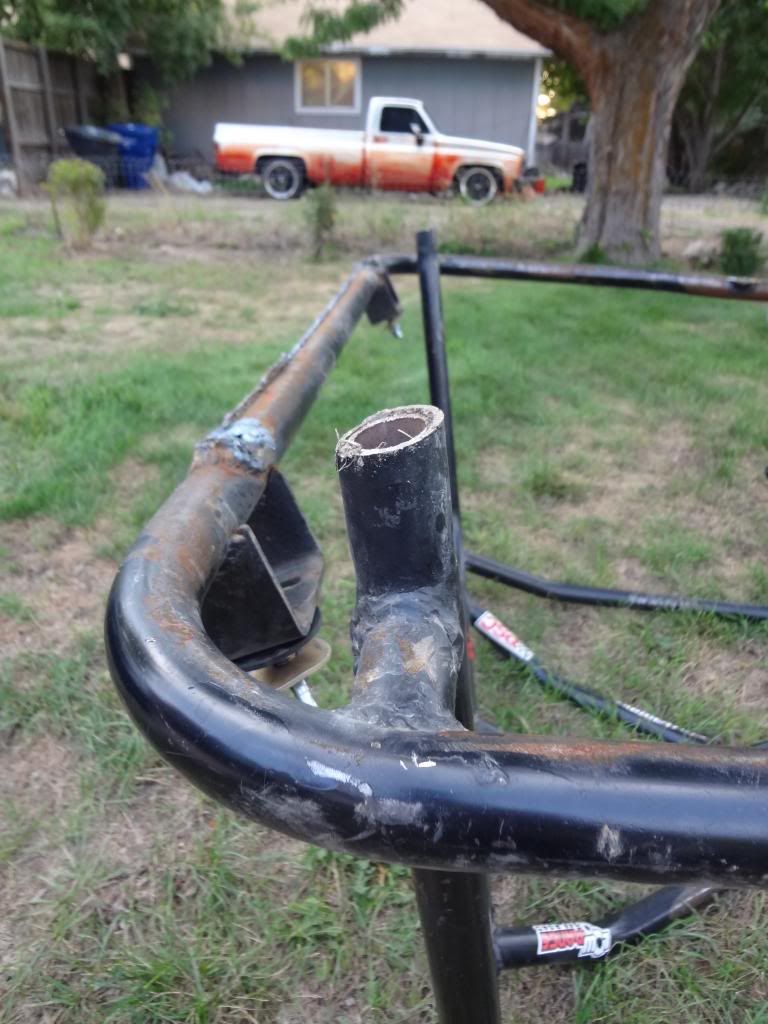
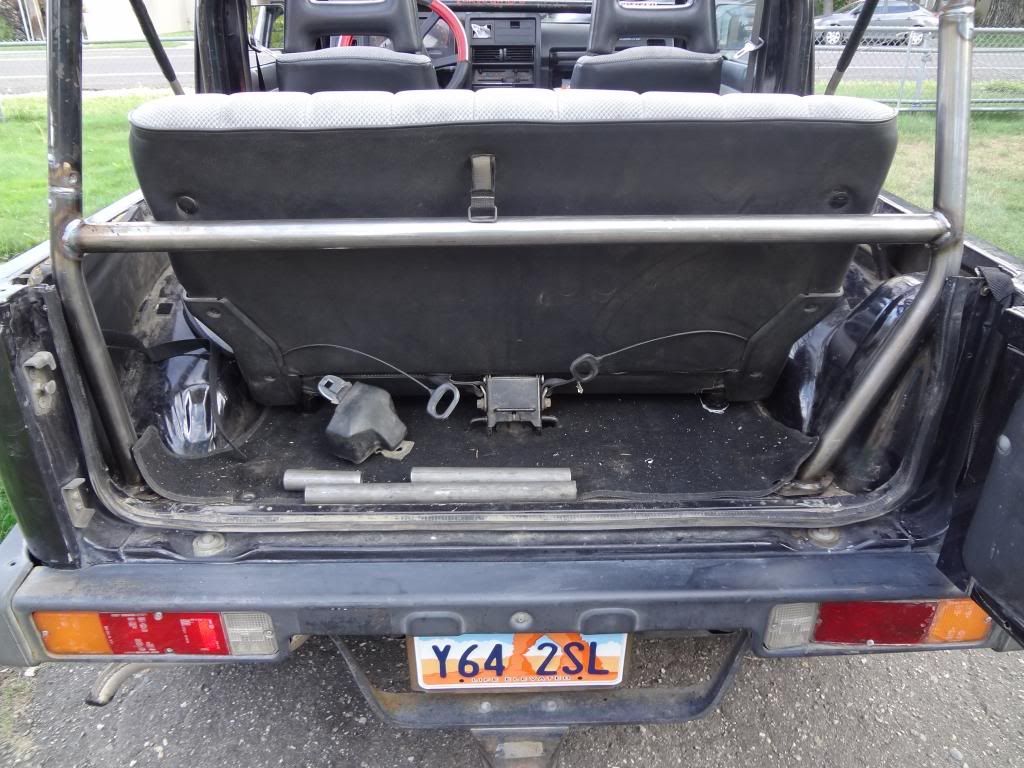
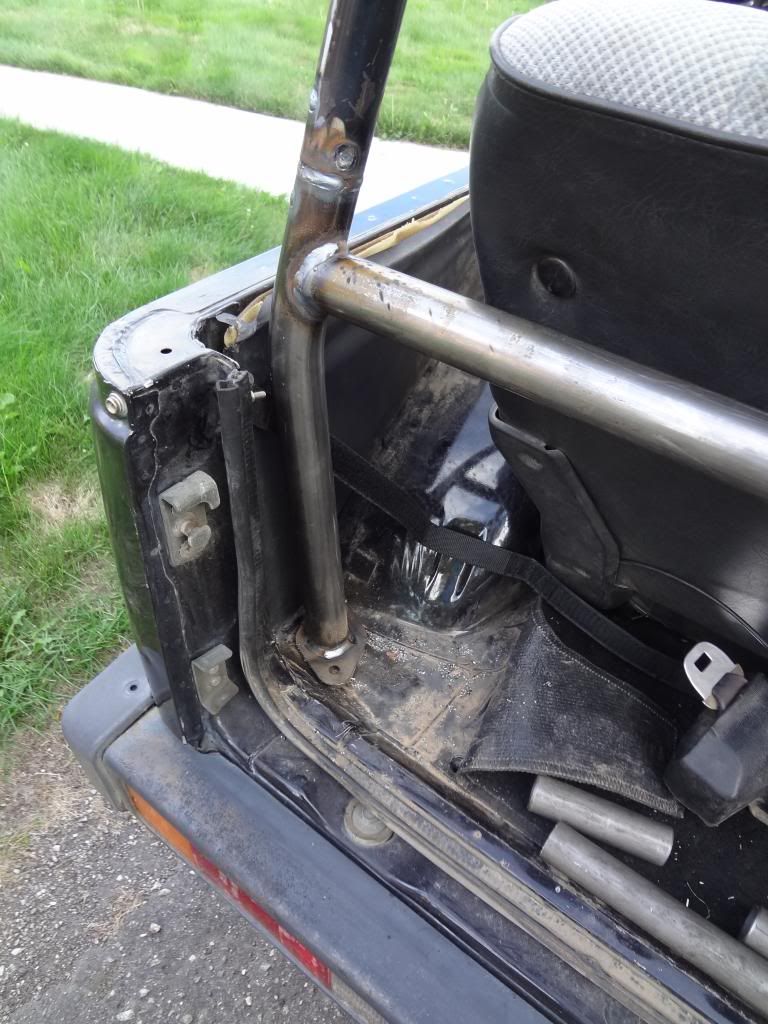
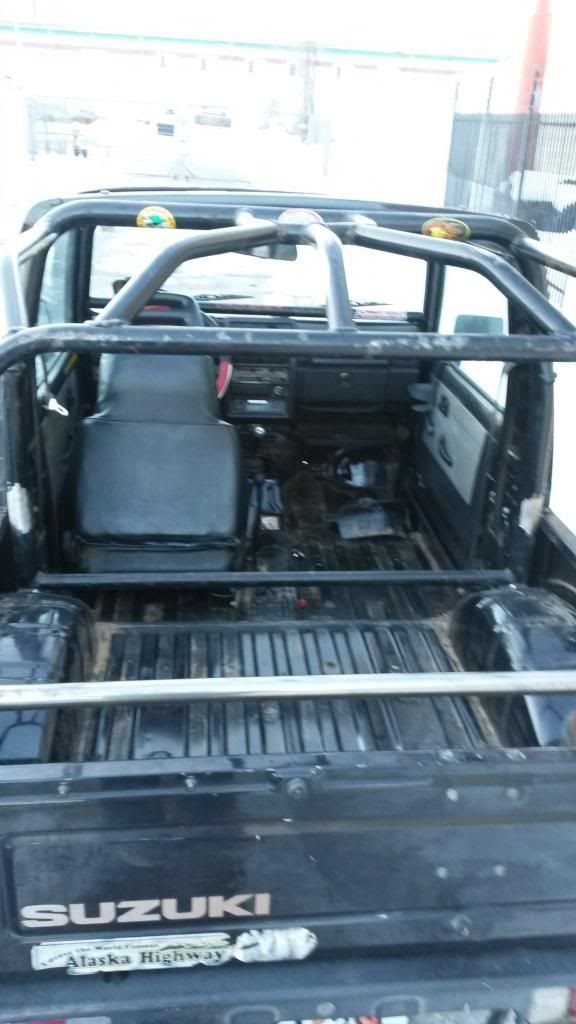
A big score was the roll cage and tube doors:

It came off of this rig being parted out.

Image

Image

Image

Image

Image

Image

Since it was part of a buggy, it had to be cut off. There was some work to be done. Best thing, I got this stuff for a deal.

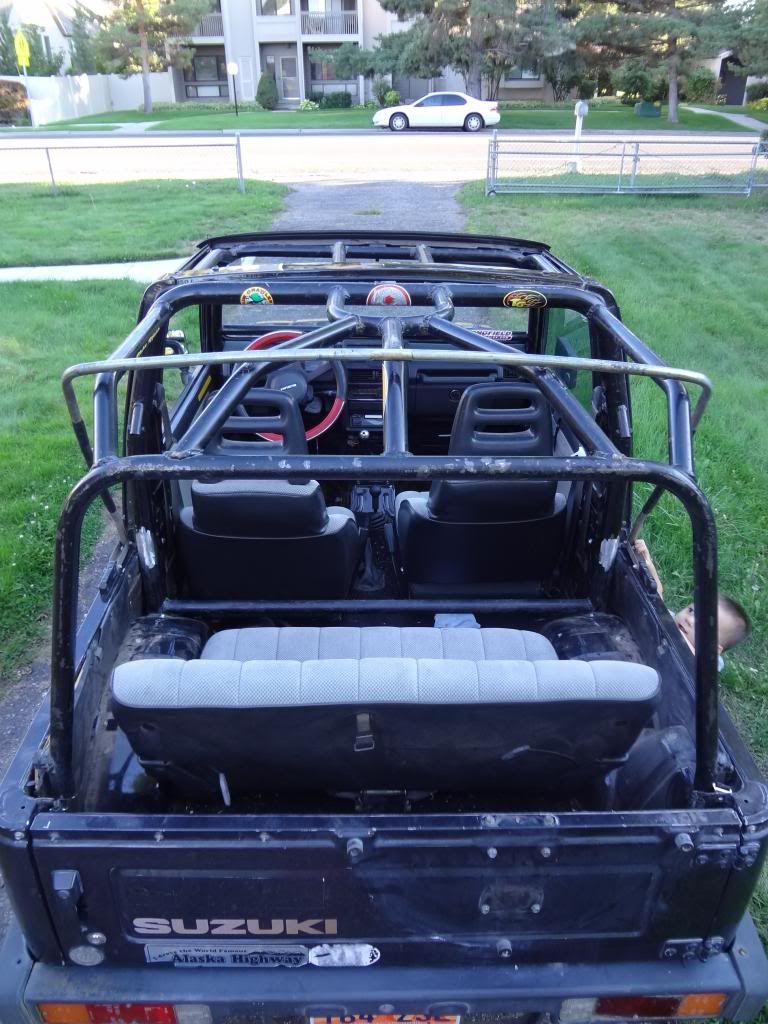
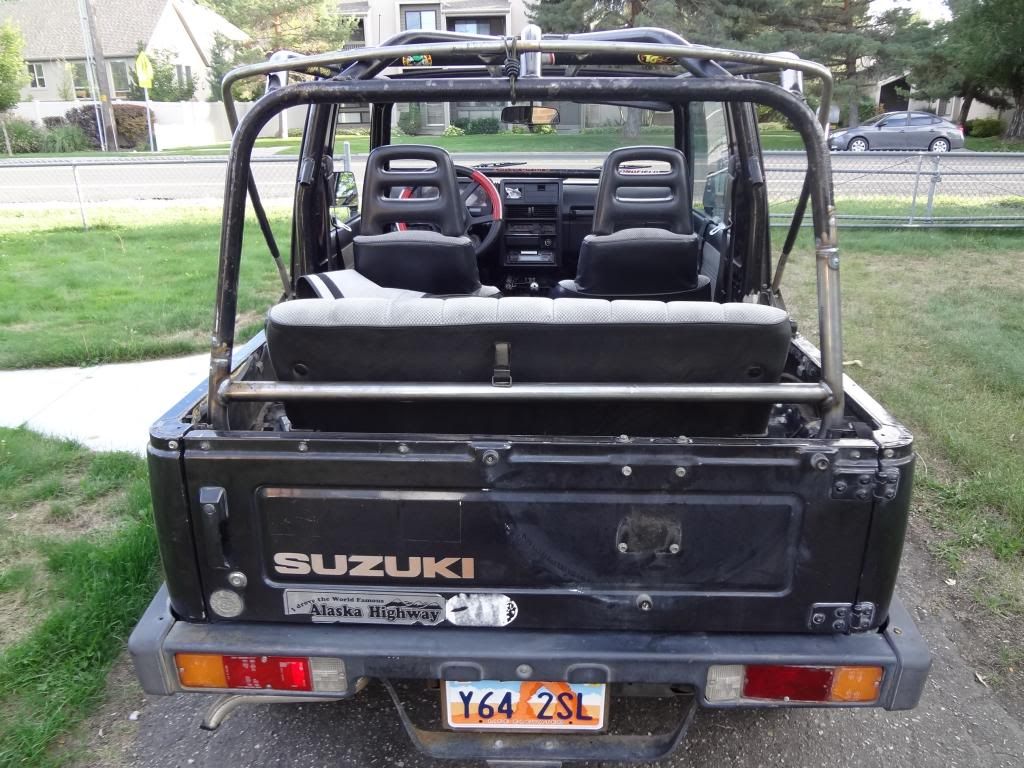
I'm not one to let stuff sitting around. The weather was nice and I wanted to see what the Zuk looked like with the cage in it. Plus, I wanted to start planning how to fit and fix it.

So, I went along got it into the rig on my own. No easy task but it was worth it.

Image

Image

Before disassembling the Samurai.

Image

Image

The next day. I had to fight some rain since my garage was unkempt and needing organization. Plus, there was no way I was fitting the cage into a space where I was confined vertically.

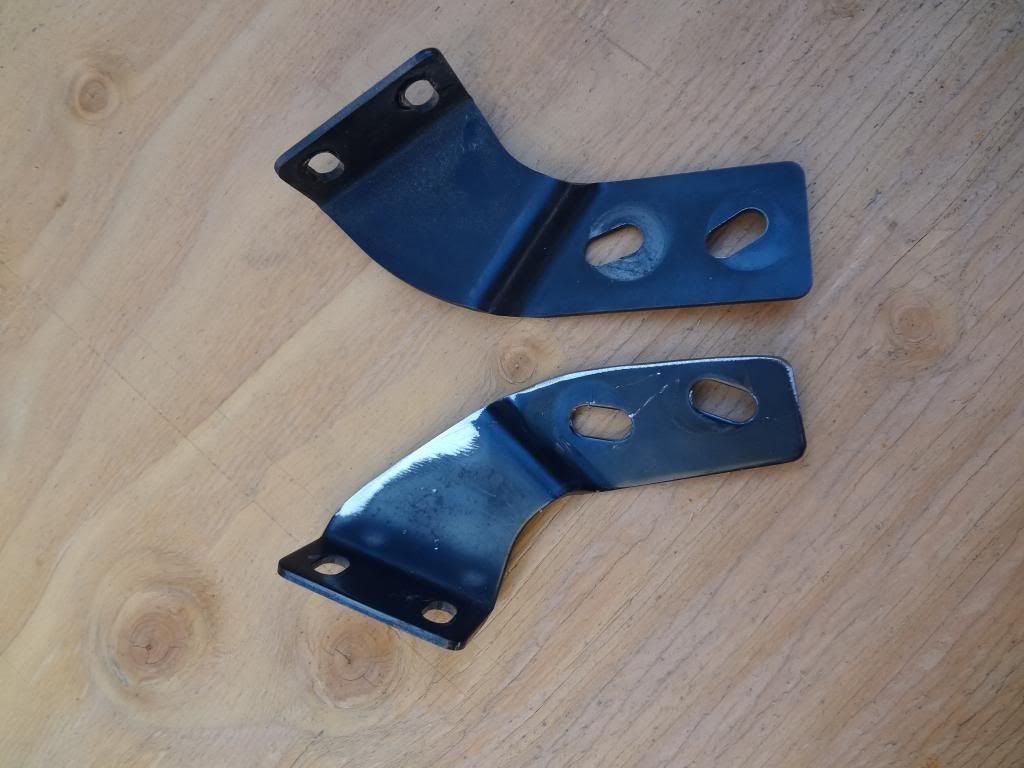
I got all the factory bits and piece back to where they belonged. The dash vents fit and these windshield brackets were trimmed so no there would be no interference with the cage. I'm not a fan of unnecessary squeaks. Only the bottom is trimmed here, for comparison.

Image

While I was at it. I swapped out most of the screws for 10mm bolts and lock washers. If I need to go back and work on it, I want it to be pain free.

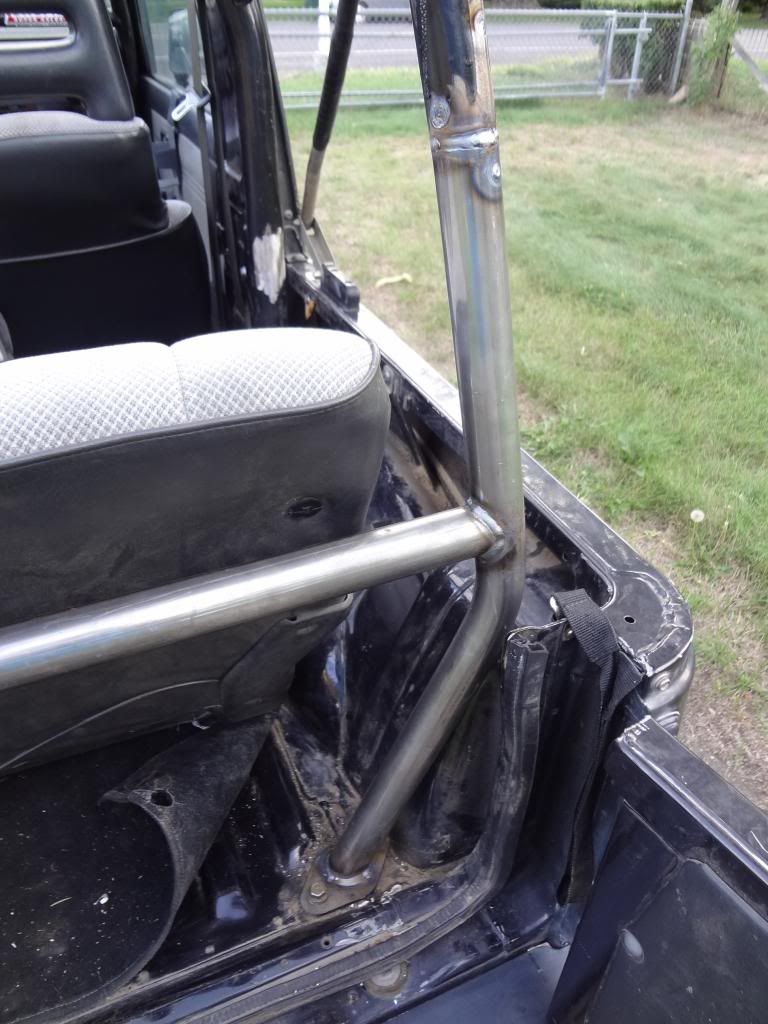
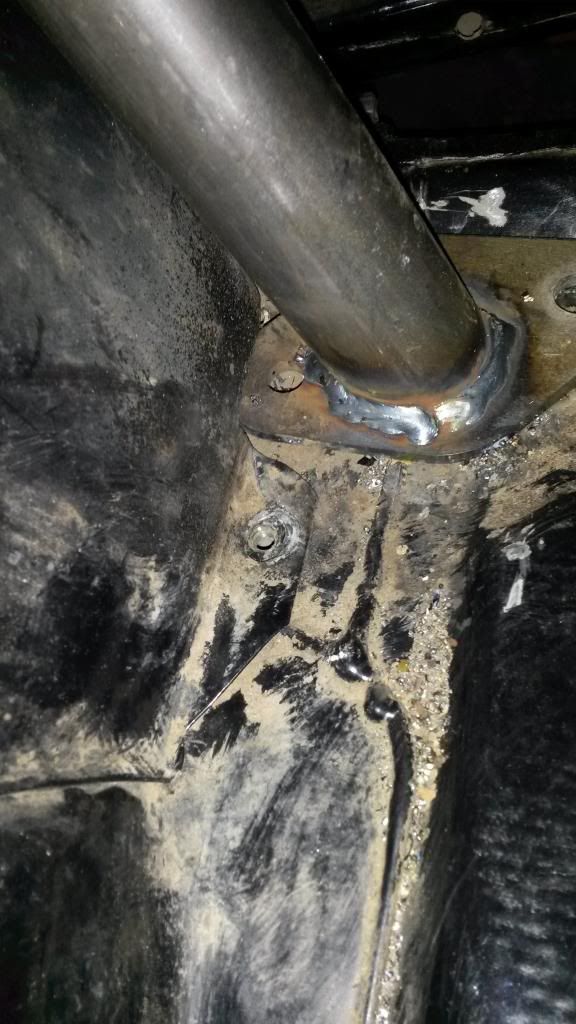
There was still some work to do on the cage. This is just placed into the vehicle. You can see where I have trimmed it. I needed to get some material and some bends made so that I could sleeve the tube and get it set, for good.

And here it is, fabbed to fit in a regular rig. I added a cross bar as the bend by the fuel filler isn't exactly favorable.

Image

Image

Image

Image
Last edited by UT410 on Fri Jan 31, 2014 4:08 am, edited 3 times in total.
For more of my build, check out my Instagram account: https://www.instagram.com/kungfubowler/

User avatar
Jordi
Bow down before me
Bow down before me
Posts: 7535
Joined: Sun Nov 29, 2009 2:35 pm
Location: Darlington, Co. Durham

Re: 1988 Samurai Build: From "toad" to "off road"

Post by Jordi » Thu Jan 30, 2014 10:49 pm

That's a nice looking cage!
1988 Samurai - Truck Cab & Tray Back - 1.6 8v & HIF44 - Snorkel - Stack Exhaust - PAS, YJs & 33s - Trussed, Gusseted & Pumpkin Capped Axles - 4.3 R&Ps - 4.16 T/Box - Rear Air Locker - Full Float Back Axle & Discs - RCV Front Shafts - X-Eng Handbrake - Custom Fuel Tank

UT410
Got muddy boots
Got muddy boots
Posts: 25
Joined: Tue Jan 28, 2014 9:51 pm
Location: Salt Lake City, Utah USA
Contact:

Re: 1988 Samurai Build: From "toad" to "off road"

Post by UT410 » Thu Jan 30, 2014 11:17 pm

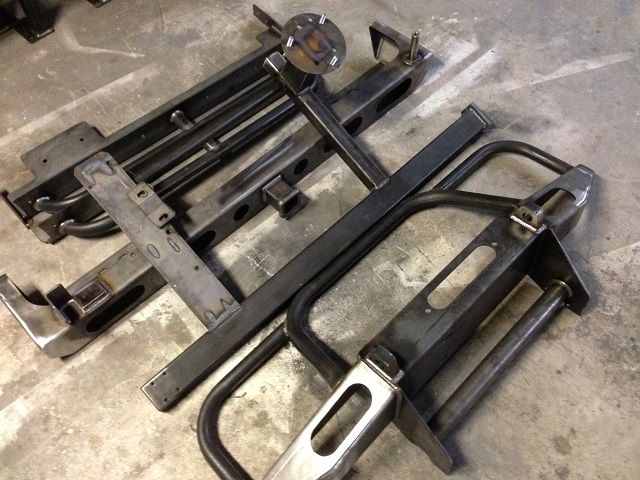
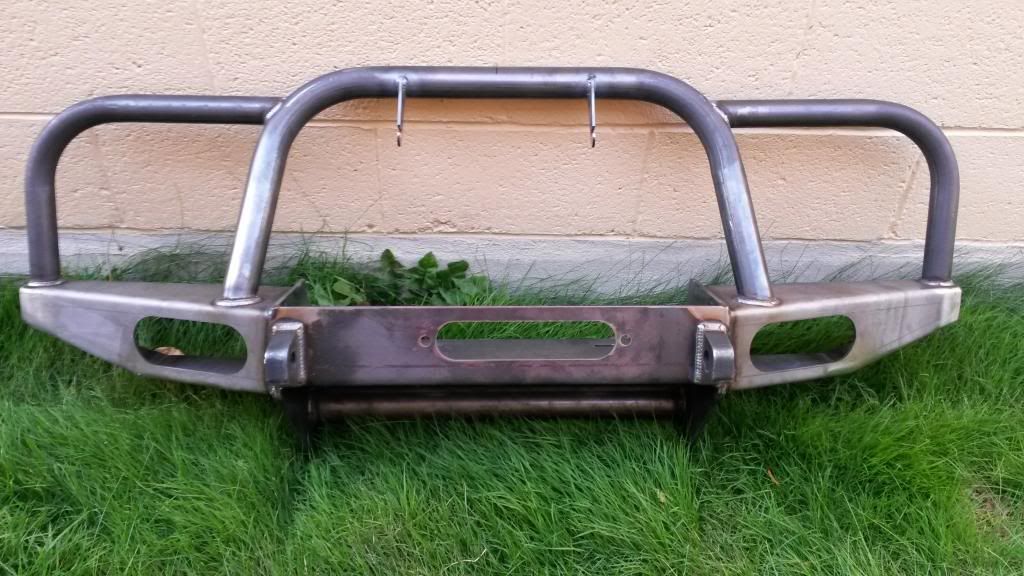
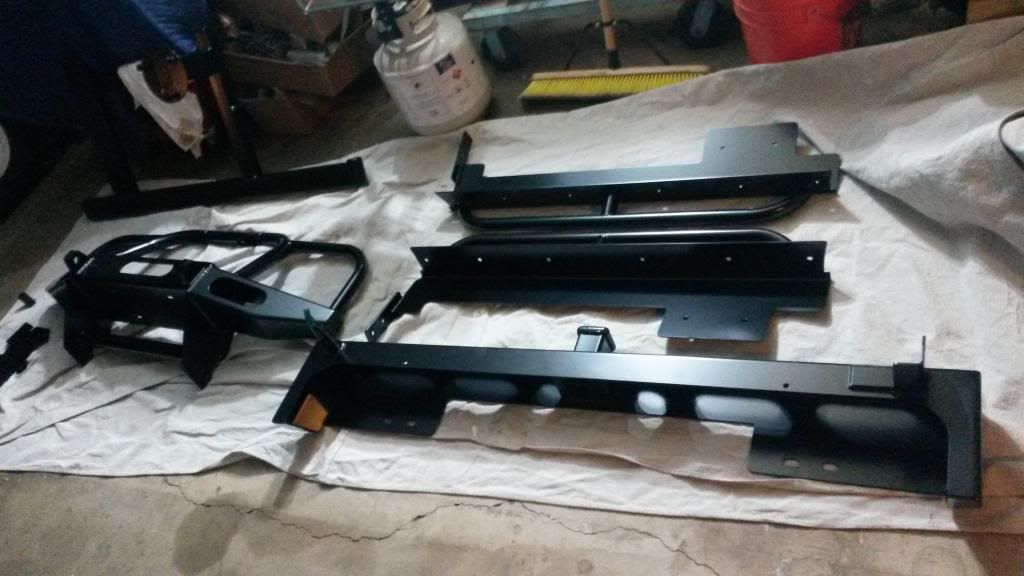
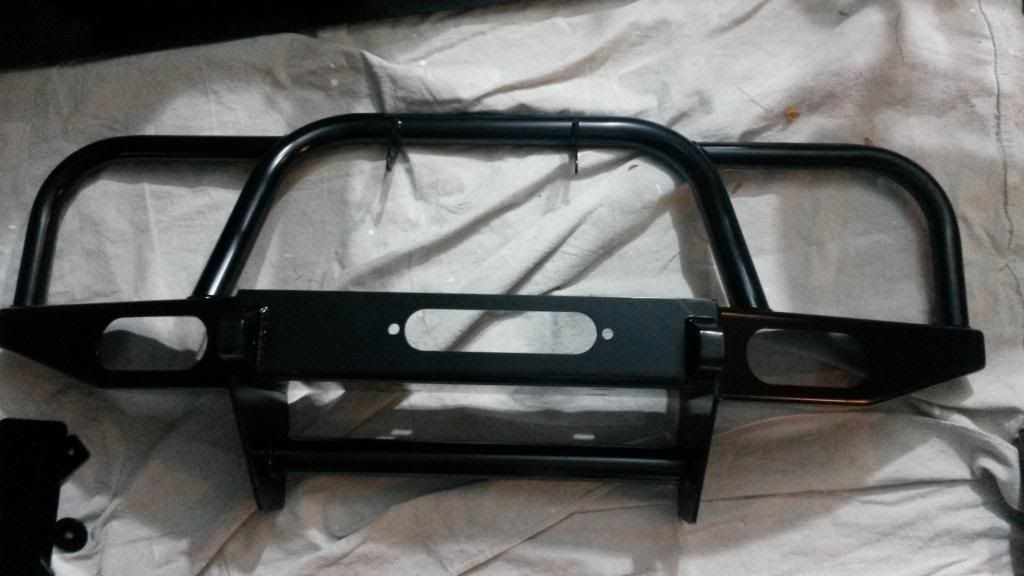
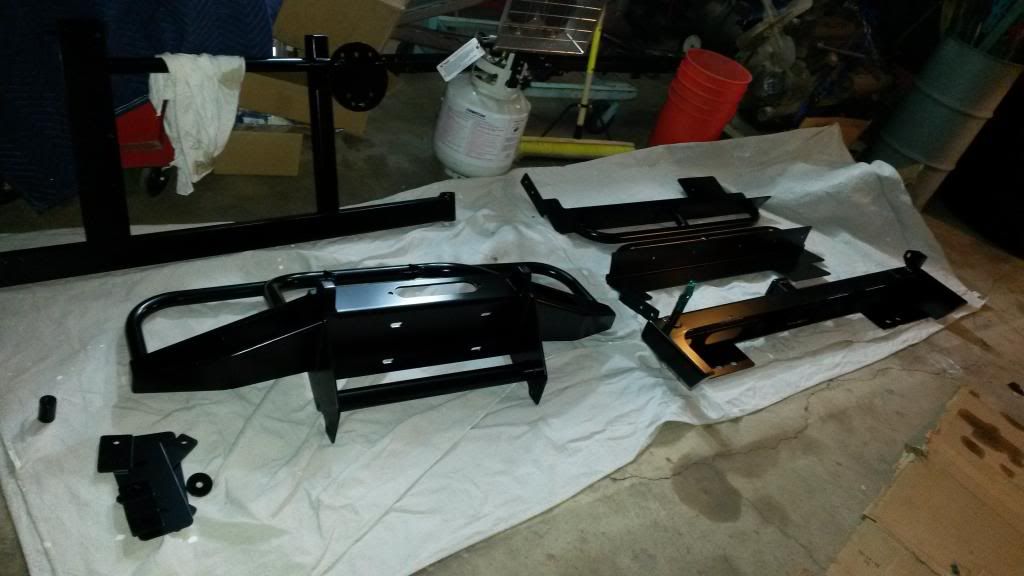
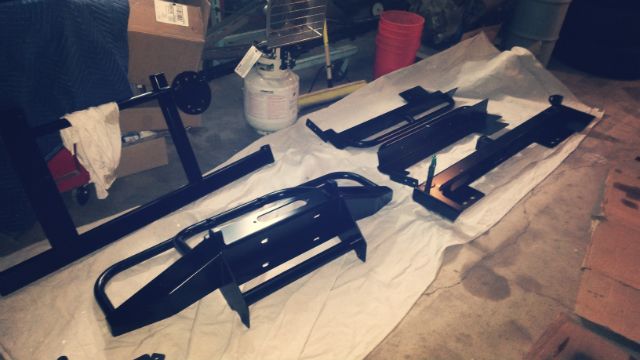
Sometime later, I got a pic sent to me from Mark at Shrockworks. The raw bumpers/sliders were ready to ship.

Image

I didn't have them powder coated because I have a local guy that takes pretty good care of me. As well, there are some additions I wanted to make.

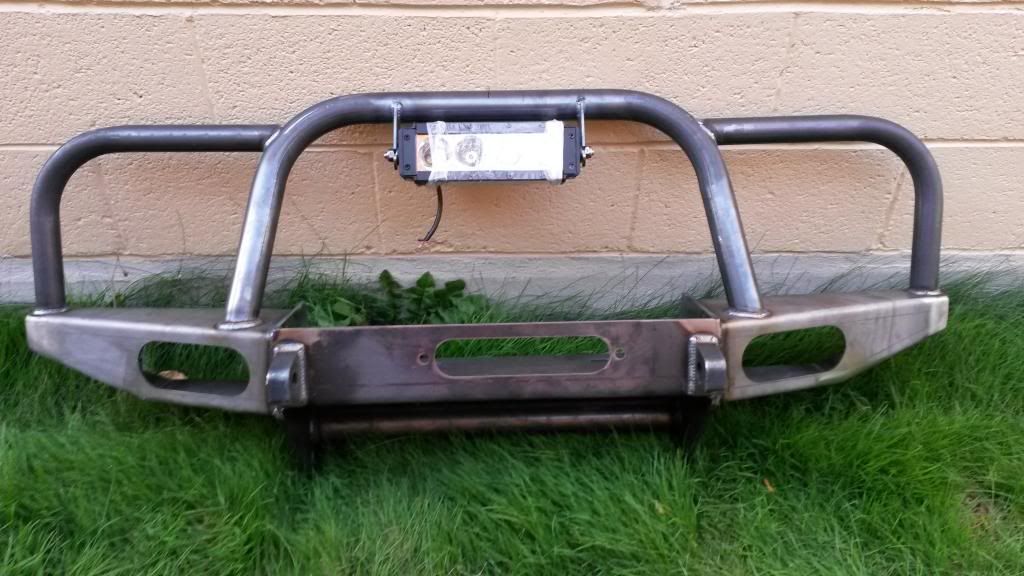
First, was getting some brackets for lighting.

Image

Image

See the tow points? That's not something usually done on these bumpers. Usually, there's a 1/4" piece of steel that's integral to the bumper. My last one got all sorts of bent. I found myself continually tuning it up with a 3 pound hammer.

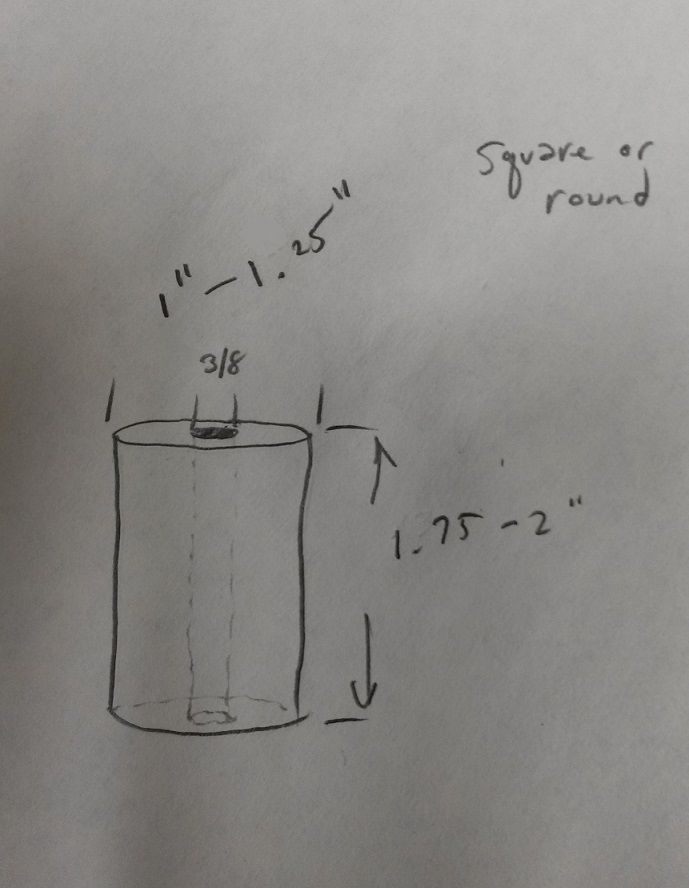
Then I needed a spacer for a rear LED that will be mounted above my fuel can. Most times I won't have a can but I figure that when I am actually needing the light, e.g., off road, the can will be present. So I had a buddy fab an aluminum spacer to the "exact" specs. :D

Image

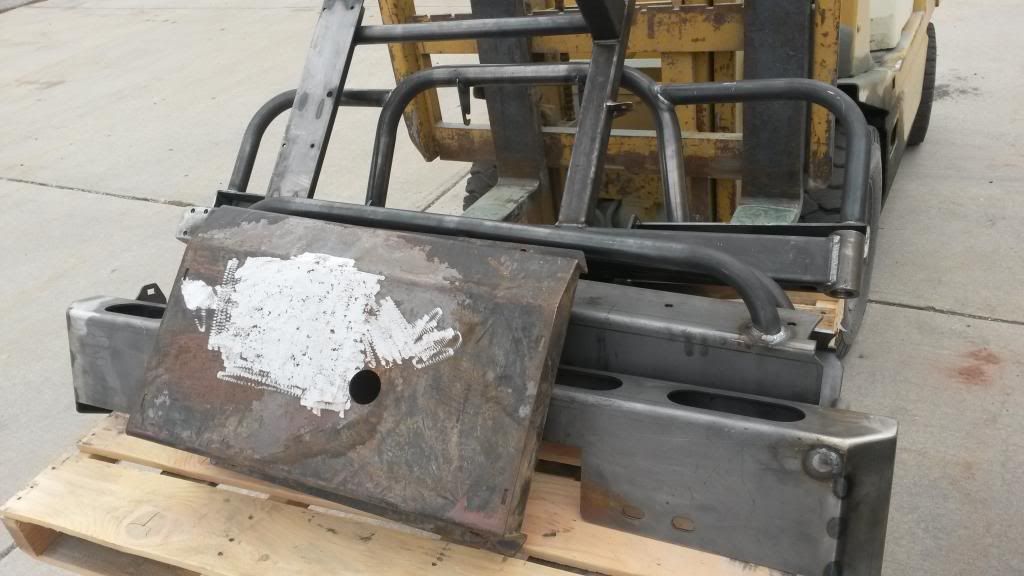
I welded on a few trick tabs onto the rear tire carrier. One for the light/space and another for a CB antenna. I don't think I have pics of that.

Then, everything was sent off to the powder coater.

Image

The gas tank skid you see in the pic is an old one I had off of every Samurai I have ever owned. The powder coating it received was probably the nicest thing I've ever done to it. Unfortunately, it's just going to get beat up again for the rest of it's life. :D

A few weeks later:

Image

Image

Image

Image

Image

Now, they're sitting wrapped up and waiting in the garage. No sense in putting them on only to take them off to weld, grind, and wrench.

Parts collection and saving money was all I'd do for a while.
Last edited by UT410 on Fri Jan 31, 2014 4:01 am, edited 1 time in total.
For more of my build, check out my Instagram account: https://www.instagram.com/kungfubowler/

User avatar
dan_2k_uk
I spend far too much time on here
Posts: 4924
Joined: Tue May 06, 2008 5:19 pm
Location: Swindon, Wiltshire

Re: 1988 Samurai Build: From "toad" to "off road"

Post by dan_2k_uk » Thu Jan 30, 2014 11:24 pm

I notice a lot of your inspiration images feature Zooks on YJ springs. Is that the plan? Have you already done it?
Image
Janspeed manifold, LWB Vit vented discs and calipers

Build thread -- Build photos -- HLA-Artwork
Coming soon: YJs, Trussed axles, Full float rear.

UT410
Got muddy boots
Got muddy boots
Posts: 25
Joined: Tue Jan 28, 2014 9:51 pm
Location: Salt Lake City, Utah USA
Contact:

Re: 1988 Samurai Build: From "toad" to "off road"

Post by UT410 » Thu Jan 30, 2014 11:31 pm

I got a gift at our company Christmas party for working 5 years, they gave a nice gift card. What does any self-respecting gear head do with a little extra money? Why spend it on their project, of course.

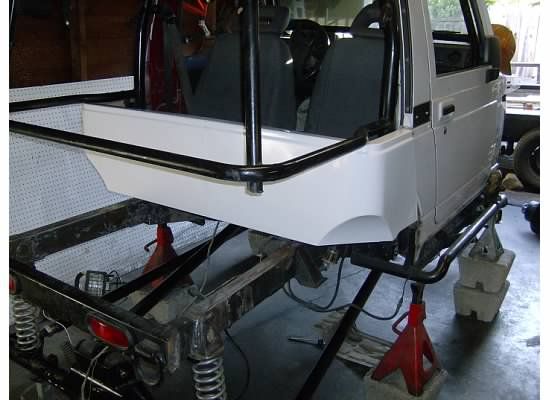
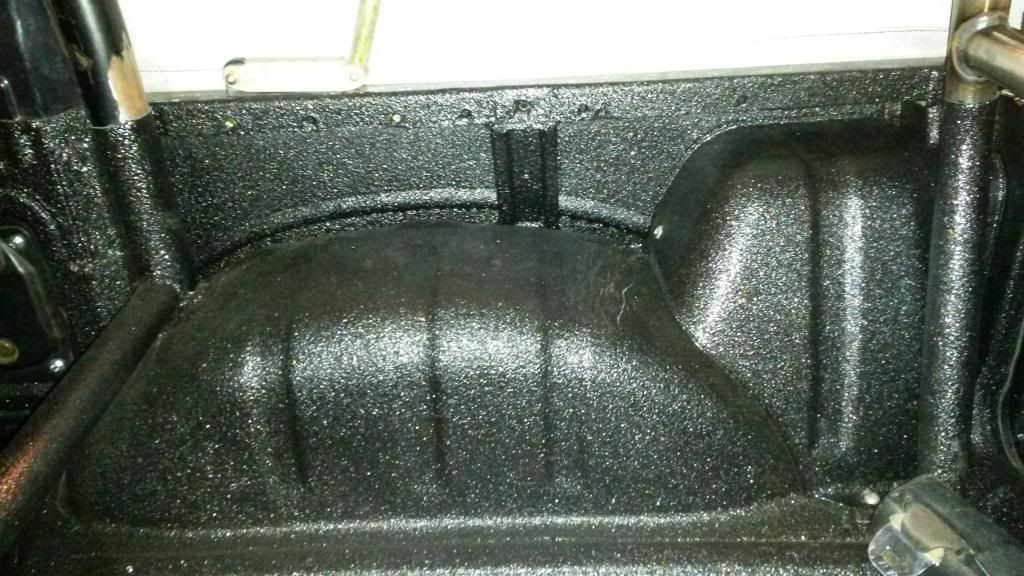
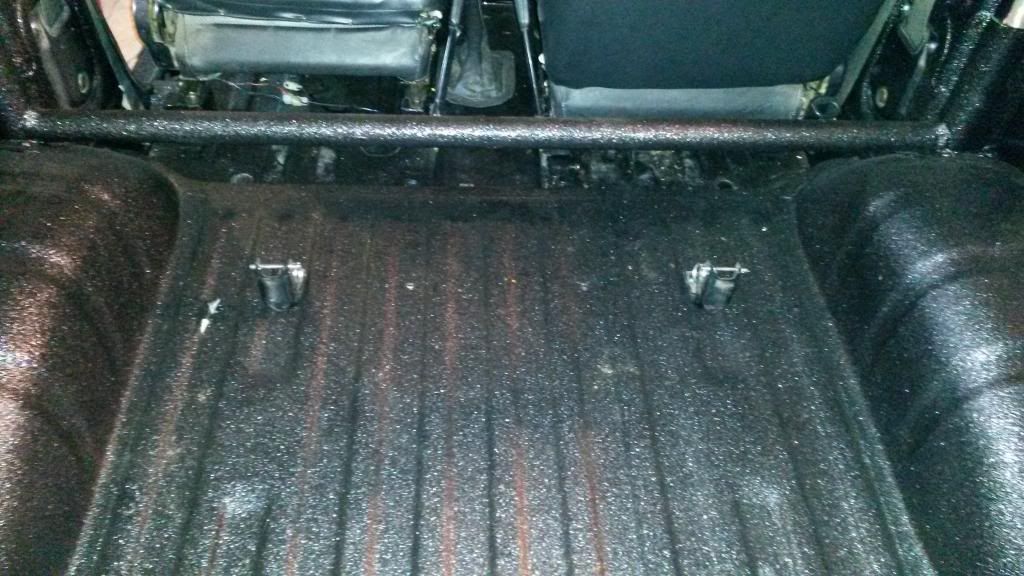
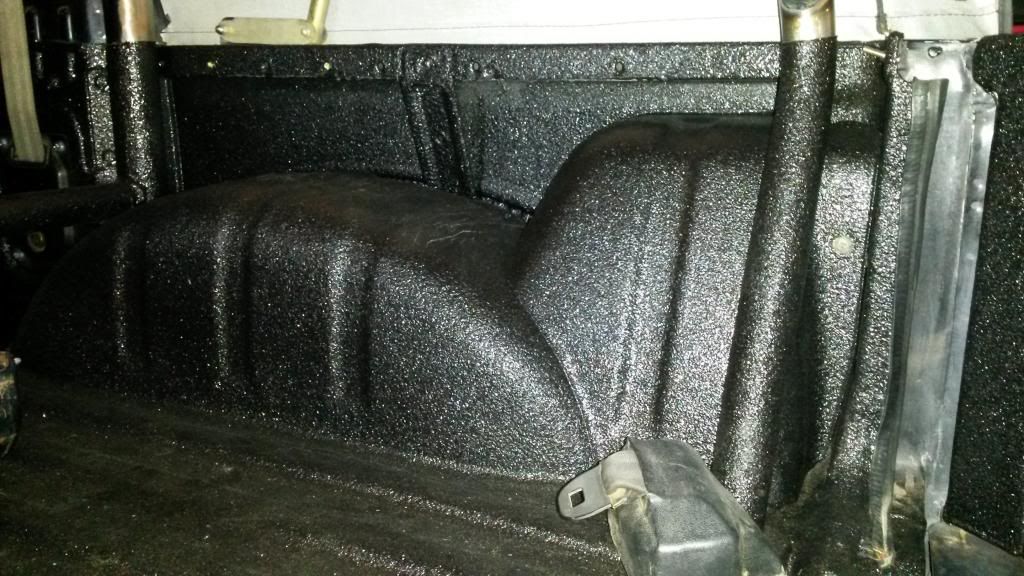
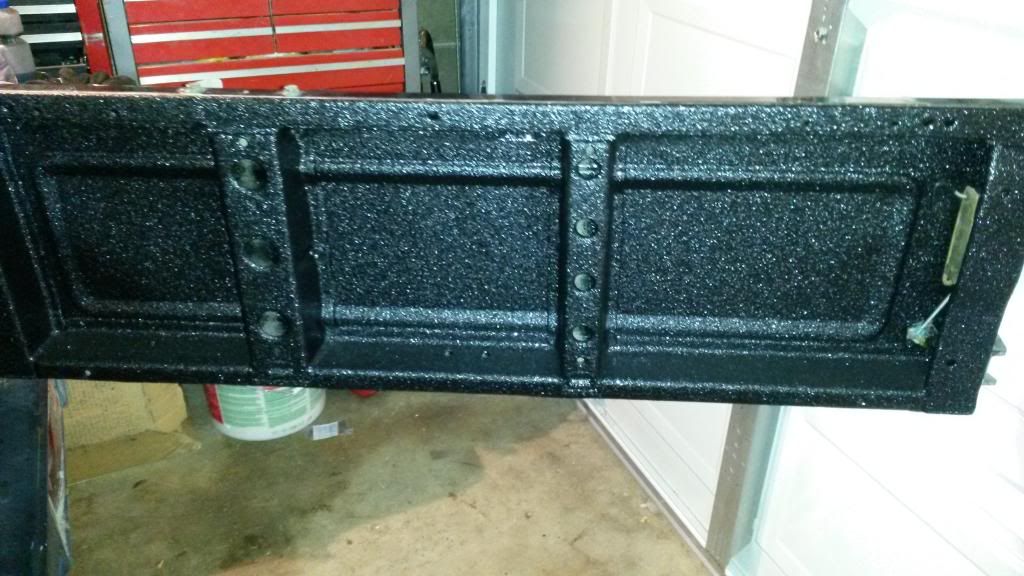
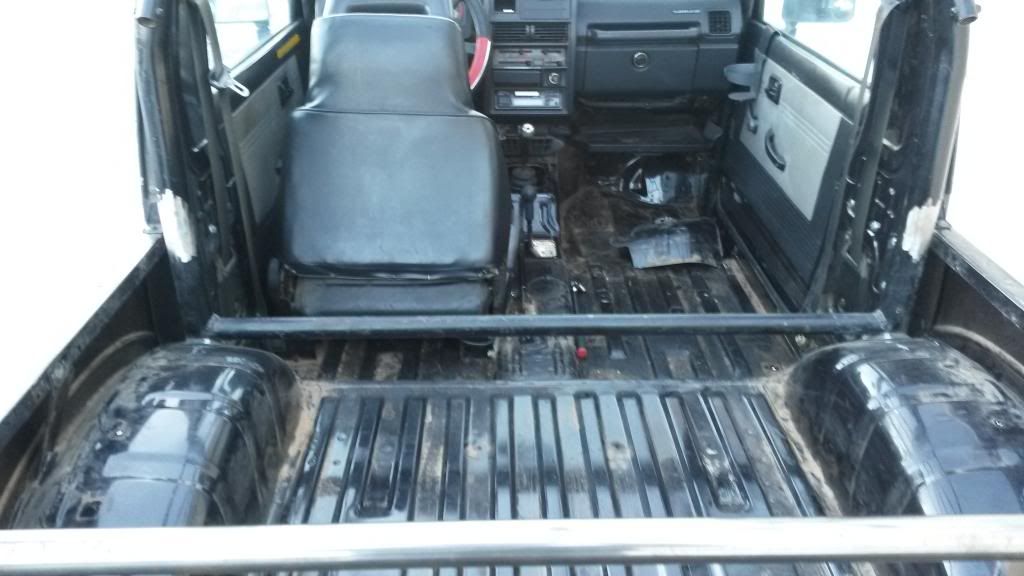
So, I stripped the interior out and drove it over to the truck bed (You guys have a different name over there) liner installed. It's Rhino Liner brand.

I drove it over early in the morning while it was 14*F (-10*C) and had some fun. I had this uncomfortable feeling on my right leg, the frigid air was shooting up my pant leg. Once I learned to cover the open plug hole with my heel, the drive got better. I was having fun and even saw a passerby taking a photo of me. I did it in the name of adventure and saving some money prepping the Zuk on my own.

Image

Image

Image

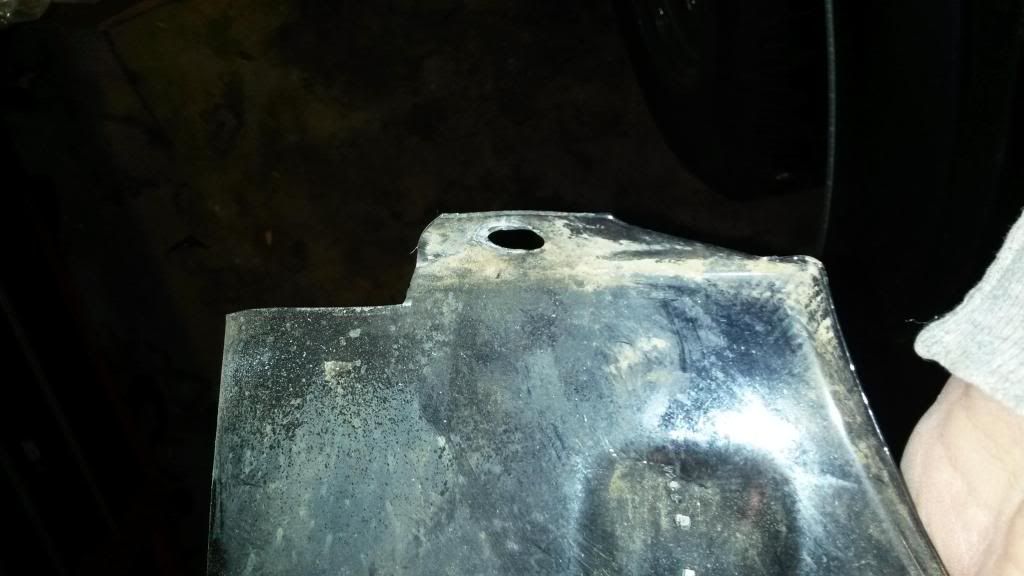
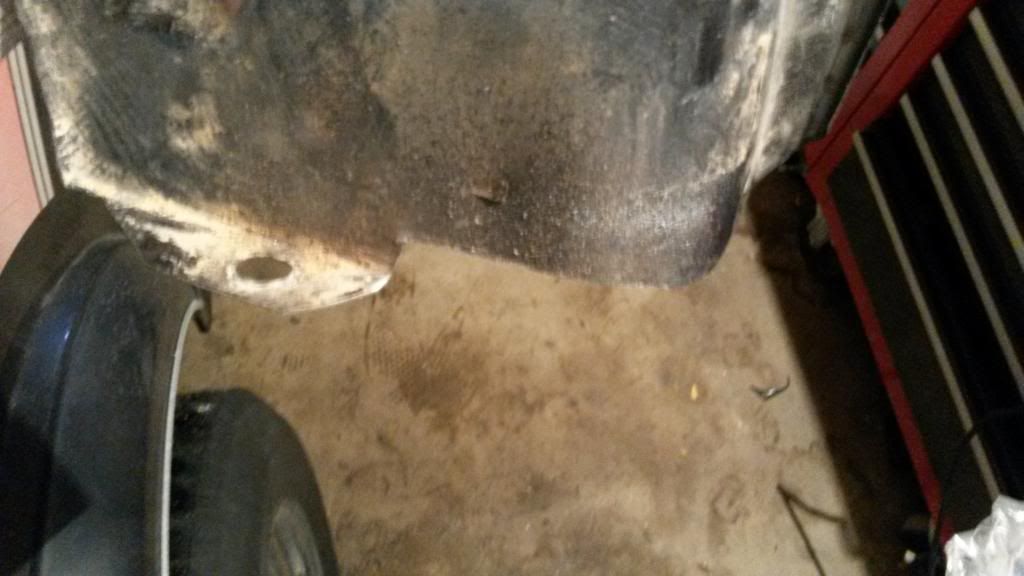
I had made sure to trim the fule hose cover so that it would fit properly when the cage was finally fastened.

Image

Image

Image

A few days later, it was ready to drive home. This time it was a balmy 20*F (-7*C).

Image

Image

Image

Image

I putt some removeable pins into these brackets to make the rear seat come out quickly.

Image

Image

Then again, it sat without much progress. However, there's a nice shelf with plenty of accumulated parts. But my plan is to attack it in stages that makes it easier for me and allows me to still drive it when I want. I don't want it to be out of commission for long spells.
Last edited by UT410 on Fri Jan 31, 2014 4:10 am, edited 1 time in total.
For more of my build, check out my Instagram account: https://www.instagram.com/kungfubowler/

UT410
Got muddy boots
Got muddy boots
Posts: 25
Joined: Tue Jan 28, 2014 9:51 pm
Location: Salt Lake City, Utah USA
Contact:

Re: 1988 Samurai Build: From "toad" to "off road"

Post by UT410 » Thu Jan 30, 2014 11:42 pm

Jordi wrote:Looks tidy. How far did you travel to collect it? (I have no idea of American geography, other then the roads I drove on round california / nevada were arrow straight through what seemed like desert for hundreds of miles)
It's about a 9 hour drive heading with the wind. Coming back there's a pretty harsh wind you're heading into. That slows things down, a bit. Plus my truck isn't a powerhouse so it took me longer. I stopped for a rest (slept in the truck) and tried not to freeze. :D
bedron wrote::welcome: lovely zuk u found ..i love those happy days
Jordi wrote:That's a nice looking cage!
Thanks!
dan_2k_uk wrote:I notice a lot of your inspiration images feature Zooks on YJ springs. Is that the plan? Have you already done it?
Yes, it will be on YJ springs with TT missing links in front. I should have posted my plans. Looks a bit like this:

SPOA YJ springs over Toyota axles. The rear is IFS width so in the front I am running a SKY IFS width kit so I can use H3 wheels (like the silver Zuk pictured).

The steering is a Marlin Crawler high steer with an FJ80 forward-facing steering box.

Lockers are ARB rear and Spartan front. The front is a high pinion 3rd and the rear is a v6 Toyota 3rd. The ratio is 4.10.

My TCase (I think you guys call them shift boxes?) is a 6.5:1 from Trail Gear. I bought that off of a guy that planned to build a buggy and lost his job so he never built the rig and the case sat unused. It was a great deal.

I've collected most of the parts but still need shocks and shock towers. There's other stuff I need to fab up and I'm getting into that now. I haven't touched the suspension yet.
Last edited by UT410 on Fri Jan 31, 2014 4:03 am, edited 1 time in total.
For more of my build, check out my Instagram account: https://www.instagram.com/kungfubowler/

Post Reply